8
Pump
Maintenance
may be trapped in the line.
Submerge complete unit under
water and check for leaks.
13.Refill motor chamber with oil.
Use high grade transformer
oil or Hydromatic special
submersible oil. Fill chamber
until oil covers top of the
windings. Leave air space in
the top for expansion. Use
Permatex on plug threads.
Replacing Seals and Bearings:
1. Drain all oil from motor
chamber and seal chamber
as described.
2. Remove motor housing as
described.
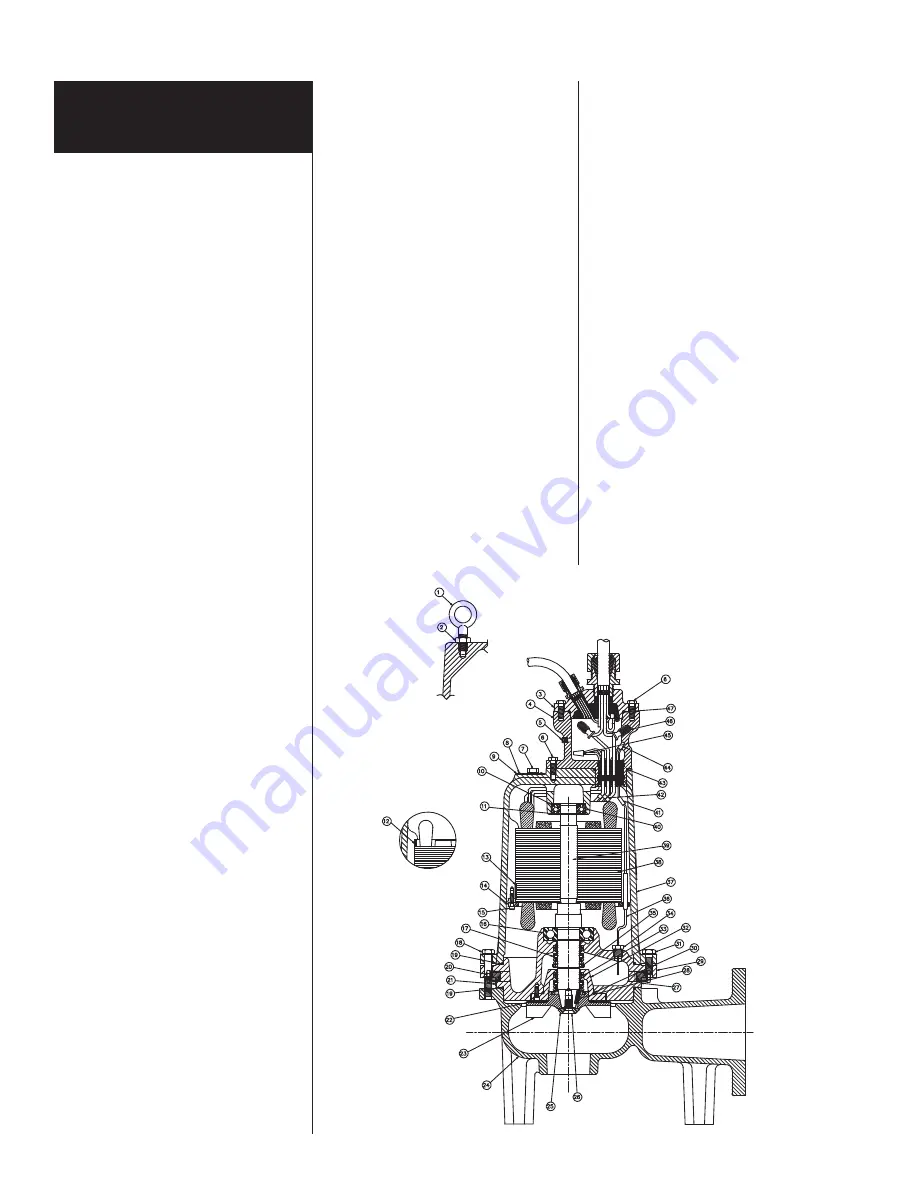
3. Remove bolts that hold seal
chamber to pump housing. Use
back-off screws to break loose.
With hardwood block, tape end
of impeller to loosen from
shaft. When free,
remove
impeller from shaft.
4. Lift rotating assembly (rotor,
shaft and impeller) from pump
case and place horizontally on
bench.
5.
Impeller removal
– Hold motor
and remove bolt and washer
from impeller end of shaft.
Impeller is threaded to the
shaft, so tap face of impeller
with hardwood block to free
threads. Holding rotor, turn
impeller with hardwood block
to free threads. Holding rotor,
turn impeller counterclockwise
as thread is right-hand.
6. Shaft sleeves are not used.
7. Remove lower seal spring and
pry out seal with screwdriver.
8. To remove seal housing, take
out socket head bolts and using
bolts in back of holes, pry
plates loose. This will force
out the lower seal if not
already removed.
9. Remove snap ring that holds
upper seal. Pull seal if it is free.
If not free, it can be forced off
when shaft is removed.
10.Remove 4 bolts that hold
bearing housing in place. Set
assembly in upright position
and bump end of shaft on
hardwood block. This will
push the bearing from the
housing and will force upper
seal from shaft.
11.Use bearing puller to remove
bearings. Replace with new
bearings. Press only on inner
face of bearing when
replacing. Pressing on outer
face can damage the bearing.
Bearings are standard size that
can be obtained from any
bearing supply house or
can be obtained from the
Hydromatic factory.
12.
IMPORTANT
: Do not use
any of the old seal parts.
Replace with all new seals.
13.Thoroughly clean all castings
before replacing seals. One
grain of dirt between the seal
faces can cause failure.
14.Examine all O-rings for nicks
before using.
15.Use Locktite on socket head
locking screw in end of shaft.
16.Before refilling chamber with
oil, air test as described above.
17.Refill both chambers with oil
as described above.
18.Always check all leads with
high voltage or with Megger
for grounds before operating
the pump.
Summary of Contents for Hydromatic S4HRC
Page 11: ...11 S4HRC...


