


GRL-PCIE-TX Quick Start/User Guide/MOI
Rev1.0
© PCI-SIG 2022
Version 1.0, Mar 2022. Updated 03.26.2022
Page.
10
Note:
Once the 10-day trial period ends, you will need to request an Activation Key to continue using
the software on the same computer or oscilloscope. The demo software is also limited in its
capability, in that it will only calibrate the maximum frequency for each data rate. Thus, the demo
version cannot be used to fully calibrate and test a device. For Demo and Beta Customer License
Keys, please request an Activation Key by contacting
7.
Select the Equipment Setup icon
on the PCIe Tx Test Application menu.
8.
Connect the oscilloscope with the controller PC through either GPIB, USB or LAN.
(Note:
Additional information for connecting the Keysight and Tektronix oscilloscopes to the controller
PC is provided in the Appendix of this document.)
9.
If using an RF Switch, connect the switch via GPIB to the GRL automation control enabled
Scope or PC.
10.
If using an Arbitrary Function Generator (AFG) as the compliance toggle control, connect the
AFG via USB to the GRL automation control enabled Scope or PC.
11.
On the Scope or PC, obtain the network addresses for all the connected instruments from the
device settings. These addresses will be used to connect the instruments to the GRL
automation software.
12.
If using the GRL-P1 hardware controller, connect the controller via USB to the GRL automation
control enabled Scope or PC.
13.
On the Scope or PC, obtain the network address for the connected GRL-P1 from the device
settings. For example, if GRL-P1 is connected to the PC, open the Device Manager which
should detect the controller as a Co
ntroller Serial (COM) Port, e.g. “GRL PCIe34
P1 (COM10
)”.
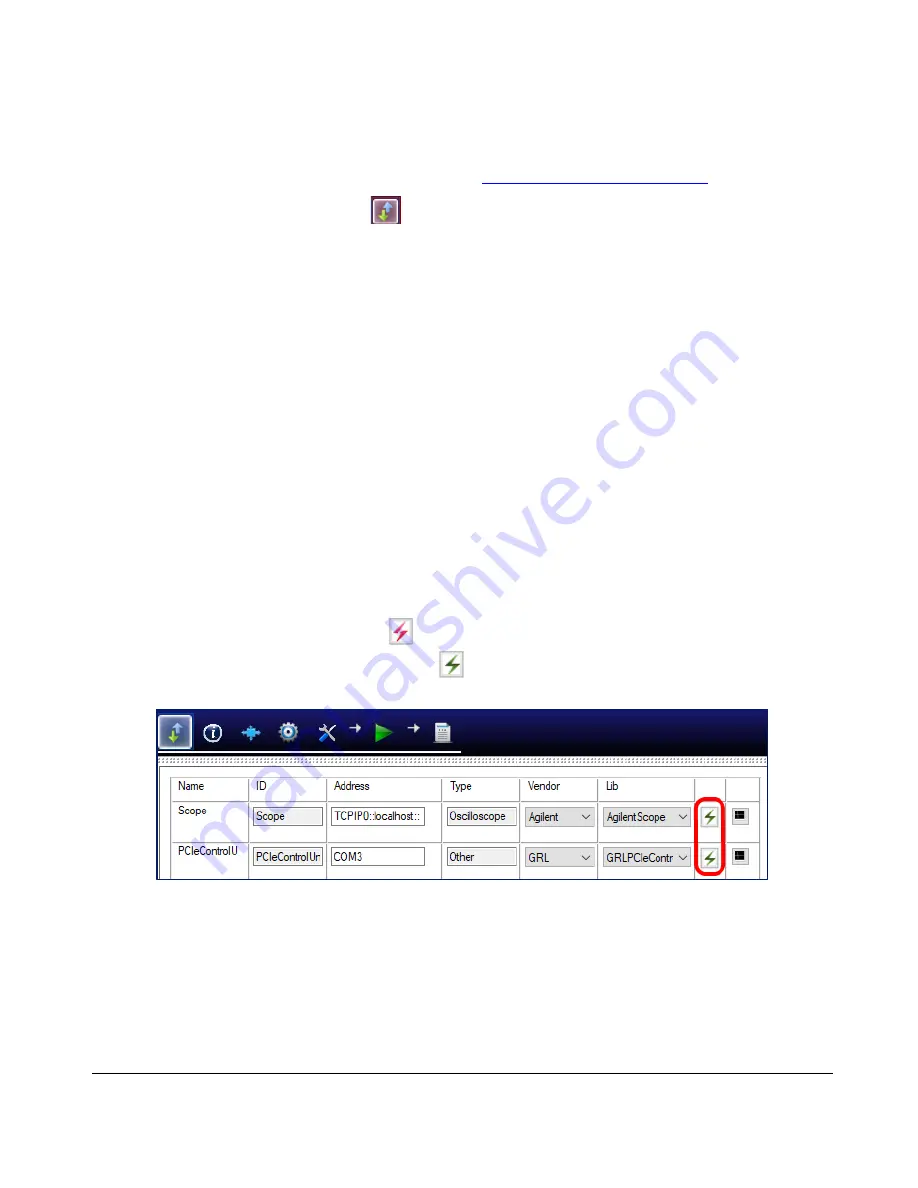
14.
On the Equipment Setup page of the GRL PCIe Tx Test Application, type in the address of each
connected instrument
into the “Address” field.
Then select the “lightning” button (
) for each connected instrument.
The “lightning” button should turn green ( ) once the application has successfully
established connection with each instrument.
F
IGURE
5.
C
ONNECT
I
NSTRUMENTS WITH
GRL-PCIE-TX
S
OFTWARE
13.
(Note: If the GRL-PCIE-TX software is installed on the Tektronix Scope, ensure the Scope is
connected via GPIB and type in the GPIB network address, for example “GPIB8::1::INSTR.)
If the
GRL software is installed on the PC to control the Scope, type in the Scope IP address, for
example “TCPIP0::192.168.0.110::inst0::INSTR”. Note to omit the Port number from the
address. The “lightning” button should turn green if successfully connected to the instrument.


