15
7.4 COMMON MISTAKES
Most calibration errors are caused by simply overlooking some of the fundamental principals of dynamics. This
section attempts to address some of the more common concerns.
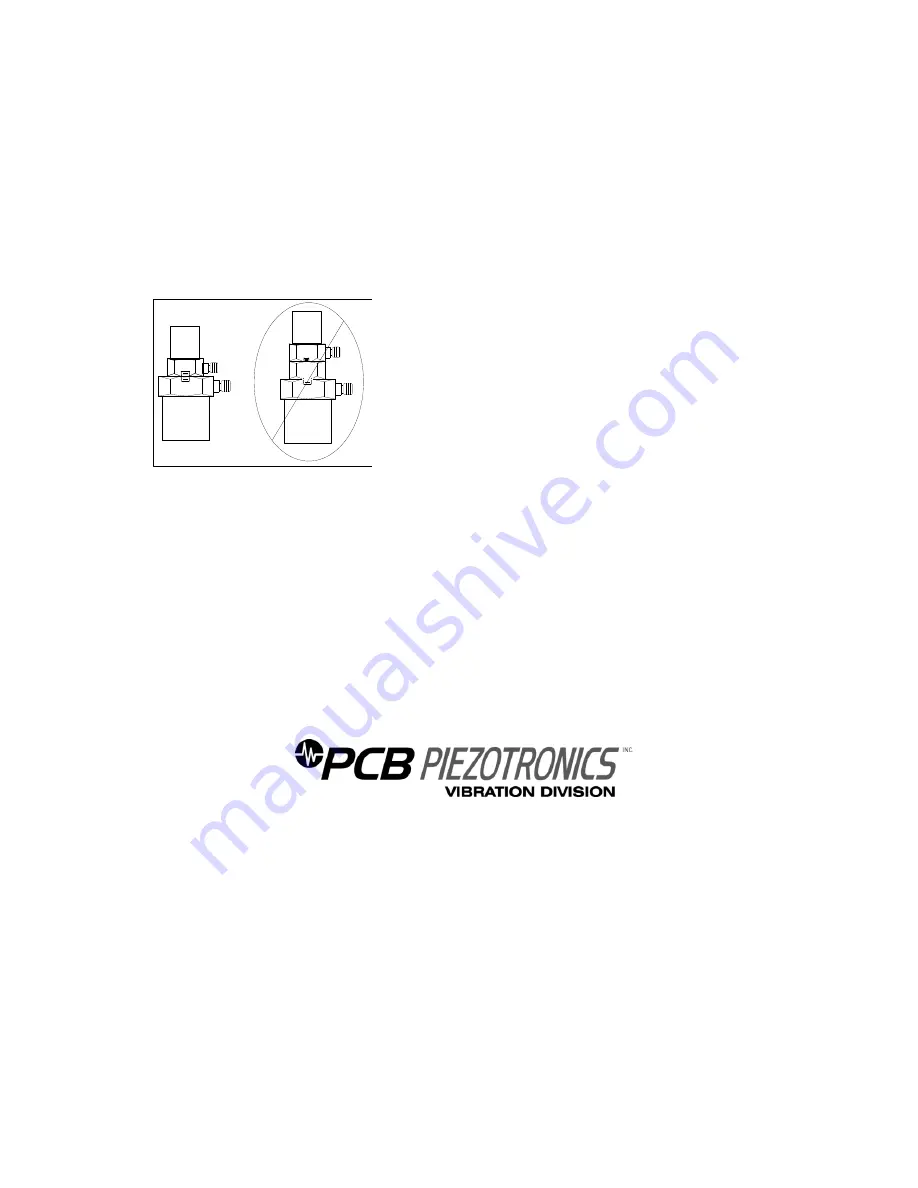
For stud-mount sensors, always mount the accelerometer directly to the reference standard. Ensure that the
mounting surfaces are smooth, flat, and free of any burrs. Always use a coupling fluid, such as silicone
grease, in the mounting interface to maintain a high mounting stiffness. Mount the sensor according to the
manufacturer’s recommended mounting torque. DO NOT use any intermediate mounting adaptors, as the
mounted resonant frequency may be reduced and thereby compromise the high-frequency performance. If
necessary, use adaptor studs.
Figure 5.
Stud Mounting
Understand Back-to-Back Calibration limitations. Do not expect the uncertainty of calibration to be any better
than
2%. (In fact, the uncertainty may be as high as
3% or
4% for frequencies <10 Hz or >2 kHz.) Since
large sensors may affect high-frequency accuracy, verify that the test sensor does not mass load the reference
standard. Validate your calibration system with another accelerometer prior to each calibration session. Check
with the manufacturer for exact system specifications.
7.5 CONCLUSIONS
Without an adequate understanding of dynamics, determining what, when, and how to test a sensor is a
difficult task. Therefore, each user must weigh the cost, time, and risk associated with self-calibration versus
the services of an accredited laboratory.
3425 Walden Avenue,
Depew, NY 14043
Toll Free: 888-684-0013
24-hour SensorLine
SM
: 716-684-0001
FAX: 716-685-3886
E-mail: [email protected]
Website: www.pcb.com
Summary of Contents for EX619A11
Page 23: ...DWG 62689 REV NR DIN 44641...
Page 24: ...DWG 62689 REV NR DIN 44641...
Page 25: ...DWG 62689 REV NR DIN 44641...
Page 26: ...DWG 62690 REV NR DIN 44641...
Page 27: ...DWG 62690 REV NR DIN 44641...
Page 28: ...DWG 62690 REV NR DIN 44641...


