33
Tips for Designing Print & Cut Images
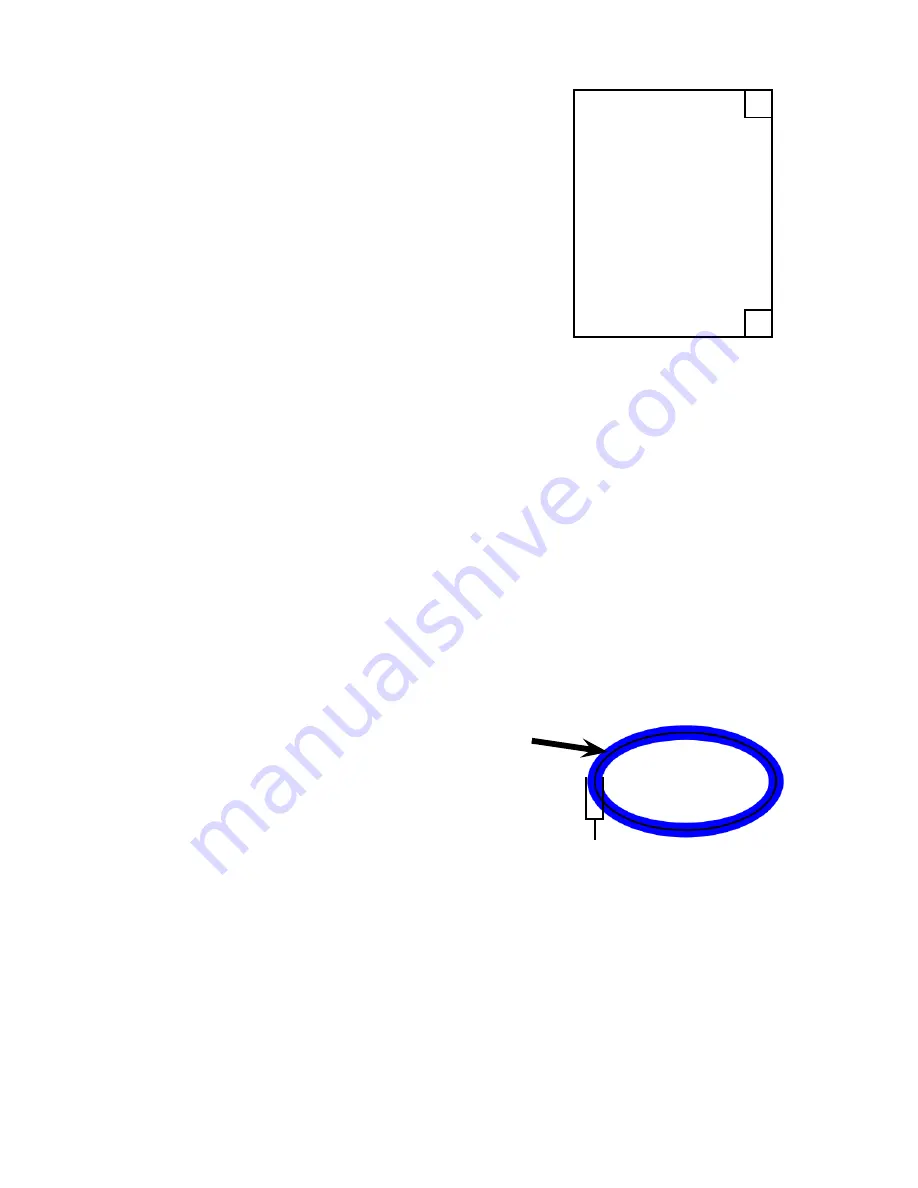
No Print Zones
The Inspiration Vūe
™
print & cut system works
by sensing the edge and angle of the paper
on the mat. To do this there are two area
on the paper that need to be free of print.
These areas are approximately ½” squares at
the top and bottom right hand corner of the
printed paper.
½
”
½
”
½
”
½
”
Registration Mark Placement
The registration mark helps the Inspiration Vūe
™
understand where the
print is on the paper. You can place the registration mark anywhere
on the page in order to help the Inspiration Vūe
™
determine how to cut.
No Registration Mark Print & Cut
The Inspiration Vūe
™
is capable of performing print & cut operations
without the registration mark. While this this can reduce the accuracy
of the print & cut process it may be useful when there isn’t room on the
page for the registration mark, or for projects where accuracy is less
critical.
Bleed
Bleed is the concept of providing a
overprinted area so that the print
reaches the edge of the cut area.
Below are brief descriptions of a
couple common bleed methods.
Stroke Bleed
Path
Line (Stroke) Width
Stroke Bleed
The stroke bleed method is performed by changing the line width.
Using this method you can use the same path to print, and cut as the
printed path will be wider than the cut path. The recommended line
width when using this method is typically 5-10 pts.
Inline Bleed
Instead of using contour or outline tool as in the print & cut tutorial,
select the inline tool for the shape you wish to cut. Be sure to set the
inline size to a sufficent inner path to account for any cut inaccuracies.
Summary of Contents for Inspiration Vue
Page 1: ...Quick Start Guide TM...


