background image

22

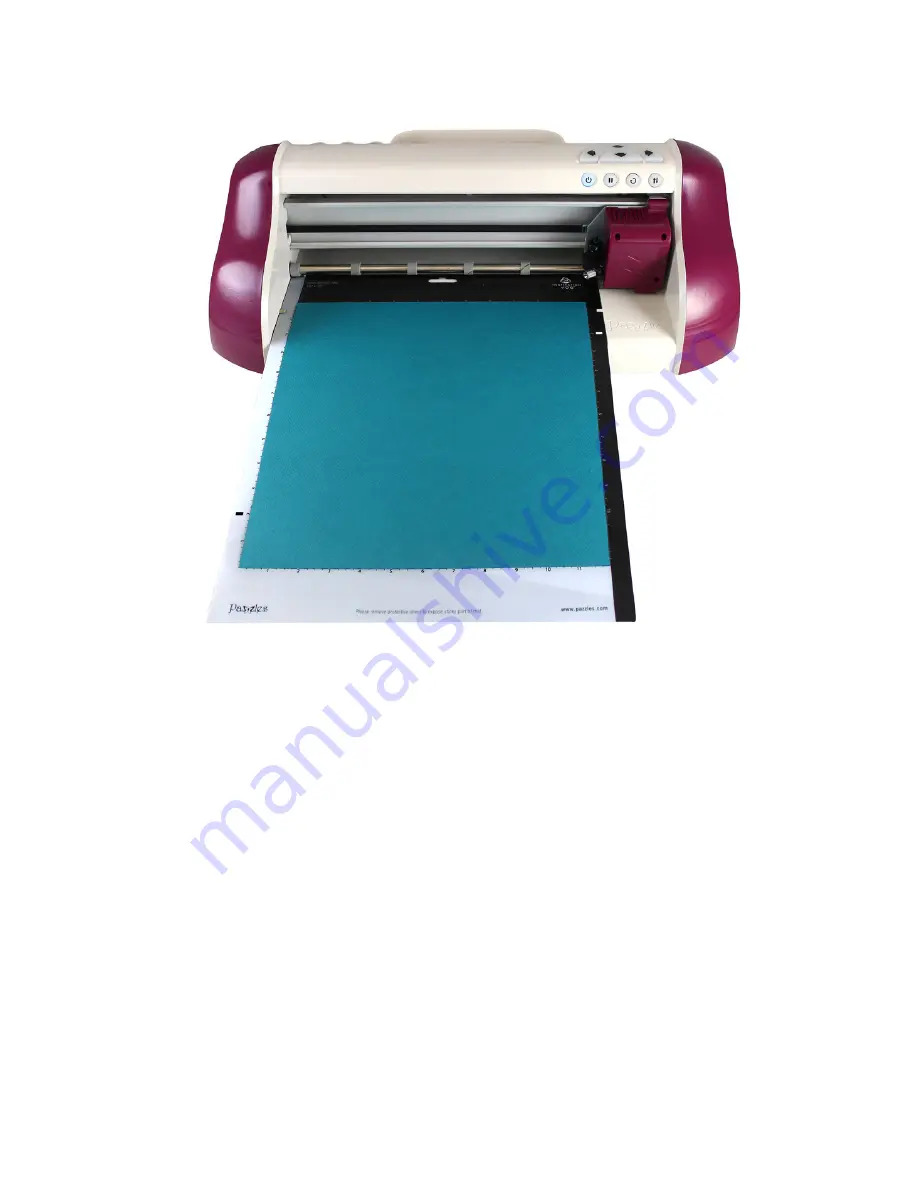
Slide your mat under the tabs on either side of the mat loading area 

and gently push the mat up against the rollers.

Push the load/unload button and the Inspiration Vūe

 will automati-

cally feed your mat into the proper position.  You are now ready to cut!

Cutting

With the mat loaded and an image prepared you are now ready to cut 

your first image.  Now is a good time to double check the blade length 

setting on your blade holder.  

Once everything is in order, select “Send”.  Your Inspiration Vūe

 will 

begin cutting.

When your image has finished cutting, press the load/unload button 

and your mat will unload from the machine.  Peel your cut image off 

the cutting mat. Congratulations. You’ve made your first cut.

Summary of Contents for Inspiration Vue

Page 1: ...Quick Start Guide TM...

Page 2: ...zzles com Technical Support support pazzles com Sales sales pazzles com All Other Inquiries pazzles pazzles com On the Web Visit us on the web for online chat support forums FAQs videos and more Websi...

Page 3: ...ion V e Carriage 11 Instructions for Inserting and Removing the Blade Holder 11 Inspiration V e Blade Holder 12 Adjusting Blade Depth 12 Inspiration V e Print Cut Mat 13 Mat Preparation 14 Caring for...

Page 4: ...Warranty Information What s in the Box 1 Inspiration V e 2 Power Adapter 3 USB Cable 4 Blade Holder 5 Print Cut Mat 6 Warranty Technical Support End User License Booklet 7 InV e Software Quick Start...

Page 5: ...ructions Lighting Direct sunlight can cause fading and interfere with the operation of the sensor on the Inspiration V e Select a location where natural lighting will not shine in on the front of the...

Page 6: ...the on screen installation process to complete the installation of InV e 5 When you have completed the InV e installation return to the CD menu and select Install Images 6 Follow the on screen instruc...

Page 7: ...k on InVue_Installer 3 From the InV e Software Installation Window click on the InV e icon A dialog box will notify you when the installation is complete 4 Select the Install Images icon to install th...

Page 8: ...o an available power source Tip Pazzles strongly recommends using a surge protected power source to prevent accidental damage to the Inspiration V e Connect the Power Adapter to the Inspiration V e Co...

Page 9: ...9 Connect the USB cable to the Inspiration V e Important Do not connect your Inspiration V e to your computer until you have completed the software installation...

Page 10: ...t Use the left and right arrows to adjust the position of your blade carriage 4 Power button Use to turn on and off the Inspiration V e 5 Pause button Use to pause the Inspiration V e while it is cutt...

Page 11: ...n to remove the blade holder and tighten to secure the blade holder back in place 13 Blade carriage This carriage moves left and right to move the blade holder while the Inspiration V e is cutting Ins...

Page 12: ...Depth The Inspiration V e is designed to cut a variety of different materi als This is acheived by adjusting the blade depth and the force ap plied when cutting The force applied pressure is set in y...

Page 13: ...your index finger 3 With your other hand grasp the blade that is now protruding from the base of the blade holder 4 Insert the new blade into the hole from which you removed the old blade A magnet in...

Page 14: ...Pazzles strongly recommends preparing your mat prior to first use Mat preparation is recommended in order to maximize the life of your mat To prepare the mat 1 Remove the clear plastic protective she...

Page 15: ...Inspiration V e outside 5 Do not expose the Inspiration V e to water 6 Do not expose the Inspiration V e to surges in electrical power you can protect the Inspiration V e from these surges by connecti...

Page 16: ...you will be prompted to enter a registration number This number can be found in the CD case for your software After entering your registration number you will see the Create New Page dialog Select you...

Page 17: ...in the top left corner This icon looks like a set of pictures The Image Gallery window will pop up Double click on Local Pazzles Media and then InVue Exclusive Images Select a category and choose a s...

Page 18: ...out of the Image Gallery by selecting the close button At this time you can move rotate or resize your selected shape as desired To do this click on the image you inserted into the document Notice tha...

Page 19: ...red location You can also use the arrow keys to move an image once it is selected Move your image to the upper right hand corner of the document Select the Cut Control Panel Button from the top menu T...

Page 20: ...e as a wire frame without the fill color On the right side of the screen is a list of cutting options Beginning at the top make your selections For your first cut leave your selections in the default...

Page 21: ...olor pen lines will appear on your screen Preparing to Cut Important If you have not read through the Mat Preparation section on page Mat Preparation on page 14 please take a moment to do so Before we...

Page 22: ...o cut Cutting With the mat loaded and an image prepared you are now ready to cut your first image Now is a good time to double check the blade length setting on your blade holder Once everything is in...

Page 23: ...V e to work with your printer Calibrat ing the Inspiration V e will improve the accuracy of your print cut projects and is recommended any time you have significant changes in environment printer or...

Page 24: ...printed on your print cut mat so that the upper right hand corner of the sheet is in the upper right hand corner of the black side of the mat Set the blade length on the blade holder Typically a blad...

Page 25: ...line press the arrow button on the Inspiration V e which cooresponds with the direc tion that the cut line needs to move in order to be centered in the printed line Repeat this step until the cut line...

Page 26: ...paper size that you will be printing on In this example we will be using a letter sized sheet of paper and so will select 8 5 x 11 Once you have a new document open in the software select an image fro...

Page 27: ...which parts of your document will print on your home printer Click on your image to select it once again and drag it on the screen so it fits within the printer margins which begin at the top right po...

Page 28: ...ut around it Start by selecting the outline tool Select the image and then check the Contour checkbox You should see an outline around your image To approve this outline click on the green checkmark b...

Page 29: ...e cut line we just created Deselect your newly created cut line From the top menu bar select the registration mark button This will place a registration mark on your document The registration mark can...

Page 30: ...cut try moving the registration mark to a different location From the File menu select Print Preview If everything looks right select the printer icon to print the document InV e will by default prin...

Page 31: ...ack side of the mat Tip Don t worry about getting the paper on the mat exactly straight and right at the edge of the grid Just make sure that the gray corner is covered and that the edges of the paper...

Page 32: ...displayed Select the appropriate settings for the material you are cutting Check the Print Cut checkbox Click Send to start the cut After the Inspiration V e has completed cutting out your image eject...

Page 33: ...ile this this can reduce the accuracy of the print cut process it may be useful when there isn t room on the page for the registration mark or for projects where accuracy is less critical Bleed Bleed...

Reviews: