12
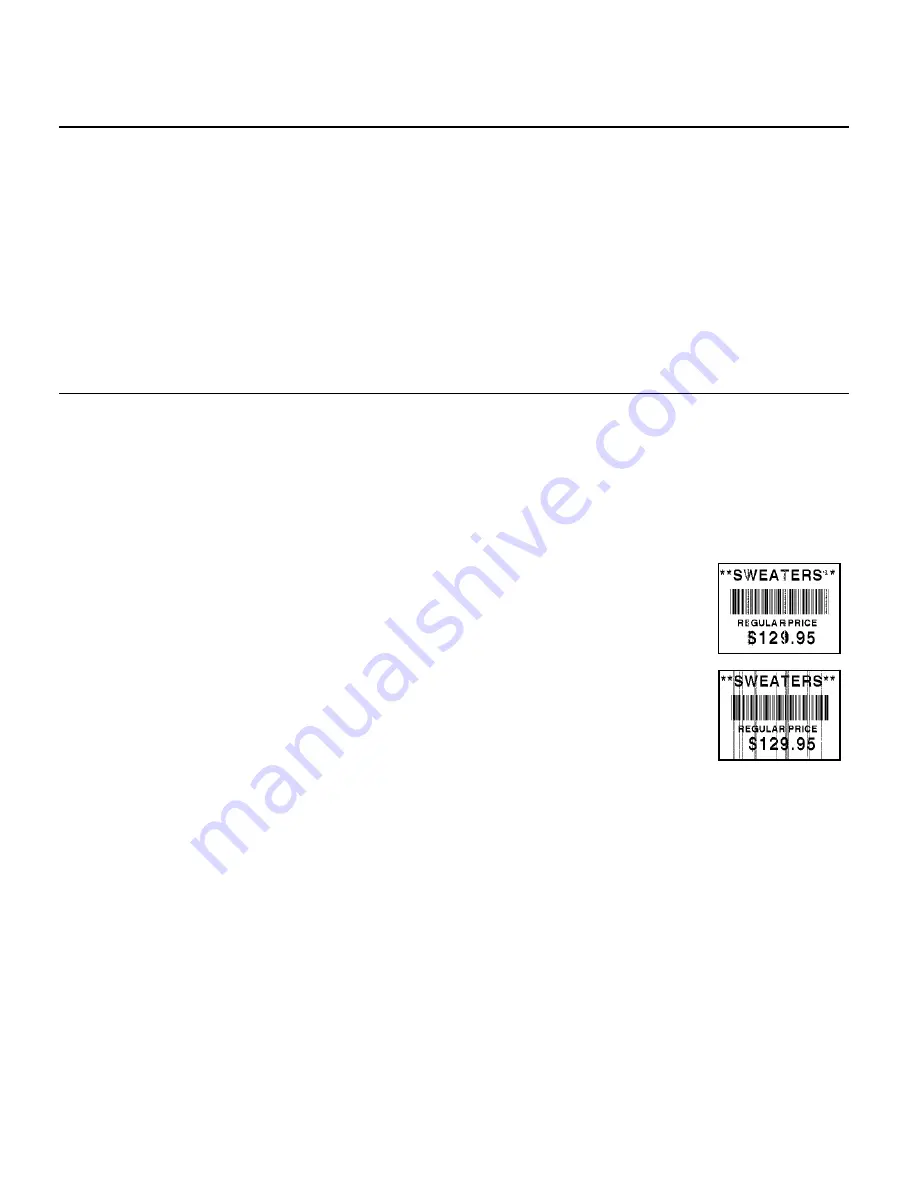
V o i d s
S t re a ks
C l e a r i n g J a m s
When you are printing and a jam occurs, the
Fault
light on the printer's front panel
blinks.
1.
Turn off the printer and open the cover and printhead assembly.
2.
If necessary, remove the label roll and ribbon.
3.
Remove the jammed labels and reload the label roll.
4.
Close the printhead assembly and turn on the printer.
5.
Press
Feed/Cut
several times to feed at least three labels/tags to properly
position the supply and the ribbon.
C l e a n i n g
CAUTION:
Do not use sharp objects to clean the printhead or touch the printhead.
This may damage the printhead and require a service charge.
Note:
You
must
clean the printhead as described below to maintain printhead
life.
The rate and frequency at which you print determines how often you must clean the
printer. You may need to clean the printhead, sensor, and platen roller:
♦
if there is any adhesive build-up in the supply path.
♦
after printing approximately three rolls of thermal
transfer/thermal direct supplies or after each ribbon.
♦
daily if your printer is in an excessively dirty, hot, or humid
environment.
♦
if you frequently receive supply error codes or when you see
voids or streaking in the print as shown.
1.
Turn off the printer and open the cover and printhead assembly.
2.
Remove the label roll and ribbon (when cleaning the printhead).
3.
Press down on the exit cover tabs to open the exit cover on the front of the
printer.


