2 1
G B
I E
Working with the Parallel
Stop
Adjusting the
Stop Height
(Figures 24-26)
-
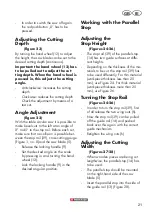
The stop rail (39) of the parallel stop
(14) has two guide surfaces at diffe-
rent heights.
-
Depending on the thickness of the ma-
terials to be cut, the stop rail (39) has
to be used differently. For thin material
(workpiece thickness less than 25
mm), use Figure 24. For thick material
(workpiece thickness more than 25
mm), use Figure 26.
Turning the Stop Rail
(Figures 24-26)
-
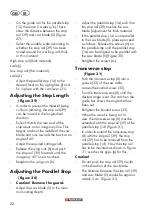
In order to turn the stop rail (39), first
of all release the two wing nuts (h).
-
Now the stop rail (39) can be pulled
off the guide rail (14) and pushed
back over this again with the correct
guide mechanism.
-
Retighten the wing nuts (h).
Adjusting the Cutting
Width
(Figures 27-28)
-
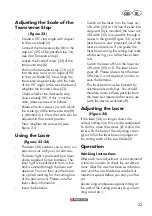
When wooden pieces are being cut
lengthwise, the parallel stop (14) has
to be used.
-
The parallel stop should be mounted
on the right-hand side of the saw
blade (5).
-
Insert the parallel stop into the side of
the guide rail (13) (Figure 28).
-
In order to switch the saw off again,
the red pushbutton „0“ has to be
pressed.
Adjusting the Cutting
Depth
(Figure 23)
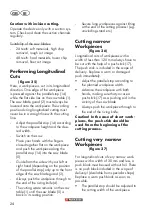
By turning the hand wheel (12) to adjust
the height, the saw blade can be set to the
desired cutting depth (continuous).
Important: the hand wheel (12) has
to be pulled out to adjust the cut-
ting depth. When the hand wheel is
pressed in, this adjusts the cutting
angle.
-
Anticlockwise: increases the cutting
depth
-
Clockwise: reduces the cutting depth
Check the adjustment by means of a
test cut.
Angle Adjustment
(Figure 23)
With the table circular saw it is possible to
make bevel cuts to the left at an angle of
0° to 45° to the stop rail. Before each cut,
make sure that no collision is possible bet-
ween the stop rail (39), cross-cutting gauge
(Figure 1, no. 8) and the saw blade (5).
-
Release the locking handle (9)
-
Set the desired angle on the scale
by pressing in and turning the hand
wheel (12).
-
Lock the locking handle (9) in the
desired angular position.

