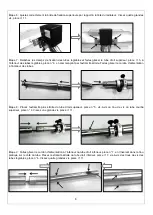
Step 14: With the heater in the required operating location check that the heater head assembly is level. This is
necessary to avoid uneven heating of the infrared lamp, which will shorten its life span. If not level, release the screws
holding the top bracket to the heater head assembly and to the upper curved tube, adjust the heater head assembly to
a level position, then re-tighten the screws.
Head not level. Relax these 8 screws to set head level. Head correctly leveled.
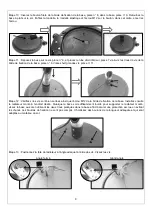
Step 15: Adjust the height of the pole by releasing the clamp at the top end of each adjustable tube and release the
clamping bolts until the tubes slide freely. Adjust the pole to the required height then tighten the clamping bolts and
close the clamps to firmly secure the adjustable tubes.
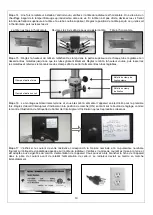
Step 16: Assembly is now complete and you are ready to power the heater for the first time. First set the tilt-switch to
ON by pulling the setting button out as shown on the below label on the tilt-switch housing.
Step 17: Check that your household power matches the voltage and power rating shown on the rating label on the
heater head assembly and that the outlet socket is grounded and matches the power plug on the power cord of the
heater. You can now plug the heater power plug into the power outlet socket then switch on the power to the power
outlet socket. The heater should start immediately.
10
Clamp closed
Clamp open
Clamping bolt
Clamping bolt


