C o n f i g u r a t i o n
4-23
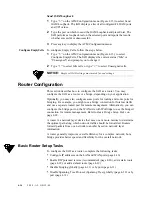
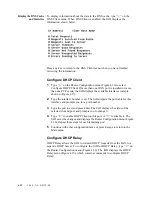
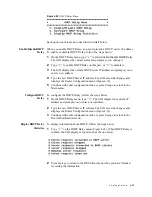
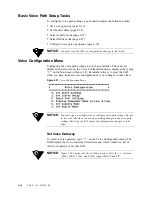
Figure 4.20
DHCP Relay Menu
Each option on this menu is described in detail below.
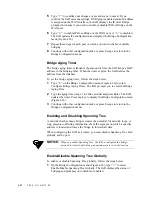
Enable/Disable DHCP
Relay
When you enable DHCP Relay, you must provide a DHCP server IP address.
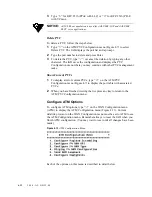
To enable or disable DHCP Relay, follow the steps below:
1
On the DHCP Relay menu, type
“E”
to select Enable/Disable DHCP Relay.
The IAD displays the current status and prompts you to change it.
2
Type
“E”
to enable DHCP Relay on this port, or
“D”
to disable it.
3
The IAD displays the current DHCP server IP address and prompts you to
enter a new address.
4
Type the new DHCP Server IP address. The IAD saves the changes and
displays the Router Configuration menu (Figure 4.16).
5
Continue with other configuration tasks, or press Escape to return to the
Main menu.
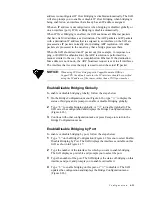
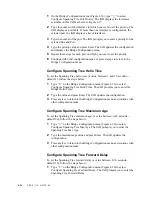
Configure DHCP
Relay
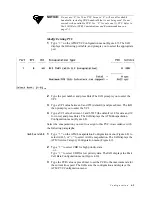
To configure the DHCP Relay, follow the steps below.
1
On the DHCP Relay menu, type
“C”
. The IAD displays the current IP
address and prompts you to enter a new address.
2
Type the new DHCP Server IP address. The IAD saves the changes and
displays the Router Configuration menu (Figure 4.16).
3
Continue with other configuration tasks, or press Escape to return to the
Router Modification menu.
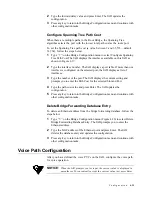
Display DHCP Relay
Statistics
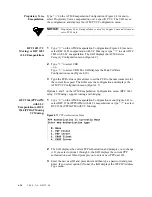
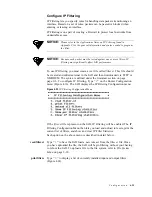
To display information about DHCP, follow the steps below.
1
Type
“S”
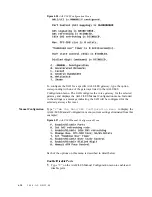
on the DHCP Relay menu (Figure 4.20). When DHCP Relay is
enabled, the IAD displays a report such as the one below.
2
Press any key to return to the DNS Client menu when you have finished
reviewing the information.
Summary of Contents for JetFusion 2004
Page 12: ...viii 2 0 0 0 A 2 G B 2 2 0 0...
Page 20: ...1 6 2 0 0 0 A 2 G B 2 2 0 0...
Page 174: ...6 12 2 0 0 0 A 2 G B 2 2 0 0...
Page 184: ...8 4 2 0 0 0 A 2 G B 2 2 0 0...
Page 186: ...A 2 2 0 0 0 A 2 G B 2 2 0 0...
Page 187: ...M e n u M a p A 3...
Page 188: ...A 4 2 0 0 0 A 2 G B 2 2 0 0...

