2-4
2 0 0 0 - A 2 - G B 2 2 - 0 0
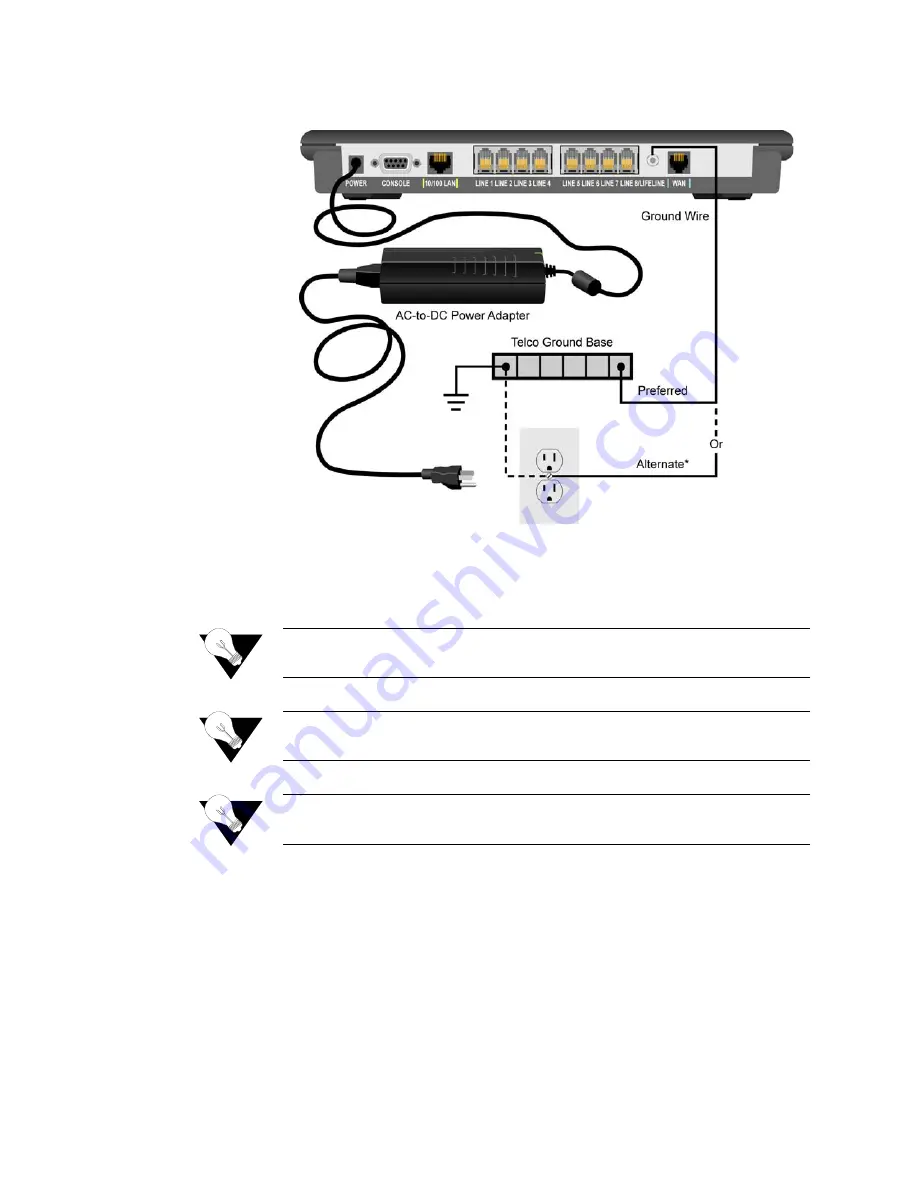
Figure 2.1
Grounding Diagram
3
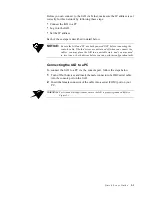
With the console cable connected, plug the AC power adapter into the IAD.
This starts the IAD, and it executes the boot process to begin normal
operation. Verify that the
Power
indicator on the front panel illuminates.
NOTICE:
For “cold start” access, the IAD default (factory-set) IP address is
192.168.1.254 on the Ethernet side.
NOTICE:
For “Ground Start” applications, all elements in the voice path must be
set to “Ground Start.”
NOTICE:
As the IAD boots, it sends status messages to the console port. If you
are connected, you will see the boot sequence progress.
Logging in via a Terminal Emulation Program
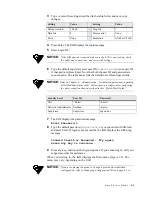
With a serial cable connected, follow the steps below to log in to the IAD:
1
Open a terminal emulation program (Hyperterminal, for example).
2
Select the COM port to which the IAD is connected.
Summary of Contents for JetFusion 2004
Page 12: ...viii 2 0 0 0 A 2 G B 2 2 0 0...
Page 20: ...1 6 2 0 0 0 A 2 G B 2 2 0 0...
Page 174: ...6 12 2 0 0 0 A 2 G B 2 2 0 0...
Page 184: ...8 4 2 0 0 0 A 2 G B 2 2 0 0...
Page 186: ...A 2 2 0 0 0 A 2 G B 2 2 0 0...
Page 187: ...M e n u M a p A 3...
Page 188: ...A 4 2 0 0 0 A 2 G B 2 2 0 0...


