background image

3

MP75 PRINTER

Operator's Manual

Before use

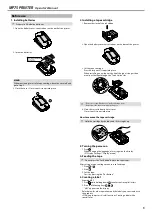
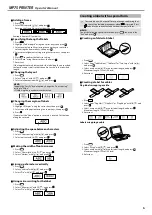
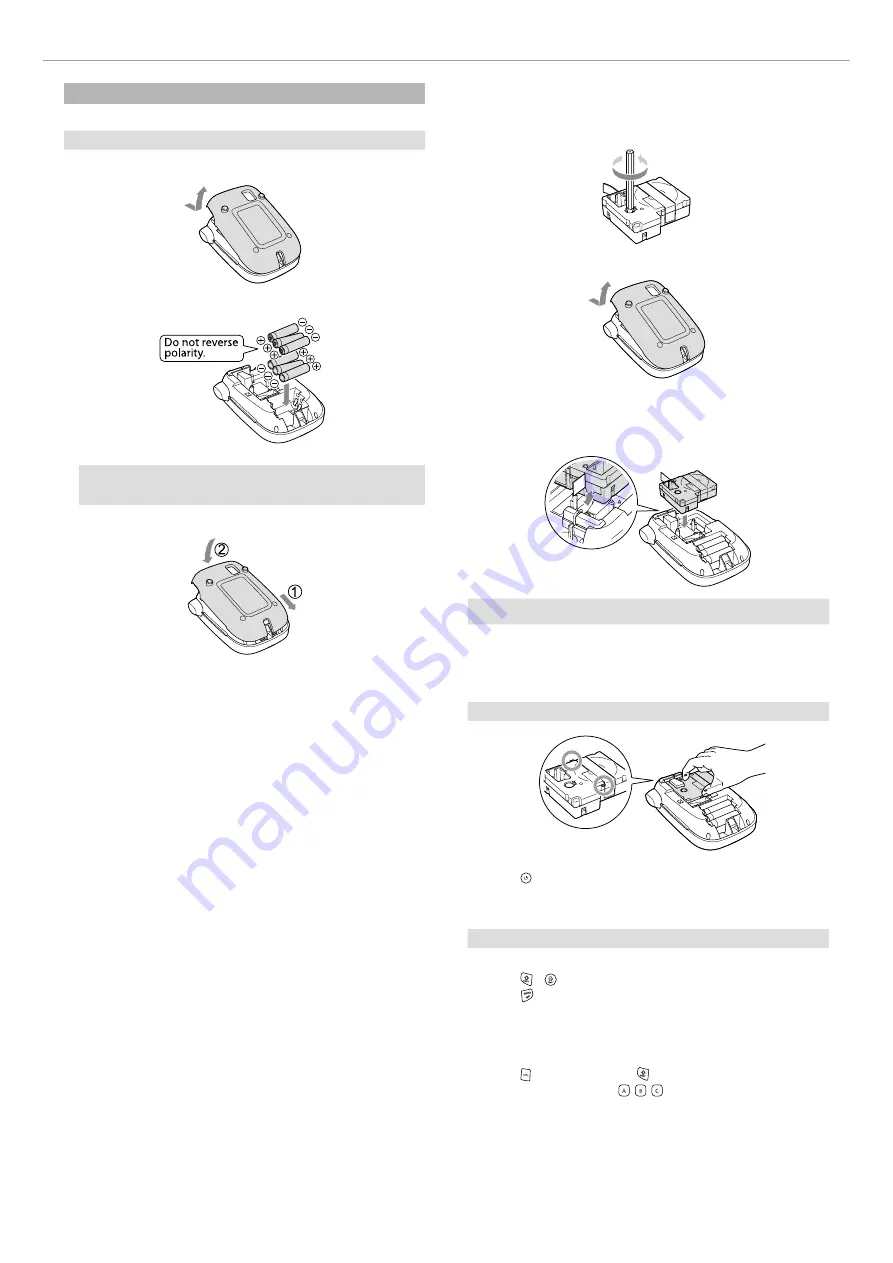
1. Installing batteries

c

Prepare six AA alkaline batteries.

1. Open the battery cover/cassette door on the back of the printer.

2. Insert the batteries. 

MEMO

When continuing to install a tape cartridge, leave the cover off and 

go to Step 2. 

3. Close the cover. Close it until it snaps into place.

2. Installing a tape cartridge

1. Remove the slack of the ink ribbon.

2. Open the battery cover/cassette door on the back of the printer.


3. Set the tape cartridge.  

Press it firmly until it snaps into place.

When installing a new tape or the tip of the tape is longer than 

usual, put the tape through the "Tape Guide" slot.

c

• Do not press the "Cut Button" before the tape stops.
• Do not pull the tape out with your fingers.

4. Close the cassette door/printer cover.  

Close it until it snaps into place.


How to remove the tape cartridge

c

Hold the cartridge by the tabs, and lift it straight up.

3. Turning the power on

1. Press  .  

When changing the language of messages on the display 

s

Display Settings ("Display" menu)

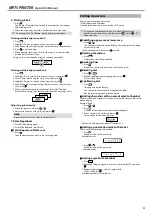
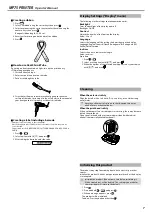
4. Feeding the tape

c

Do not press the "Cut Button" before the tape stops.

After setting a tape cartridge, make sure to feed tape. 

1. Press   +  .
2. Press  .
3. Cut the tape.  

Cut it by pressing the "Cut Button".

5. Creating a label

Example: ABC
1. Press   while holding down   to enter text in capital letters.
2. Press the following keys:  ,  , 

"ABC" appears on the display.

Refer below for other operations and the labels you can create with 

this product. 

s

Editing characters, Useful functions, Creating a label with a 

special form

Summary of Contents for PXE MP75

Page 1: ...al 2021 Panduit Corp ALL RIGHTS RESERVED M00140400EN ENGLISH Read this document carefully to use this product safely and correctly Global Customer Service CS PANDUIT COM U S and Canada 800 777 3300 Eu...

Page 2: ...density menu 2 Font 3 Font size 4 Frame 5 Style 6 Setting 7 Character keys 8 Shift 9 Caps Lock Capitalizes the entered characters 10 Accent 11 Space 12 Shift 13 Select Enter 14 Punctuation A choice of...

Page 3: ...ess the Cut Button before the tape stops Do not pull the tape out with your fingers 4 Close the cassette door printer cover Close it until it snaps into place How to remove the tape cartridge c Hold t...

Page 4: ...g time Editing characters Press character keys and enter text sPart Names and Functions Text is entered from the cursor position sDisplay c To keep the already entered text first move the cursor to a...

Page 5: ...rious functions that will help you create labels J Changing the font size 1 Press 2 Select a line layout with and press Equal Applies the same font size No need to proceed to Step 3 3 Select a font si...

Page 6: ...the cut mark J Adjusting the space between characters 1 Press 2 Select Char spacing with and press 3 Select an item with and press J Making the width of font narrower 1 Press 2 Select Char width with...

Page 7: ...ht On Off Contrast Adjusts the density of the fonts on the display Value 5 to 5 Language Selects the language of the settings and messages on the display Language English Spanish French Portuguese Br...

Page 8: ...operate normally such as the power cannot be turned on or off or the display is interrupted No image comes out even though has been pressed Are the batteries correctly set Check if all the batteries...

Page 9: ...etric 3 Abbreviation 4 Punctuation 5 Parentheses 6 Math 7 Currency 8 DoubleFigure 9 Number 10 Number 11 Greek 12 Office 13 Safety 14 Facility 15 Prohibition 16 Household 17 Food 18 Sports 19 Activity...

Page 10: ...2 3 4 5 6 7 8 9 10 11 12 13 14 15 16 17 18 19 20 21 22 23 24 25 26 27 28 29 30 31 32 33 34 35 36 37 38 39 40 41 42 43 44 45 46 47 48 49 50 51 52 53 54 55 56 57 58 59 60 61 62 63 64 65 66 67 68 69 70...

Reviews: