4
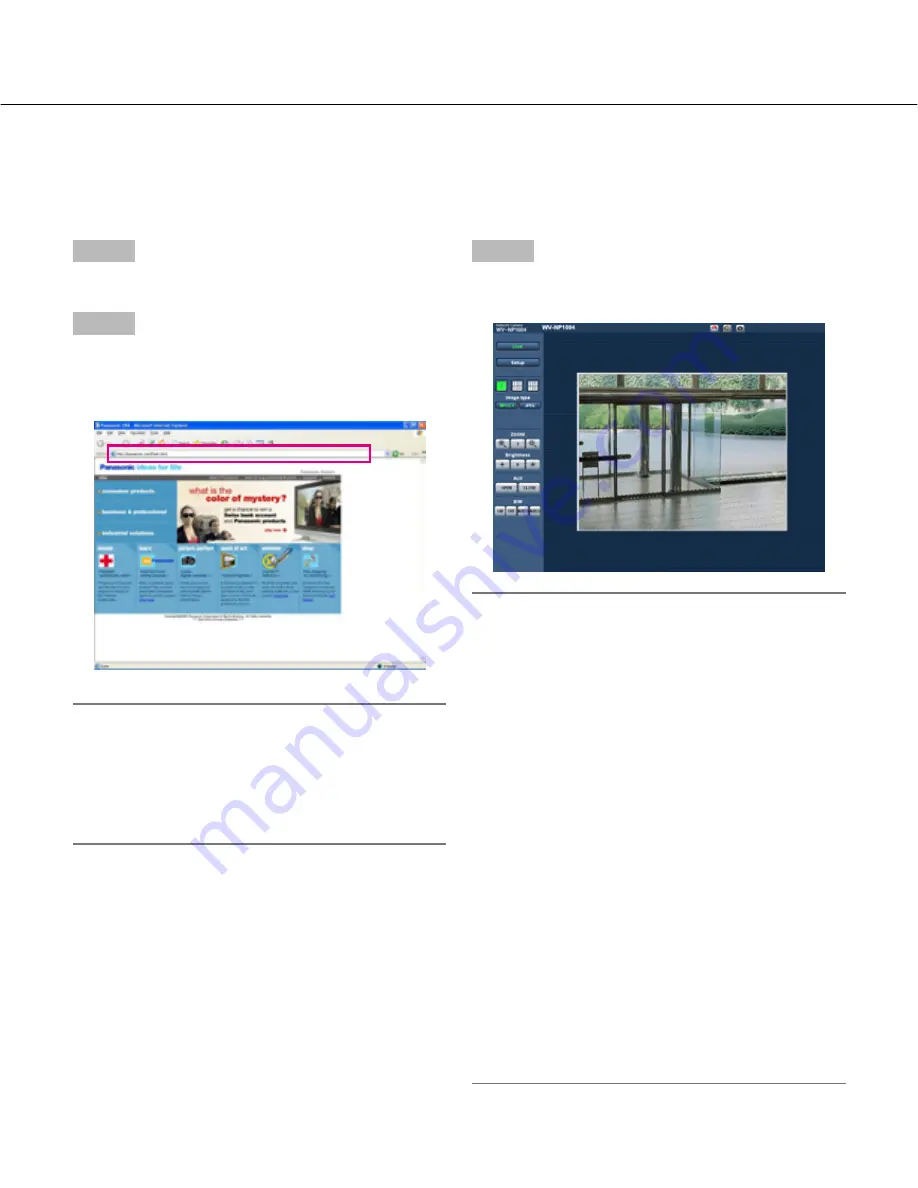
Step 1
Start up the web browser.
Step 2
Enter the IP address designated using the Panasonic IP
setup software in the address box of the browser.
(Example: http://192.168.0.10)
Important:
• When the HTTP port number is changed from "80",
enter the IP address of the camera after "http://", for
example "http://192.168.0.11".
• Configure the web browser to not use the proxy
server. Refer to the network administrator when
using the proxy server.
The following are descriptions of how to monitor images from the camera on a PC.
Monitor images from a single camera
Monitoring Images on a PC
Step 3
Press the [Enter] key on the keyboard.
→
Live images will be displayed.
Notes:
• When "ON" is selected for "User Authentication", the
authentication window will be displayed before dis-
playing live images for the user name and password
entries. The default user name and password are as
follows.
User Name: admin
Password: 12345
To enhance the security, change the password for
the user "admin". It is recommended to change this
password periodically.
• When "Unicast" is selected for "Transmission type"
(
☞
page 24), up to 8 users can access the camera
concurrently. When 8 users have been concurrently
accessing already, the access limit message will be
displayed for users who accessed subsequently.
• When "ON" is selected for "MPEG-4 transmission"
(
☞
page 24), MPEG-4 image will be displayed.
When "OFF" is select, JPEG image will be dis-
played. It is possible to display JPEG image even
when "ON" is selected for "MPEG-4 transmission".
In this case, the refresh interval will be limited.
The refresh interval may be longer depending on a
network environment, PC spec, photographic sub-
ject, access traffic, etc.
Refer to the following page for further information about
the "Live" page.


