


Network camera
Operating Instructions
Model Nos.
WV-NP1000
WV-NP1004
PUS
H TO LOC
K/EJE
CT
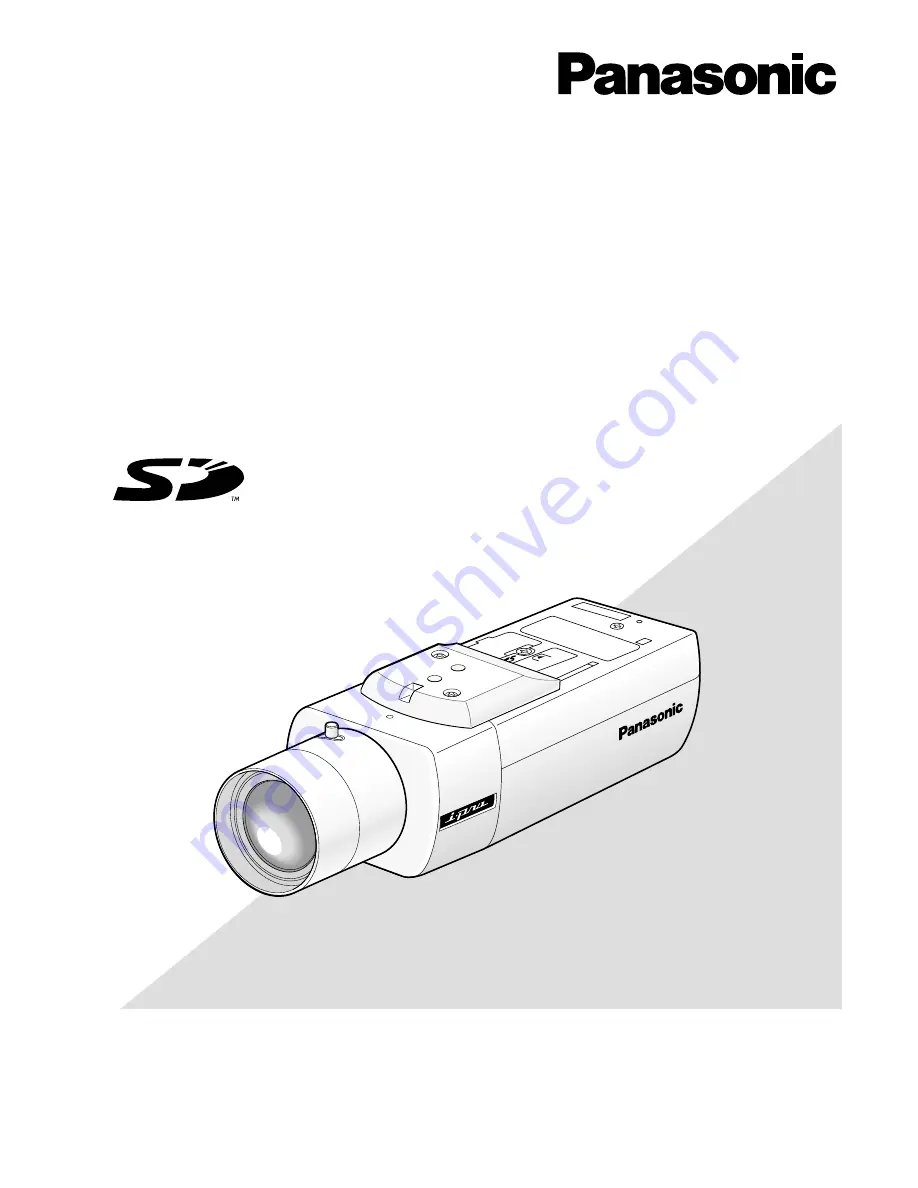
WV-NP1004
Before attempting to connect or operate this product,
please read these instructions carefully and save this manual for future use.
The model numbers in these Operating Instructions are given without suffix.
(Lens is option.)
The illustration above is of the WV-NP1004.


