


2 of 8
I
NSTALLATION
O
VERVIEW
Installing the Panasonic camera can be broken down into the following steps:
1. Install cameras at desired locations, and pull power and Cat5 cabling as needed. Refer to the
Panasonic documentation for mounting details.
2. Connect the cameras electrically to the home network and configure the cameras. See
Camera
Configuration
.
3. Integrate the cameras into the
g!
system and test proper operation. This step is outlined in
g!
Configuration Details
.
C
AMERA
C
ONFIGURATION
The camera configuration is done with software provided by Panasonic, which must be run from a
computer with Windows also connected to the same network as the camera.
The software program from Panasonic is
Pro IP Setting Software
: the version we checked is shown at
the top.
I
MPORTANT
N
OTES
1.
Cameras must be configured one at a time
: If you are installing more than one camera, setup
the first one completely before powering up subsequent cameras.
2.
Setup the camera within 20 minutes:
Initial settings must be made within 20 minutes of the
camera being turned on. If the camera has been powered up for more than 20 minutes, cycle
power to the camera before proceeding.
3.
DON’T LOSE THE CAMERA PASSWORD:
During setup you will create a user name and
password, which are required to make any other changes in the future. If you lose the user name
or password you will have to factory reset the camera and repeat this entire procedure.
4.
DEFAULT USER NAME / PASSWORD:
For Panasonic Pro cameras, the default user name is
admin
and default password is
12345
.
S
TARTING THE
P
ANASONIC
C
AMERA
S
OFTWARE
Note:
The directions below may vary somewhat between models and may not be an exact match. In
general, look for options/screens similar those depicted below.
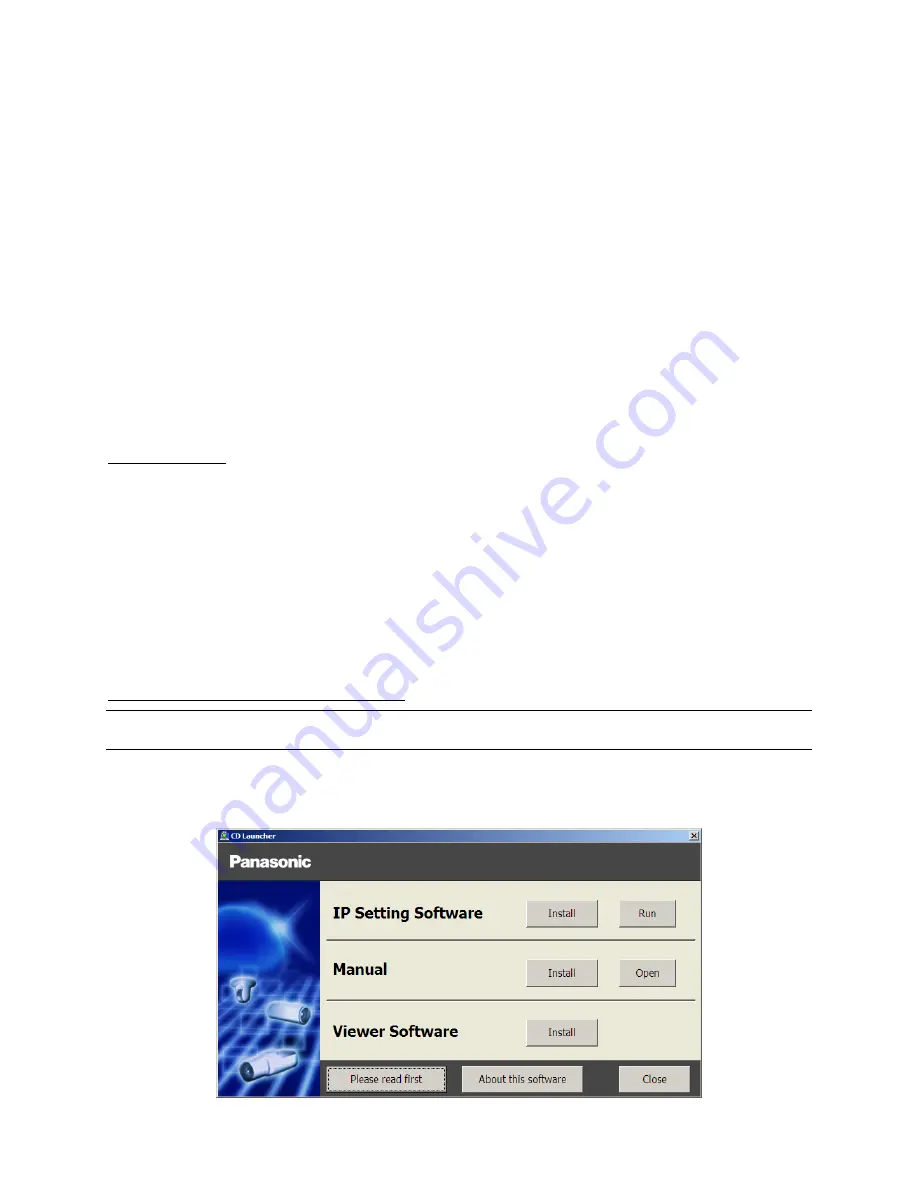
1. Insert the CD from the camera into your PC: It should autostart the Network Camera Setup
software. If it does not, launch CDLauncher.exe from the Panasonic CD.
2. The following Screen appears. Choose
Run for IP Setting Software
.


