


10
5
Focus
Click this button and the focus interface appears on encode setup
bar, as shown in Figure 2-12 in chapter 2.5.1
6
Display Mode
You can select the display mode to be shown up on the right of the
preview interface. See chapter 2.5.2
7
Snapshot
You can snapshot important video by clicking on this button. All
images are memorized in system folder: ¥ picture download
(default).
You can go to [Setup]
→
[Image/Audio]
→
[Image]
→
[Path] to
modify the local record save path.
8
Record
For manual record. All records are memorized in [Setup]
→
[Image/Audio]
→
[Image]
→
[Path].
When connected to Panasonic’s recorder, record for Sub stream 2
may not work correctly.
9
Easy Focus
Click it, you can see there are two parameters on the preview
video
:
AF Peak and AF Max.
AF Peak: It is to display the video definition during the focus
process.
AF Max: It is the most suitable value for the video definition.
The close the AF Peak and AF Max is, the better the focus effect is.
10
Audio output
Turn on or off audio when you are monitoring.
11
Bidirectional talk
Click it to start or end bidirectional talk.
12 Relay-out
(Alarm output)
It shows if there is any alarm output, status description is as follows:
Green: means there is alarm output.
White means alarm is over.
Click on the button to force alarm to be on or off.
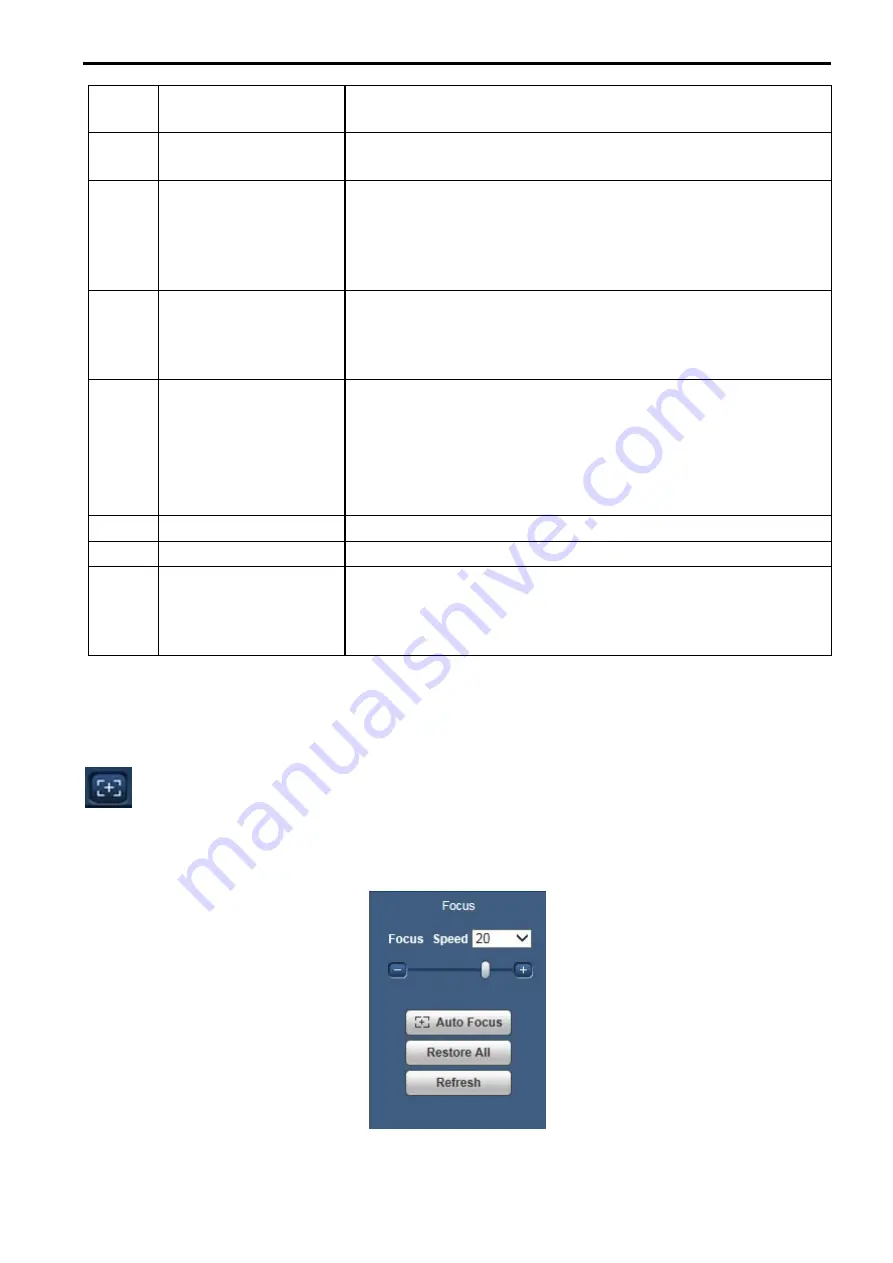
2.5.1.
Focus
Click this button and focus interface appears on the encode setup bar, as shown in Figure 2-12. Refer to the
following sheet for detail information to adjust focus configuration.
Note:
•
Disable the operation till finishing focus adjustment.
Figure 2-12


