33
■
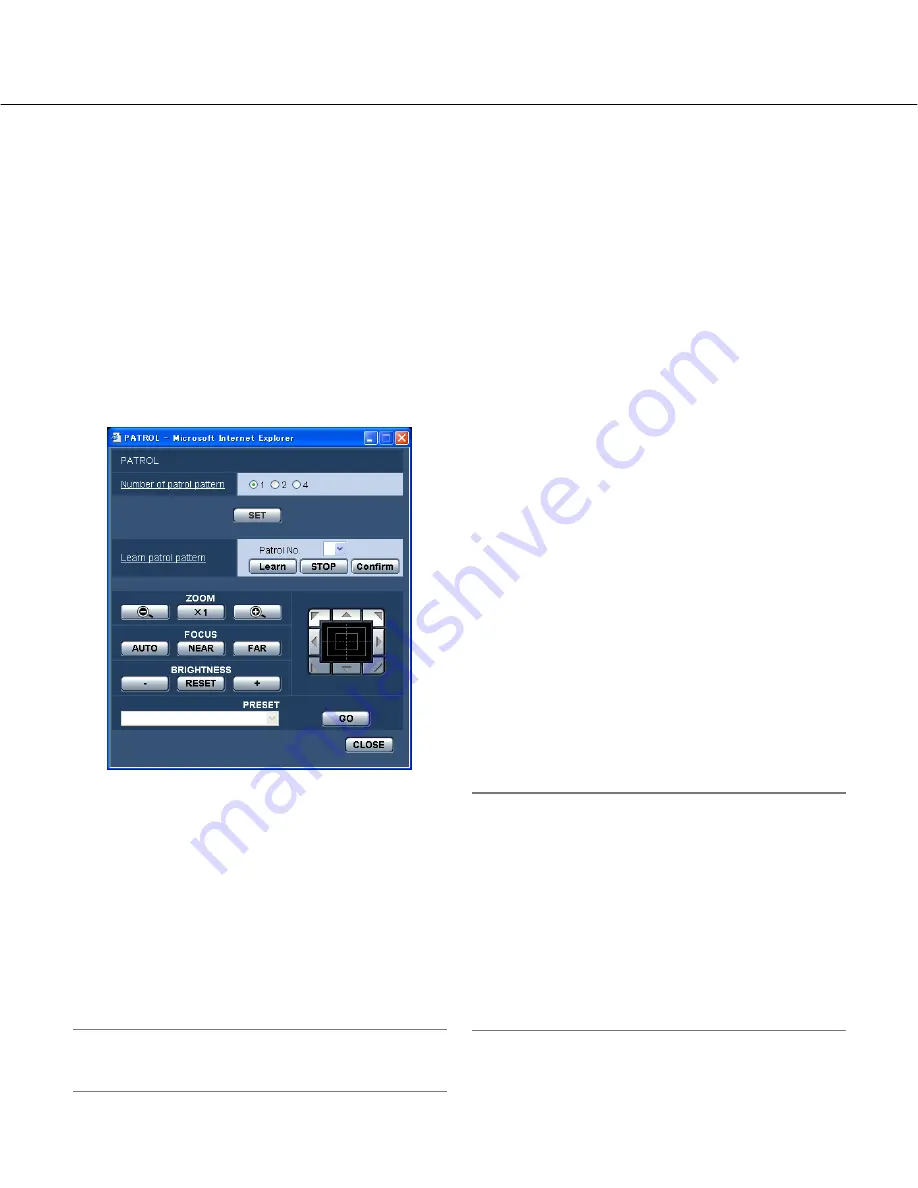
PATROL
[Number of patrol pattern]
The number of patrol pattern is selectable from the fol-
lowing.
The programmed time varies with the number of patrol
pattern.
1:
A 2-min. operation can be stored into Patrol 1.
2:
A 1-min. operation can be stored into Patrol 1 and
Patrol 2 each.
4:
A 30-sec. operation can be stored into Patrol 1,
Patrol 2, Patrol 3, and Patrol 4 each.
Note:
Changing the number of patrol pattern deletes the
stored patrol operation or operations.
[Learn patrol pattern]
Click the [
i
] button in the [Patrol No.] box to select a
patrol number (1-4).
"*" at the right side of the patrol number indicates that
the patrol operation is already stored.
Clicking the "Learn" button with the patrol number
selected starts storing the camera operation. "LEARN-
ING (OOOS)" appears in the center of the screen during
operation storing.
* "OOOS" shows the remaining available time.
Panning, tilting, zooming, and presetting are operat-
ed. Click the [STOP] button to stop storing while the
camera action is stored, or to stop reenacting while
the camera action is reenacted. Stop storing even if
the remaining available time shows 0 second.
Clicking the "Confirm" button with the patrol number
selected demonstrates the stored camera operation.
Note:
Storable camera operations are described below.
q
At starting operation
Pan position, tilt position, zoom position, focus
position, brightness setting, super dynamic 3 set-
ting, shutter speed setting, gain setting, electron-
ic sensitivity enhancing, white balance setting, R
volume setting, and B volume setting.
w
At camera operation
Pan position, tilt position, zoom position, focus
position, brightness setting, and preset position
moving
The auto focus function is disabled while the patrol
operation is activated. At this moment, the focus is
missed by zooming up from the WIDE side. This is one
of the features of a zoom lens. Therefore, zooming from
Control pad/buttons
Refer to Operating Instructions for descriptions of how
to operate these buttons/pad.
Panning, tilting and zooming operations can also be car-
ried out on the [Image/Position] tab.
[PRESET]
Select from registered preset items.
[GO] button
The camera moves to the selected preset position.
[CLOSE] button
Click this button to close the "Auto pan" setup menu.
Configure the settings relating to the patrol function ("PATROL" setup screen)
Click the [SETUP>>] button of "PATROL" on the [Image/Position] tab.
The settings relating to the patrol function can be configured.


