ON (NESW) :
Displays direction indicators.
Selecting ON (NESW) and pressing the
CAM (SET) button will display the position
(NESW) setting menu, which you can use for
configuring detailed settings. (this page)
ON (USER) :
Displays user input text.
Selecting ON (USER) and pressing the CAM
(SET) button will display the area title
(USER) selection menu, which you can use
for configuring detailed settings. (page 38)
OFF
:
Turns off display of area title direction
indicators and text.
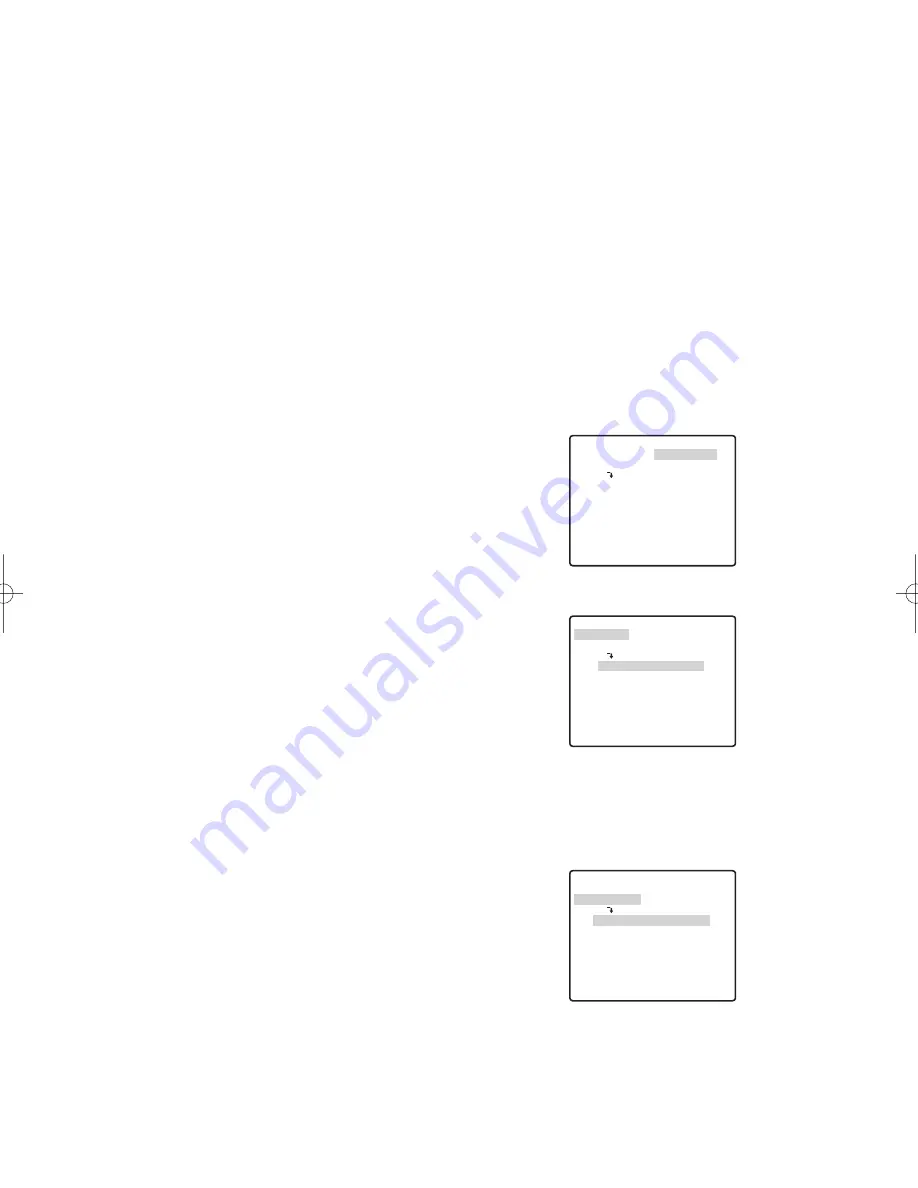
(1) When ON (NESW) is selected
After selecting ON (NESW), you can use the position
(NESW) setting menu to configure detailed settings.
Once you set the northerly (N) direction for the camera,
all other directions are displayed automatically.
1. Move the cursor to
→
PUSH SET to the right of
PAN/TILT, and then press the CAM (SET) button.
This will display the PAN/TILT setting menu.
2. Use the joystick to point the camera north, and then
press the CAM (SET) button.
3. Move the cursor to
→
PUSH SET to the right of
ZOOM/FOCUS, and then press the CAM (SET) button.
This will display the ZOOM/FOCUS setting menu.
4. Move the joystick left, right, up and down to adjust
the position of the lens focus, and then press the
CAM (SET) button.
5. Move the cursor to POSI
O
, and then press the
CAM (SET) button.
This will display the ID position setting menu.
(10) Digital Flip Setting (DIGITAL FLIP)
Normally, a camera needs to stop when it points
straight down during tilt. With digital flip, however, the
camera is able to tilt from 0° to 180° in a single motion.
This makes it possible to track objects passing directly
under the camera more smoothly. The picture is
flipped vertically and horizontally when the camera is
at an angle of around 135°.
1. Move the cursor to DIGITAL FLIP, and then tilt the
joystick left or right to toggle it on and off.
ON
:
Turns on digital flip. Note that the tilt range
becomes 0° to 90° when ON is selected for
the PAN LIMIT setting.
OFF :
Turns off digital flip. With this setting, the tilt
range is 0° to 90°.
Notes:
• Digital flip is performed when the joystick is held
straight downwards only. It is not performed
when the joystick is tilted in any other direction.
• When OFF is selected for DIGITAL FLIP, the
following steps need to be performed in order to
tilt the camera 180°.
(1) Tilt the joystick downwards to point the
camera straight down.
(2) Tilt the joystick left or right to pan the camera
180°.
(3) Tilt the joystick upwards.
• Momentarily turn off DIGITAL FLIP and set the zoom
limit to 30x magnification or less before setting a
preset position directly from the WV-CU360C
System Controller. You can turn these functions
back on again after setting the preset position.
Note that digital flip cannot be specified for the
90° to 180° tilt range.
(11) Proportional Pan/Tilt Setting (PROPO. P/T)
This function optimizes the image by automatically
adjusting the PAN/TILT (horizontal/vertical rotation)
speed according to the zoom ratio.
1. Move the cursor to PROPO.P/T, and then tilt the
joystick left or right to toggle it on and off.
ON
:
Pan/tilt speed is in inverse proportion to the
zoom ratio.
OFF :
The speed is constant at the fastest level
regardless of the zoom ratio.
(12) Area Title Setting (AREA TITLE)
The area title function lets you display a direction
indicator that appears in the picture to indicate the
direction of the location being shown on the screen.
Text can also be displayed in place of the direction
indicators, if desired.
The direction indicators are N (north), NE (northeast), E
(east), SE (southeast), S (south), SW (southwest), W
(west), and NW (northwest).
1. Move the cursor to AREA TITLE, and then tilt the
joystick left or right to turn the area title display
function on or off.
-37-
→
PUSH SET
**DIRECTION(NESW)**
PAN/TILT
ZOOM/FOCUS
POSI
+
N
RET TOP
→
PUSH SET
→
PUSH SET
→
PUSH SET
**DIRECTION(NESW)**
PAN/TILT
ZOOM/FOCUS
POSI
U TILT D/L PAN R
+
N
RET TOP
→
PUSH SET
→
PUSH SET
**DIRECTION(NESW)**
PAN/TILT
ZOOM/FOCUS
POSI
U ZOOM D/L FOCUS R
+
N
RET TOP
WV-CW960G̲CW964E̲US 08.12.4 10:49 AM ページ37


