


14
AWC:
Activates the automatic white balance control mode. This adjustment is suitable for a location where a light source is stable.
The adjustment of the color temperature ranges from 2000 K to 10000 K. When “AWC” is selected, the white balance needs
to be adjusted.
Note:
• If the situation meets one of the followings, color may not be accurately reproduced.
• The subject is mostly highly-colored.
• The photographic scene is under the bright blue sky or at nightfall.
• The illumination of the light illuminating the subject is insufficient.
When “AWC” is selected, follow the steps below to adjust the white balance.
Step 1
Set “WHITE BAL” to “AWC” and press the [LEFT] button to change to “AWC
→
PUSH SET”.
Step 2
Press the [SET] button and adjust the white balance. “AWC
→
PUSH SET” is reversely highlighted during adjustment. When the
reversely highlighted display is restored, the white balance adjustment is completed.
Step 3
Press the [RIGHT] button to select “AWC”. Refer to this page for fine adjustment of the white balance.
Note:
• The adjustment of the color temperature ranges from approx. 2000 K to 10000 K. If the range is out of this adjustment range or
lighting directed to a subject is too dark, the white balance may not be adjusted. In such a case, “AWC
→
PUSH SET” stays
reversely highlighted.
Manual fine adjustment of white balance
The white balance is manually fine adjusted after white balance automatically adjustment in the automatic color temperature tracking
mode (ATW1, ATW2) or automatic white balance control mode (AWC).
Follow the procedures below.
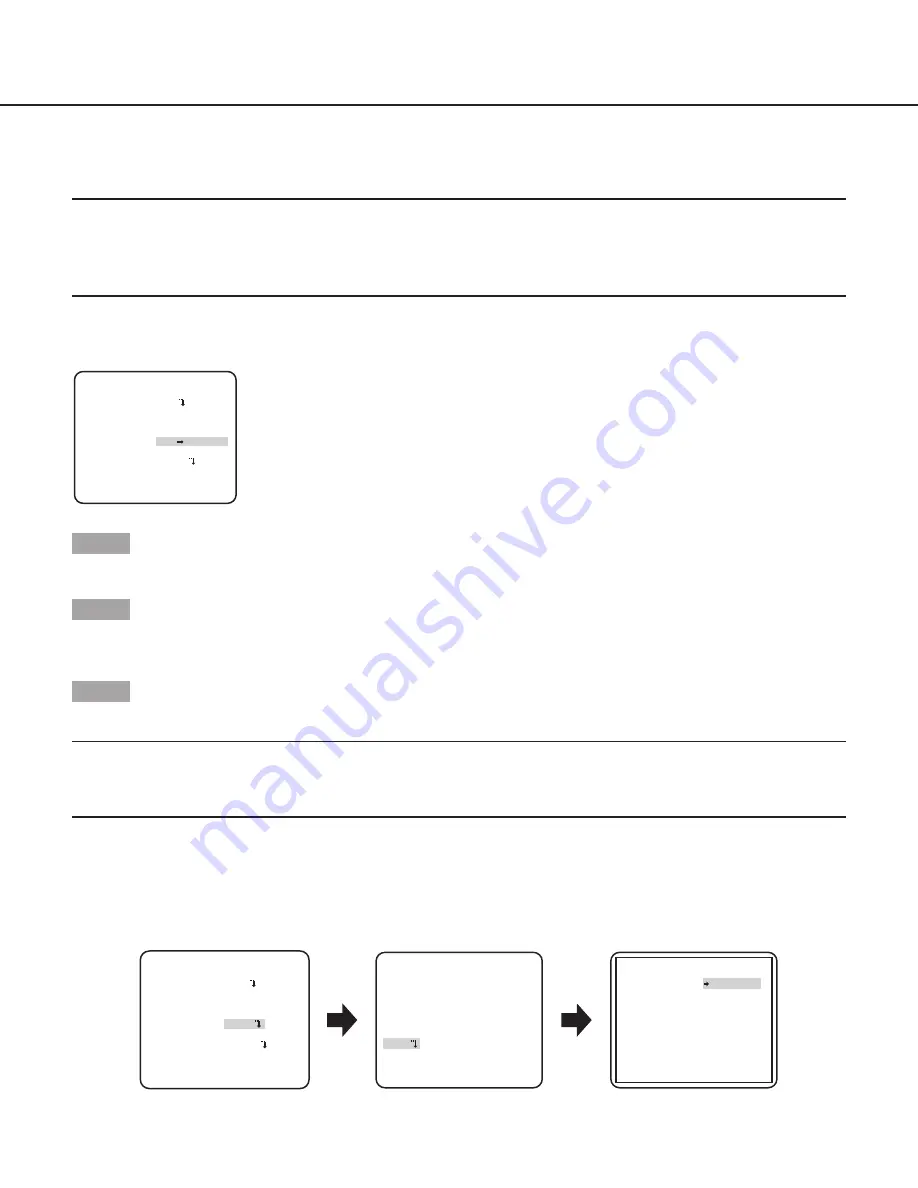
“CAMERA SETUP” screen
**CAMERA SETUP**
SCENE1
ALC/ELC ALC
SHUTTER OFF
AGC ON(HIGH)
SENS UP OFF
WHITE BAL AWC PUSH SET
DNR HIGH
AUTO1
VMD OFF
RET TOP END
D&N(IR)
**ATW1**(1)
R
- +
B
- +
AREA
RET TOP END
**ATW1 AREA**(1)
POSITION
PUSH SET
RET TOP END
RESET
...I... 0
...I... 0
**CAMERA SETUP**
SCENE1
ALC/ELC ALC
SHUTTER OFF
AGC ON(HIGH)
SENS UP OFF
WHITE BAL ATW1
DNR HIGH
AUTO1
VMD OFF
RET TOP END
D&N(IR)
“CAMERA SETUP” screen
Fine adjustment screen
Area setting screen


