22
●
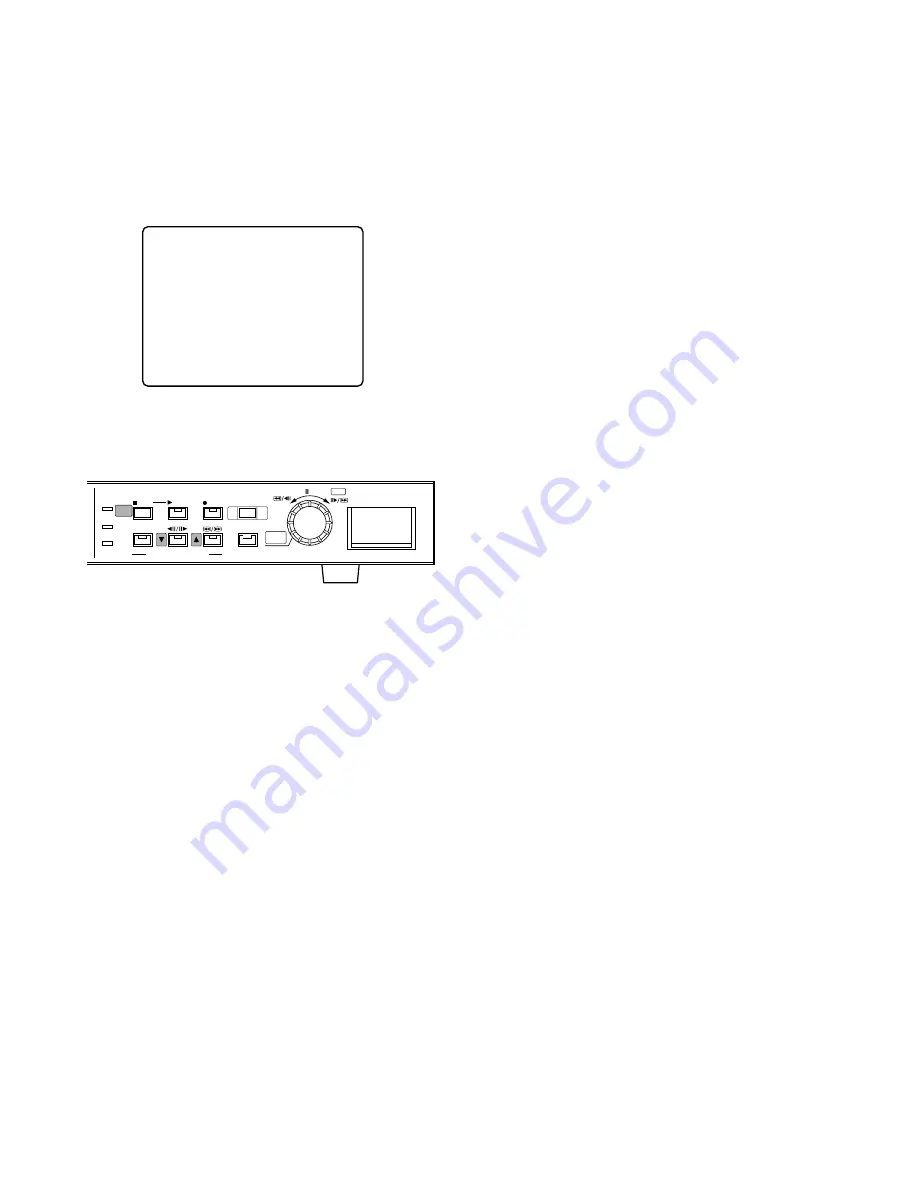
Displaying WJ-HD200 (MAIN MENU)
1. Confirm that the camera and peripherals are connected
correctly and securely.
2. Turn on the power switches of all system components.
3. Hold down the [STOP] button for 2 seconds. The WJ-
HD200 MAIN MENU appears.
●
Buttons and Dials Used for Setup
[
D
up] button:
Moves the cursor upwards in a menu, and
opens the previous menu page.
[
C
down] button:
Moves the cursor downwards in a menu,
and opens the next menu page.
JogDial (Counter-clockwise):
Decreases the parameter
value.
JogDial (Clockwise):
Increases the parameter value.
JogDial (Pressing) SET:
Validates the selection, and
moves the cursor to the right. When the selected item
has a
O
return symbol, pressing this will open the next
lower layer menu for more minute settings
[STOP SETUP/ESC] button (Pressing):
Moves the cursor
to the left, or returns to the previous menu.
[STOP SETUP/ESC] button (Holding down):
Opens the
setup menu, or escapes from it and switches back to
normal operation.
WJ-HD200 MAIN MENU
TIMER OFF
O
REC SETUP
O
EXT REC SETUP
O
DISPLAY SETUP
O
SYSTEM SETUP
O
ALARM SETUP
O
COMMUNICATION SETUP
O
SWITCHER SETUP
O
SYSTEM INFORMATION
O
HDD
FULL
ERROR
N
ALARM
SERCH
STOP
PLAY MODE SELECT
SETUP
/ESC
PLAY
TIME&DATE
SEARCH
REC STOP
ALARM
RECALL
REC
PUSH— PAUSE
SET
Digital Disk Recorder WJ-HD200
●
Closing WJ-HD200 (MAIN MENU)
1. Hold down the [STOP SETUP/ESC] button for 2 sec-
onds.
The setup menu disappears, and normal operation will
be available.
Note:
A blackout screen may appear for about 2 sec-
onds until the camera image is displayed if you
changed the settings and closed the setup menu.
Summary of Contents for WJHD200 - Digital Disk Recorder
Page 52: ...52 ...
Page 53: ...53 WJ HD200 NETWORK OPERATION ...
Page 77: ...77 SPECIFICATIONS APPENDIX ...


