58
1
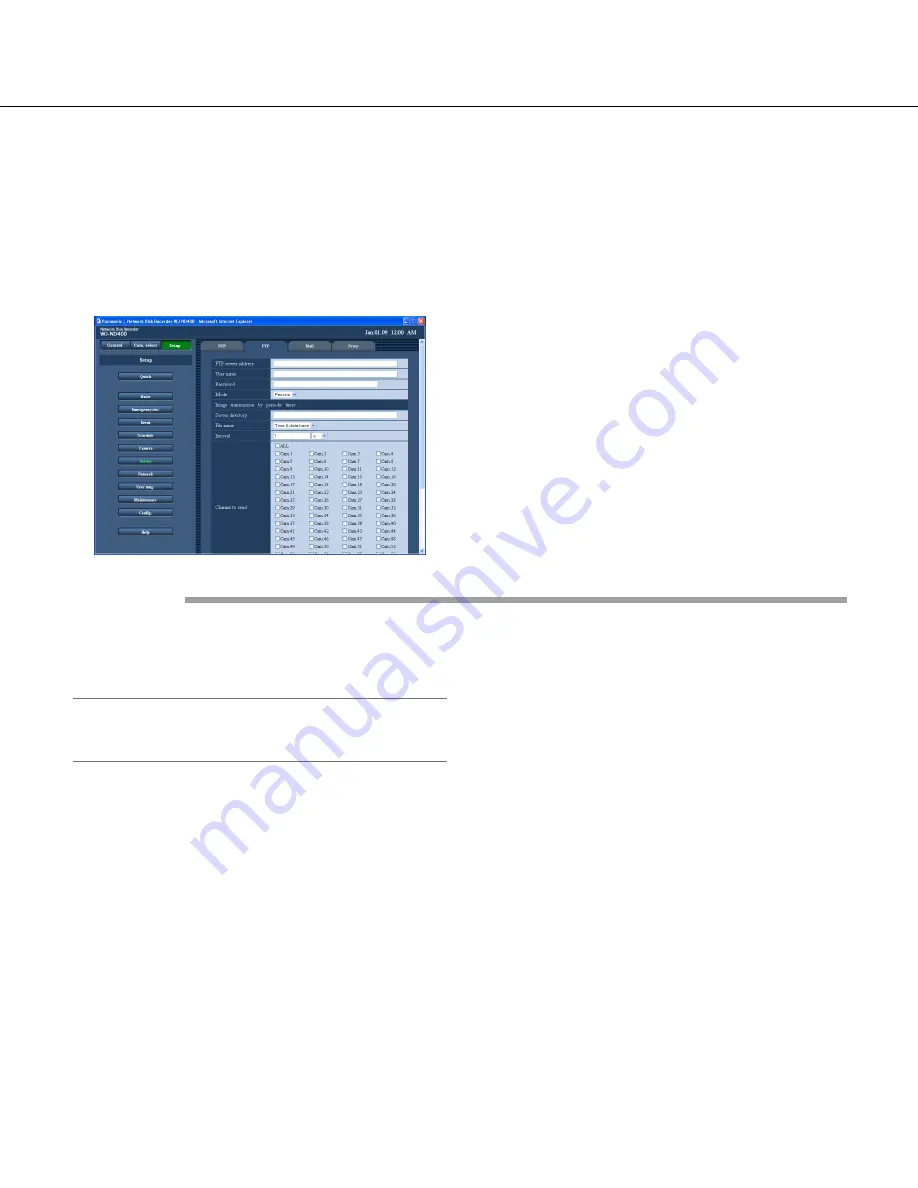
Click the [Server] button.
2
Click the [FTP] tab.
The "FTP" page will be displayed.
3
Configure each setting item.
Refer to "Setup items" mentioned below.
4
Click the [Set] button.
FTP
Configure the settings to send images from the cameras connected to the recorder to the designated FTP server.
■
FTP server address
Enter up to 255 alphanumeric characters including
hyphens (-) and periods (.).
Note:
• To enter a server name, it is necessary to select
"Manual" or "Auto" for "DNS".
■
User name
Enter a user name (login name) to access the FTP serv-
er.
Enter up to 32 alphanumeric characters except (&) and
blank (space).
■
Password
Enter the password registered together with the user
name.
Enter up to 32 alphanumeric characters except (&) and
blank (space).
■
Mode
Select the FTP mode for sending images to the FTP
server.
Change to "Passive" when sending images is difficult
with "Active".
■
Image transmission by periodic timer
Configure the following settings to periodically transmit
live images.
Configure the settings to determine whether or not to
transmit live images to the FTP server using the timeta-
ble (page 47).
■
Server directory
Enter a destination directory of the server.
Enter up to 255 alphanumeric characters. The available
characters are the characters listed below except
(&*:<>?\ | ~ blank (space)).
A B C D E F G H I J K L M N O P Q R S T U V W X Y Z
a b c d e f g h i j k l m n o p q r s t u v w x y z 0 1 2 3 4
5 6 7 8 9 ! # $ % ' ( ) + , - . / ; = @ [ ] ^ _` { }
■
File name
Determine how to give file name of an image to be sent.
Select "Time & data base" or "Serial number".
Setup items


