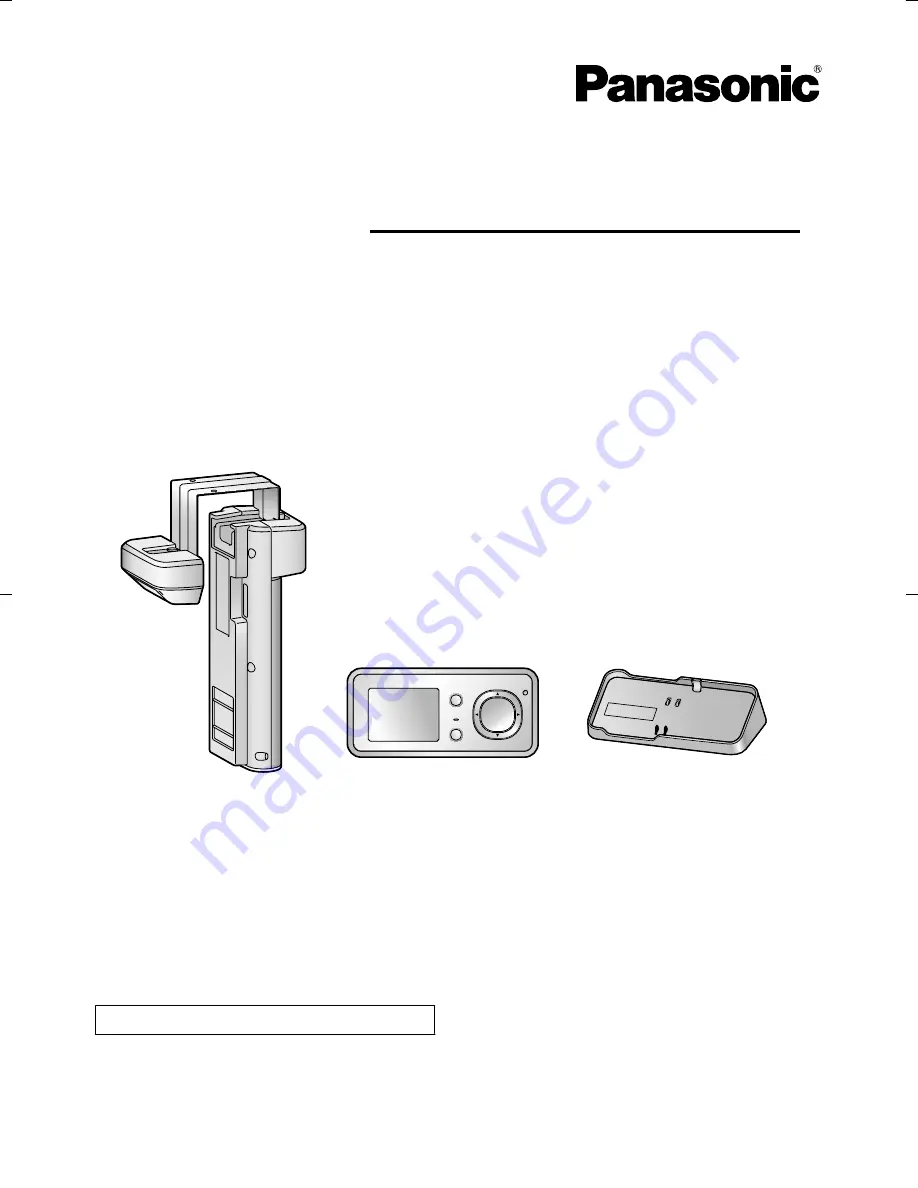
background image

VL-CM851BX

VL-DM200BX

VL-MDM200BX

Operating Instructions

Model No.

VL-SDM200BX

Including: 

VL-DM200BX
VL-MDM200BX

VL-CM851BX

Wireless Door Camera

Thank you for purchasing a Panasonic product.

Please read this manual before using the unit and save for future reference.

Installation Guide is supplied separately.

Summary of Contents for VL-CM851BX

Page 1: ...ions Model No VL SDM200BX Including VL DM200BX VL MDM200BX VL CM851BX Wireless Door Camera Thank you for purchasing a Panasonic product Please read this manual before using the unit and save for future reference Installation Guide is supplied separately ...

Page 2: ...me 15 How to use Monitoring the outside 16 Recording displayed images 17 Viewing recorded images 18 Programming function settings 19 Useful Information Adding extra Wireless Monitors Pairing 21 Canceling unused Wireless Monitors 22 Replacing batteries or battery packs 22 Cleaning 23 Help Troubleshooting 25 Error messages 28 General Information Specifications 30 Quick Reference Guide Quick Referenc...

Page 3: ...s Monitor Make sure that the Base Unit is connected to a power source while in use 3 Images from the Wireless Camera can be accessed and viewed with the Wireless Monitor A total of 4 Wireless Monitors can be used with each Wireless Camera For information on additional accessories see page 4 Flow of images and audio images audio images audio Wireless Camera Wireless Monitor Base Unit Important R Im...

Page 4: ...Wireless Monitor VL DM200BX 1 Battery pack for Wireless Monitor CGA LB102 1 1 As of February 2013 Note R Design and specifications are subject to change without notice R The illustrations in these instructions may vary slightly from the actual product License R Portions of this software are based in part on the work of the Independent JPEG Group Trademarks R All other trademarks identified herein ...

Page 5: ...ction resulting in an accident R Do not perform any actions such as damaging altering exposing to heat sources or placing heavy objects on the AC adaptor that may damage the AC adaptor Using the unit with a damaged AC adaptor may cause electric shock short circuits or fire Contact an authorized service center for repairs Operating safeguards R To reduce the risk of electric shock do not disassembl...

Page 6: ...ogether with rings bracelets keys or similar objects Use the included battery pack with other devices Use a charger other than the specified charger Base Unit or tamper with the charger Base Unit Dispose of the unit in a fire heat up the unit or get the unit wet with any type of liquid Use charge or leave the battery near a fire or stove or in places with high temperatures such as places that rece...

Page 7: ...t polarities CAUTION Installation and relocation R The AC adaptor is used as the main disconnect device Ensure that the power outlet is installed near the product and is easily accessible R In order to prevent the risk of injury from the unit falling Always follow the attachment procedures listed in this manual Make sure that the battery case does not fall when exchanging batteries Do not use exce...

Page 8: ...a long period of time unplug it from the power outlet In this situation we recommend that you turn the power for the Wireless Camera off in order to conserve the batteries energy R The unit should be kept away from heat sources such as heaters kitchen stoves etc It should not be placed in rooms where the temperature is less than 5 C or greater than 40 C Damp basements should also be avoided To avo...

Page 9: ...e recorded information Data recorded on the Base Unit Recorded data containing images of visitors or other images R Disclaimer Recorded data may be altered or deleted as a result of incorrect operations exposure to static electricity accidents malfunction repairs or other operations Panasonic assumes no liability for any direct or indirect damages resulting from the loss or alteration of recorded ...

Page 10: ...p the Wireless Camera from moving Wireless unit Battery case Power switch ON OFF R Set the power switch to OFF to conserve battery power during the following situations When the Base Unit is disconnected from the power source for an extended period of time During electrical power failures Pair button Not normally used R Used after the Wireless Monitor Wireless Camera and or Base Unit are replaced ...

Page 11: ...I J Microphone Menu button Charge indicator Monitor button R Used to monitor the area outside the door page 16 R Used to perform operations shown in the operation assistance Navigator key Used to select items or perform operations shown in the operation assistance MDN MCN Press MDN up or MCN down MFN MEN Press MFN left or MEN right Talk button Monitor display Speaker Charge contacts metal parts Ba...

Page 12: ...u when it is off not displayed press MMENUN Top menu When displaying images ALL SETTINGS PLAY IMAGES SIGNAL BATT B A OK OFF B C REC EC PRESS 3 SEC TO GO TO WIDE WIDE Displays the menu names for items that can be operated PLAY IMAGES Use this menu to view recorded images page 18 SIGNAL BATT Use this menu to display the status of the wireless signal and batteries page 13 ALL SETTINGS Use this menu t...

Page 13: ... times Note R The MMENUN button will light in red to inform you when the signal is weak or if the remaining battery power is running low If the MMENUN button is pressed at this time the light goes out and the signal battery status screen is displayed Take the appropriate action such as exchanging the batteries after checking the information displayed Signal status symbols Strong Weak Out of range ...

Page 14: ... into the Base Unit until it clicks into place F Check that the charge indicator lights up R While charging the charge indicator lights up When charging is completed the charge indicator turns off It takes about 6 hours to complete charging R The Wireless Monitor can be left on the Base Unit without causing it to overcharge R When the battery pack is completely out of power it may take some time u...

Page 15: ...ing MDN or MCN 3 Press M N Monitor button OK then select TIME AND DATE SETTINGS by pressing MDN or MCN 4 Press M N Monitor button OK then set the current date and time Select the year month date hour minute by pressing MFN or MEN Select numbers by pressing MDN or MCN R You can scroll numbers by pressing and holding MDN or MCN R The time is displayed in 12 hour clock format when English or Arabic i...

Page 16: ...pears from the display R The sound from your end will not be heard at the Wireless Camera 2 To end operations press M N Monitor button Note R Monitoring lasts for about 20 seconds after M N Monitor button is pressed However if operations are performed during monitoring monitoring can be extended to a maximum of 3 minutes R At night or at other times when the area around the Wireless Camera becomes...

Page 17: ...S page 19 R When the Zoom position is changed it is retained and used the next time images are monitored Recording displayed images Images displayed on the Wireless Monitor can be recorded R A maximum of 10 images can be recorded R Recorded images are saved to the Base Unit R Images recorded by additional Wireless Monitors are also saved to the Base Unit 1 Press MMENUN while monitoring an image 2 ...

Page 18: ...d the most recently recorded image will be displayed R You can hide time and date and the operation assistance by pressing MCN The assistance is temporarily hidden but it is displayed again when an operation is performed 3 To finish viewing press M N Monitor button OFF Protecting and deleting pictures How to protect images or remove protection 1 Press MMENUN while viewing images 2 Select SET REMOV...

Page 19: ...NGS PREVENT MOTTLED COLOR 1 POWER FREQUENCY 50Hz POWER FREQUENCY 60Hz R To prevent mottled or uneven color from being displayed set the power frequency to match the area in which you use the unit TIME AND DATE SETTINGS 1 You can set the current date and time page 15 SELECT LANGUAGE ENGLISH FRANÇAIS ESPAÑOL DISPLAY SOUND SETTINGS WIDE ZOOM SETTINGS 1 WIDE MODE ZOOM MODE R Select how images are init...

Page 20: ...e Wireless Monitor settings are reset PAIRING CANCEL PAIRING Pairs the Wireless Monitor to the Base Unit page 21 CANCELATION Removes the pairing of the Wireless Monitor from the Base Unit page 22 1 These settings are related to the entire Wireless Door Camera system If these settings are changed in the Wireless Monitor the settings for all the additional Wireless Monitors are also changed 2 Pairin...

Page 21: ...on to start pairing R When pairing is completed PAIRING COMPLETED is displayed Note R Pairing cannot be performed when another Wireless Monitor is accessing the Base Unit for monitoring or other purposes R The monitor number of the Wireless Monitor to be paired cannot be specified To pair canceled Wireless Monitors R Perform the following operations within 2 minutes after pressing and holding the ...

Page 22: ...tions when there is a Wireless Monitor that has not been paired 7 To finish the operation press MMENUN 2 times Important R Remove the battery packs from the canceled Wireless Monitors to prevent any false operations Replacing batteries or battery packs Batteries used in the Wireless Camera When the batteries of the Wireless Camera run out of power replace them with new batteries R ONLY USE LR6 Alk...

Page 23: ...ged replace it with a new battery pack R Use the separately sold CGA LB102 for a replacement battery pack page 4 Battery specifications lithium ion battery DC 3 7 V 940 mAh R Refer to page 14 for information on how to insert battery packs Cleaning R Clean the unit with a soft dry cloth For excessive dirt wipe the unit with a slightly damp cloth R When cleaning the surface of the Wireless Monitor g...

Page 24: ... R Remove any moisture from the Wireless Camera s microphone C with a cotton bud or similar product Audio may not be heard clearly when there is moisture in the microphone C Important R Do not use anything containing alcohol polish powder powder soap benzine thinner wax petroleum or boiling water Also do not spray with insecticide glass cleaner or hair spray This could cause a change in color or q...

Page 25: ...y image to become difficult to see this is not a malfunction Locate the Wireless Camera away from direct sunlight The image is flickering R The PREVENT MOTTLED COLOR setting does not match the power frequency for the region that you are using the unit in Matching the power frequency for the region that you are using the unit in can improve the quality of the colors displayed When using the unit in...

Page 26: ...the Base Unit or the charger of additional Wireless Monitors is warm R This is normal If it feels very hot unplug the AC adaptor from the power outlet and remove the battery pack then contact an authorized service center Others Problem Cause Solution Page The Wireless Camera s batteries run out of power quickly R The Wireless Camera is out of range of the Base Unit When the Wireless Camera is out ...

Page 27: ...R Perform the following operations Wireless Camera Replace the batteries 22 Wireless Monitor Remove the battery pack and insert it again Program settings are not affected 14 Base Unit Disconnect the Base Unit from the power outlet and then reconnect it again The wrong language was selected by mistake R To change the selected language perform the following operations Press MMENUN a MCN a MEN a M N ...

Page 28: ...the Base Unit then perform the operations on the Wireless Camera within 2 minutes Base Unit operations A Press and hold the pair button located on the bottom side of the Base Unit for about 13 seconds until the pair indicator flashes quickly with a pointed object R The pair indicator will start to slowly flash after about 3 seconds of pressing the pair button then after about an additional 10 seco...

Page 29: ...sed CANNOT PAIR R Pairing procedure was not performed on the Wireless Monitor within the specified time about 2 minutes Perform pairing again from the start after checking the power and connections for the Wireless Monitor to be paired 21 R You are trying to pair a fifth Wireless Monitor A maximum of 4 Wireless Monitors can be paired to a single Base Unit CANNOT CONNECT TO BASE R The Wireless Moni...

Page 30: ...ex transmission Press talk n Usage time with continuous use 1 Standby approx 100 hours Monitor approx 2 5 hours 1 When the battery pack is fully charged and the temperature is 20 C n Charging time Approx 6 hours n Transmission frequency 1881 792 MHz 1897 344 MHz n Transmitting range Approx 70 m line of sight distance Base Unit VL MDM200BX n Power supply AC adaptor PNLV232BX 100 240 V AC 50 60 Hz n...

Page 31: ...ic brand LR6 Alkaline batteries n Dimensions Height Width Depth Wireless unit approx 190 mm 78 mm 58 mm excluding protruding sections Camera unit approx 37 mm 87 5 mm 40 mm excluding protruding sections n Weight Approx 390 g excluding batteries n Operating temperature Wireless unit indoor use 0 C to 40 C Camera unit outdoor use 10 C to 50 C n Operating humidity Up to 90 RH Relative Humidity non co...

Page 32: ...n Transmission frequency 1881 792 MHz 1897 344 MHz n Transmitting range Approx 70 m line of sight distance 32 General Information ...

Page 33: ...Quick Reference Guide in Chinese A ߗહ B ᑨ Ҁ C 㓤 ㆺ D ᑨ ㆊ E ဗ ݽ F ᤀℬ Ҁ G ᷬ ᑪ H ヅ 〦 ņON OFFŇ I ⶪଃྈ J ⶪଃ ḻᥨ K Ւ 〦 VL CM851BX ൬Ⳍ א Ⴝ ಎⵒ ߧ B K C D E H F G I L M L M ヅᖷᲬ ヅ Ύ ኈ A J 33 Quick Reference Guide ...

Page 34: ...ߧ VL DM200BX A ౡㆴḻ B ⴆ ྈ C ヅ ݽ ḻᥨ D Ჶ ྈ E F ⳇ G H ヅᖷ I J ヅ 㔄 ņ ⵒӠŇ K ⶪଃྈ O VL MDM200BX A B MENU PRESS TALK D C E F G H I J 㓤 ㆺ ဗ ݽ AC ࣱ ݽ ಎⵒ ߧ L ヅ ݽ Წ K M ヅ 㔄 ņ ⵒӠŇ N ⶪଃ ḻᥨ L M N O 34 Quick Reference Guide ...

Page 35: ...ʁ MPRESS TALKN ᆹŊ෨ᤀᘍ ӷଃᅞ ㅠȯŇ ㆴḻഛЭ Ჶ ᆹྈʁ MMENUNņ Ňȯ ྈʁ ው ഛЭ ྈʁ MMENUNņ Ňȯ ᮢ PLAY IMAGES ⴆႹ ȯ ྈ ര ᄲ ྈ Ԋㅪ ȯ ࡣ Ⴝ ྈʁ M N ņᲶ ྈ Ňņ Ň ɿấ ㆴḻ Ⅷᄍㆴḻʠ ӡဘȯ ྈʁ M N ņᲶ ྈ Ň ר ȯ ྈʁ M N E M Nņ Ňȯ M N D M Nņ Ň C ņᲶ ྈ Ňņ Ňȯ ྈʁ M N ņᲶ ྈ Ň ר ȯ ྈʁ M N F B D D D E B E 35 Quick Reference Guide ...

Page 36: ...36 Quick Reference Guide ...

Page 37: ...37 Quick Reference Guide ...

Page 38: ...Quick Reference Guide in Arabic 38 Quick Reference Guide ...

Page 39: ...e 16 Adjusting the visitor s volume 16 Recording images 17 Switching between Wide Zoom view 16 Switching Zoom position Pan Tilt 17 Talking to visitors 16 N Navigator key 11 O Operation assistance 12 18 19 Owner s volume 16 P Pair button Base Unit 12 21 28 Wireless Camera 10 28 Pair indicator 11 12 21 23 28 Pairing Wireless Monitor 21 Pan Tilt switching Zoom position 17 Power switch 10 23 Protectin...

Page 40: ...bottom of the Base Unit Dealer s name and address Dealer s telephone number Attach your sales receipt here Panasonic System Networks Co Ltd 2012 1 62 4 chome Minoshima Hakata ku Fukuoka 812 8531 Japan Web site http www panasonic net SDM200BX SDM200BX PNQX5701ZA CC1112MM0 ...

Reviews: