Note:
R
In order to maintain battery pack performance, remove the battery pack when the Wireless Monitor
is not in use for long periods of time.
– Recharge the battery pack before using the Wireless Monitor again.
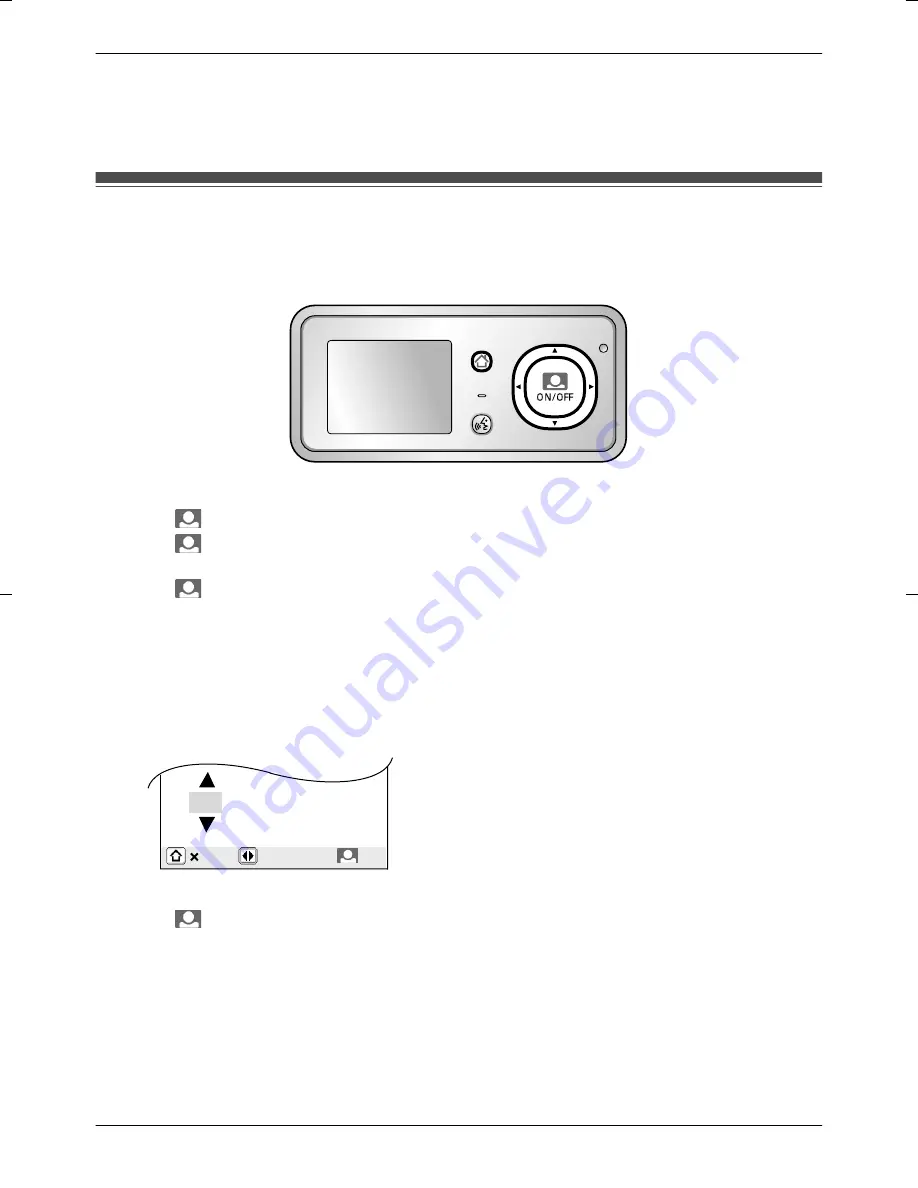
Setting the date and time
This unit has a recording function. The date and time will not be recorded unless it is set (page 18). You
can set the date and time using the Wireless Monitor.
R
The date and time registered to the Base Unit can also be changed on additional Wireless Monitors.
MENU
PRESS TALK
1
Press
M
MENU
N
, then select
“
ALL SETTINGS
”
by pressing arrow keys (
MDN
,
MCN
,
MFN
, or
MEN
).
2
Press
M
N
(Monitor button) (
“
OK
”
), then select
“
START-UP SETTINGS
”
by pressing
MDN
or
MCN
.
3
Press
M
N
(Monitor button) (
“
OK
”
), then select
“
TIME AND DATE SETTINGS
”
by pressing
MDN
or
MCN
.
4
Press
M
N
(Monitor button) (
“
OK
”
), then set the current date and time.
Select the year/month/date/hour/minute by pressing
MFN
or
MEN
.
Select numbers by pressing
MDN
or
MCN
.
R
You can scroll numbers by pressing and holding
MDN
or
MCN
.
R
The time is displayed in 12 hour clock format when English or Arabic is selected for the display
language. When French or Spanish is selected for the display language, the time is displayed in
24 hour clock format.
Example:
(when English is selected for the display language)
2013 - 2 - 23 11: 45 AM
OK
5
Press
M
N
(Monitor button) (
“
OK
”
) after finishing the settings.
R
A beep will sound when the settings are changed.
6
To finish the operation, press
M
MENU
N
2 times.
Note:
R
Time may get out of sync by about 60 seconds per month.
15
Getting Started


