


Main Menu – Preset
AUTO TUNE
22
This television has been factory tuned to all major city channels. Use the automatic tuning procedure only if you
wish to reset ALL Programme Location Numbers. Refer to “Manual Tune” on page 23 if you only want to retune
one or two Programme Location Numbers.
The television should be switched ON and the TV/AV Switch set to TV.
When you start the automatic search, the television will automatically search for television broadcasts through both
VHF bands and the UHF band. During this process all of the available television broadcast channels will be
automatically allocated to sequential Programme Number locations starting with location 1.
Auto Tuning Using the Front Panel Controls
1.
Open the front panel door.
2.
Push the PRE. button repeatedly until AUTO TUNE is highlighted.
3.
Press the Volume Up ( + ) button to start the Auto Tune. Auto Tune will automatically allocate each
received broadcast signal to a sequential Programme Number. The operation will cease when all
available channels have been tuned.
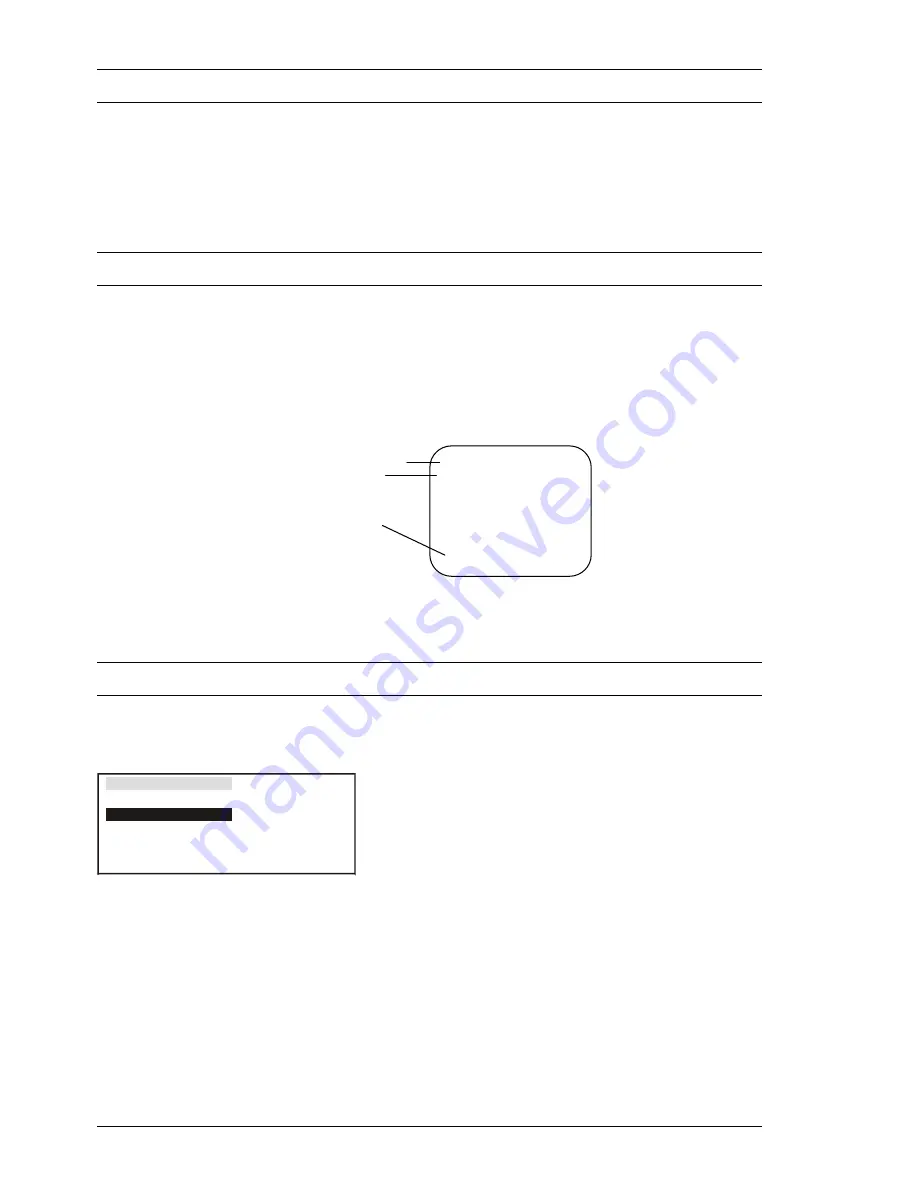
Programme Number
Channel Number
Tuning Indicator
(Only shown while
tuning)
4. Push the PRE. button repeatedly until you return to normal viewing.
Auto Tuning Using the Remote Control
1.
Push the MAIN MENU button.
2.
Move to the PRESET Menu using the Up or Down
button.
3.
Choose the PRESET Menu by using the Left or
Right buttons.
4.
Push the Up or Down button to access the AUTO
TUNE option.
5.
Press the Right button to start the Auto Tune. Auto
Tune will automatically allocate each received
broadcast signal to a sequential Programme
Number. The operation will cease when all
available channels have been tuned.
6.
Push the MAIN MENU button repeatedly until you
return to normal viewing.
After you have finished with the automatic tuning and returned to normal viewing, push the Programme
Number Up button to confirm the tuning condition for each Programme Number. If a Programme Number
is unwanted, it is possible to “SKIP” or bypass that Programme Number. Please refer to “SKIP” setting
details on page 27.
1
CH 1
AUTO TUNE
- - | - - - - - - - - - - - - - - - - -
PRESET
SYS SELECT
MANUAL
TUNE
POS
SETUP
GEOMAGNETIC
AUTO TUNE
AUSTRALIA
ACCESS
ACCESS
ACCESS
-------|---------


