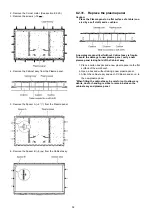
31
8.2.3.
Remove the Bottom covers (C, L
and R)
1. See Service Hint (Section 3.1.2.)
8.2.4.
Remove the Rear cover and Rear
cover bottom
1. See Service Hint (Section 3.1.2.)
8.2.5.
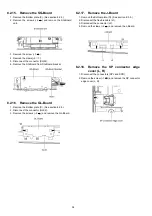
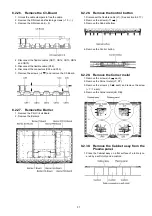
Remove the Bottom plates (C, L
and R)
1. Remove the screws (
×
4
) and remove the Bottom
plate (C).
2. Remove the screws (
×
3
) and remove the Bottom
plate (L).
3. Remove the screws (
×
3
) and remove the Bottom
plate (R).
8.2.6.
Remove the AC filter shield metal
1. Remove the screws (
×
4
) and remove the AC filter
shield metal.
8.2.7.
Remove the Fan
1. Unlock the cable clampers to free the cable.
2. Remove the screws (
×
3 ).
3. Remove the relay connectors and remove the Fan.
Summary of Contents for TH-P54Z1D
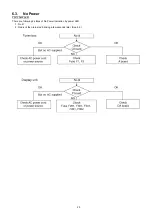
Page 24: ...24 6 4 No Picture ...
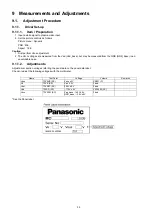
Page 41: ...41 9 1 4 Adjustment Volume Location 9 1 5 Test Point Location ...
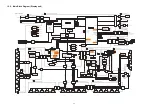
Page 42: ...42 ...
Page 54: ...54 11 3 Wiring Display unit 1 11 4 Wiring Display unit 2 ...
Page 55: ...55 11 5 Wiring Display unit 3 11 6 Wiring Display unit 4 ...
Page 56: ...56 11 7 Wiring Display unit 5 11 8 Wiring Display unit 6 ...
Page 57: ...57 12 Schematic Diagram 12 1 Schematic Diagram Note ...
Page 146: ...146 ...
Page 148: ...148 14 1 2 Exploded View 2 Display unit ...
Page 149: ...149 14 1 3 Exploded View 3 Display unit ...
Page 150: ...150 14 1 4 Packing 1 ...
Page 151: ...151 14 1 5 Packing 2 ...
Page 152: ...152 14 1 6 Packing 3 ...
Page 153: ...153 14 1 7 Packing 4 Pedestal stand ...
Page 154: ...154 14 1 8 Packing 5 ...
Page 155: ...155 14 1 9 Packing 6 ...
Page 156: ...156 14 1 10 Packing 7 ...
Page 162: ...162 14 2 Electrical Replacement Parts List 14 2 1 Replacement Parts List Notes ...

