27
English
Basic Controls
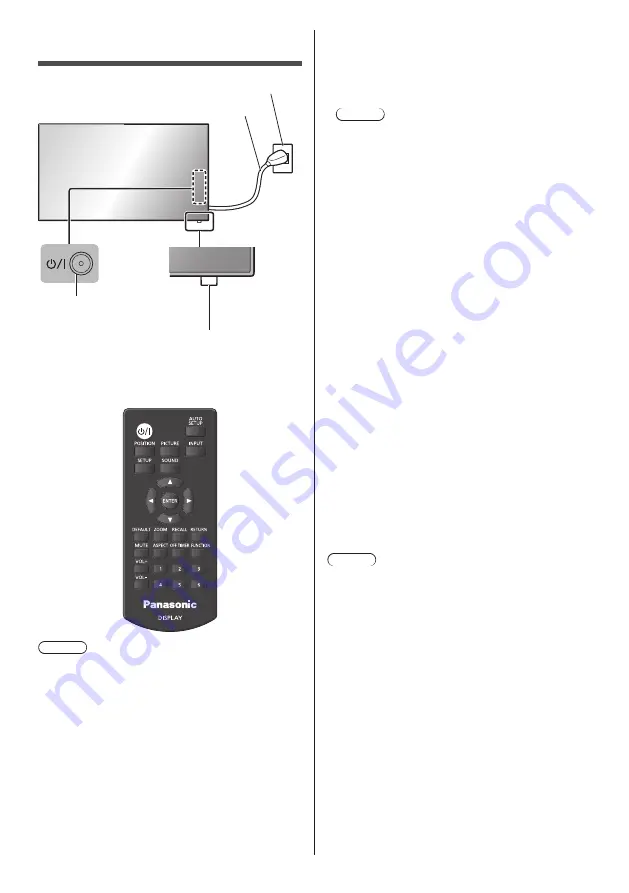
Remote Control Sensor /
Power Indicator
Main Power On / Off button
(Back of the unit)
AC socket outlet
AC cord (supplied)
Operate pointing the remote control directly at
the unit’s Remote Control Sensor.
Note
●
For normal use, pull out the remote control sensor
from the edge side of the main unit by operating the
lever on the rear panel. (see page 25)
●
Do not put an obstacle between the remote control
sensor of the main unit and the remote control.
●
Operate the remote control in front of the remote
control sensor or from the area where the sensor can
be seen.
●
Do not subject the remote control sensor of the main
unit to the direct sunlight or strong fluorescent light.
1
Connect the AC cord plug to the
Display.
(see page 13)
2
Connect the plug to the socket outlet.
Note
●
When disconnecting the AC cord, be absolutely
sure to disconnect the AC cord plug at the socket
outlet first.
●
The settings may not be saved if the power plug is
disconnected immediately after changing settings
with on-screen menu. Disconnect the power plug
after a enough period of time. Or, disconnect the
power plug after turning the power off with the
remote control, RS-232C control or LAN control.
3
Press the <Main Power On / Off
button> on the unit to turn the set on:
Power-On.
●
Power Indicator: Green (Picture is displayed.)
●
When the power of the unit is ON, remote control
operation is possible.
■
To turn the power ON/OFF with the remote
control
Press the <Standby (ON/OFF) button> to turn the
Display on.
●
Power Indicator: Green (Picture is displayed.)
Press the <Standby (ON/OFF) button> to turn the
Display off.
●
Power Indicator: Red (standby)
Press the <Main Power On / Off button> on the unit to
turn the unit off, when the power of the unit is turned on
or in standby mode.
Note
●
During operation of the “Power management” function
(see page 50), the power indicator turns orange in the
power off state.


