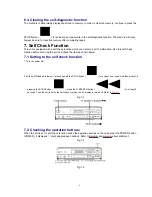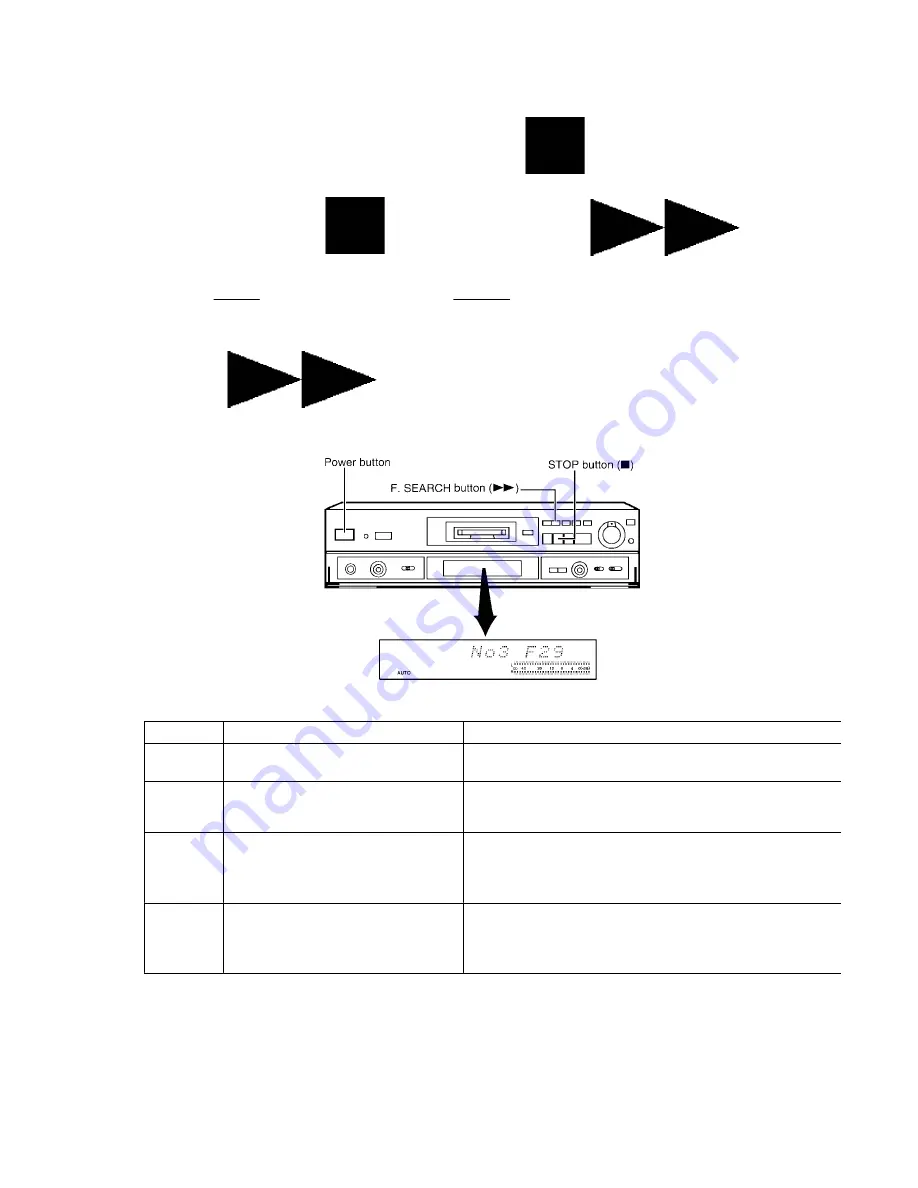
2. With no MD loaded in the unit, press and hold the STOP button (
) for at least 2 seconds. And then while still
pressing the STOP button (
), press the F. SEARCH button (
) for at least 2
seconds. The unit is set to the self-diagnostic function and is displayed “MD TEST”. Then error code is displayed, if any.
Refer to
Fig. 6-1.
For details of error codes, refer to
Table 6-1.
Caution:
If more than one error exists, the display will sequentially show the respective error codes each time the F. SEARCH
button (
) is pressed.
Fig. 6-1.
Table 6-1.
Error code
Symptom
Possible cause
F15
Interval till MD starts playing is too
long.
-
Traverse det. switch (S8) is defective; Check and replace if necessary.
F26
MD is loaded but cannot be played.
-
Communications error between the servo processor IC and the microprocessor IC
(system control). Check if the flexible circuit board is disconnected.
-
Displayed when the disc is scratched too.
F28
MD cannot be loaded.
-
Confirm that the disc is not catching on anything.
-
The connection (flexible circuit board or connector cable) between the MD unit and th
MD servo circuit board is disconnected or damaged; check and replace if necessary.
-
The MD unit may be malfunctioning; replace it.
F29
MD cannot be ejected.
-
Confirm that the disc is not catching on anything.
-
The connection (flexible circuit board or connector cable) between the MD unit and th
MD servo circuit board is disconnected or damaged; check and replace if necessary.
-
The MD unit may be malfunctioning; replace it.
6.2. Canceling the self-diagnostic function
The self-diagnostic function can be canceled by pressing the POWER button (POWER) to turn the system off.
And then pressing the power button to turn it on again.
7
Summary of Contents for SJ-MD150
Page 5: ...4 Caution for AC Mains Lead 5 ...
Page 10: ...10 ...
Page 15: ...15 ...
Page 16: ...16 ...
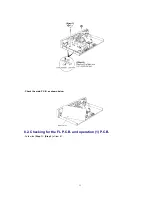
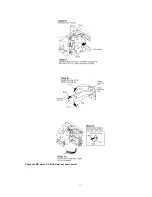
Page 17: ... Check the MD servo P C B B side as shown below 17 ...
Page 19: ...19 ...
Page 20: ...20 ...
Page 21: ...21 ...
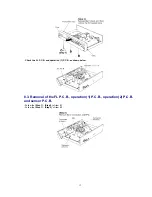
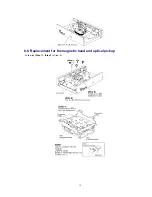
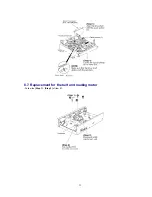
Page 22: ...8 7 Replacement for the belt and loading motor Follow the Step 1 Step 3 of item 8 1 22 ...
Page 23: ...23 ...
Page 25: ...25 ...
Page 36: ...30 TEST02 Test terminal Not used open 36 ...
Page 48: ...48 ...
Page 57: ...20 MD Mechanism Unit Parts Location 57 ...
Page 58: ...21 Packaging 58 ...
Page 59: ...F000300000YM KH 59 ...


