


13
RQT7923
Sound adjustment
3522/5.$
02%3%4%1
"!3342%",%
33/5.$%1
Selecting sound effects
Selecting sound effects
You can change the sound effect by selecting Super Sound
EQ, Preset EQ or adjusting the bass or treble effect.
Super sound EQ
Super sound EQ
Provide you with clearer bass and treble effects.
To activate
Press [S.SOUND EQ] to display “S.SOUND EQ” indicator.
To cancel
Press [S.SOUND EQ] again to clear “S.SOUND EQ”
indicator.
Preset EQ
Preset EQ
Press [PRESET EQ] repeatedly to select your desired
setting.
HEAVY
→
CLEAR
→
SOFT
→
VOCAL
→
EQ-OFF
Setting
Effect
HEAVY
Adds punch to rock
CLEAR
Clarifi es higher frequencies
SOFT
For background music
VOCAL
Adds gloss to vocal
EQ-OFF
No effect
Bass or treble
Bass or treble
Enable you to enjoy the lower or higher pitch sound.
1
Press [BASS/TREBLE] repeatedly to select your
desired setting.
Setting
Effect
BASS
For lower pitch sound
TREBLE
For higher pitch sound
2
Press [
∞
] or [
5
] to adjust the level.
The tone level can be varied within -3 to +3.
Enjoying surround sound
Enjoying surround sound
Enable you to add natural width and depth to the stereo
sound.
To activate
Press [SURROUND] to display “
” indicator.
To cancel
Press [SURROUND] again to clear “
” indicator.
• Surround sound is less discernible when listening through
headphones.
• If interference in FM stereo reception increases, cancel the
surround sound effect.
• Play timer and record timer cannot be used together.
• The play timer will start at the preset time with volume increasing
gradually to preset level.
• The record timer will start 30 seconds before the set time with the
volume muted.
• The timer comes on at the set time everyday if the timer is on.
• The unit must be in the standby mode for the timer to function.
• If you turn the unit off and on again while a timer is functioning, the
fi nish time setting will not be activated.
• If AUX is selected as the source, when the timer comes on, the
system turns on and engages AUX as the source. If you want to
playback or record from a connected unit, set the other unit’s timer
to the same time. (See the other unit’s instruction manual.)
External unit
!58
Connecting external unit
Connecting external unit
Preparation:
• Make sure that the power supply for all components has
been turned off before making any connections.
• For details, refer to the operating instructions of the unit
which is to be connected.
• All peripheral components and cables sold separately.
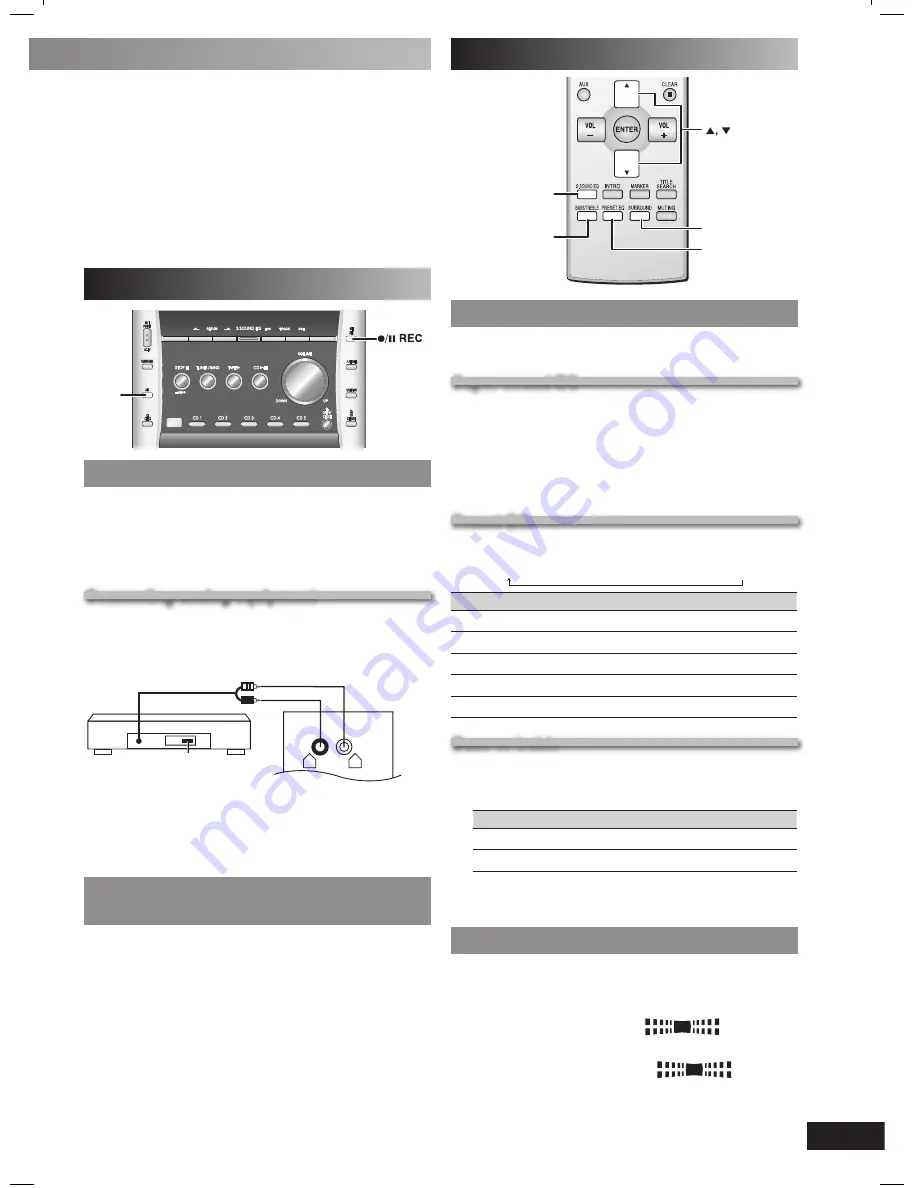
Connecting analog equipment
Connecting analog equipment
This example shows how to connect an analog player with a
PHONO OUT/LINE OUT switch.
When units other than those described are to be connected,
please consult your dealer.
AUX
R
L
(R)
(L)
“LINE OUT”
position
Analog player (not included)
Rear panel of this unit
• An analog player with a built-in phono equalizer can be
connected.
• Set the switch to the “LINE OUT” position at the back of the analog
player.
Playing or recording from an external
Playing or recording from an external
unit
unit
1
Press [AUX].
2
For listening: Proceed to step 3.
For recording: Press [
/
8
REC] to start recording.
3
Start playback from the external source. (For details,
refer to the external unit’s instruction manual.)
PM31_7923-3P.indd 13
PM31_7923-3P.indd 13
2/18/05 3:25:26 PM
2/18/05 3:25:26 PM


