[PICTURE] menu
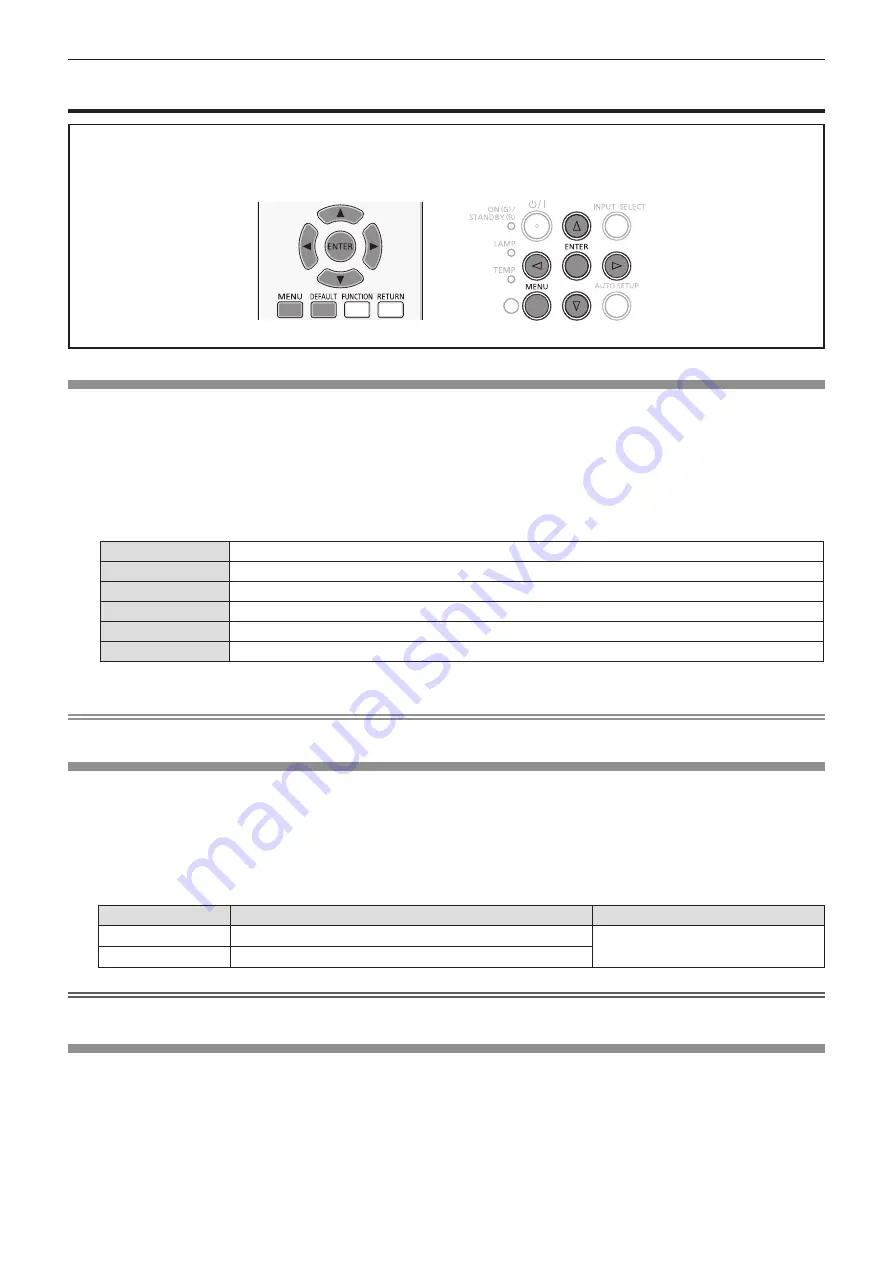
On the menu screen, select [PICTURE] from the main menu, and select an item from the submenu.
Refer to "Navigating through the menu" (
Æ
page 46) for the operation of the menu screen.
f
After selecting the item, press
asqw
to set.
[PICTURE MODE]
You can switch to the desired picture mode suitable for the image source and the environment in which the projector is used.
1) Press
as
to select [PICTURE MODE].
2) Press
qw
or the <ENTER> button.
f
The [PICTURE MODE] individual adjustment screen is displayed.
3) Press
qw
to switch the item.
f
The items will switch each time you press the button.
[STANDARD]
The picture becomes suitable for moving images in general.
[DYNAMIC]
The light output is maximized for use in bright areas.
[BLACKBOARD]
The picture becomes suitable for projecting on a black board.
[WHITE BOARD]
The picture becomes suitable for projecting on a white board.
[CINEMA]
*
1
The picture becomes suitable for movie sources.
[NATURAL]
*
2
The picture becomes suitable for use in low-light areas.
*1
Only for the movie-based signals.
*2
Only for the still image signals.
Note
f
The factory default picture mode is [DYNAMIC] for still image input signals and [STANDARD] for movie-based input signals.
[CONTRAST]
You can adjust the contrast of the colors.
1) Press
as
to select [CONTRAST].
2) Press
qw
or the <ENTER> button.
f
The [CONTRAST] individual adjustment screen is displayed.
3) Press
qw
to adjust the level.
Operation
Adjustment
Adjustment range
Press the
w
button. Brightens the screen and makes the color of image deeper.
-32 ~ +32
Press the
q
button. Darkens the screen and makes the color of image lighter.
Attention
f
Adjust [BRIGHTNESS] first when you need to adjust [BRIGHTNESS] and [CONTRAST].
[BRIGHTNESS]
You can adjust the dark (black) part of the projected image.
1) Press
as
to select [BRIGHTNESS].
2) Press
qw
or the <ENTER> button.
f
The [BRIGHTNESS] individual adjustment screen is displayed.
3) Press
qw
to adjust the level.
Chapter 4 Settings - [PICTURE] menu
50 -
ENGLISH


