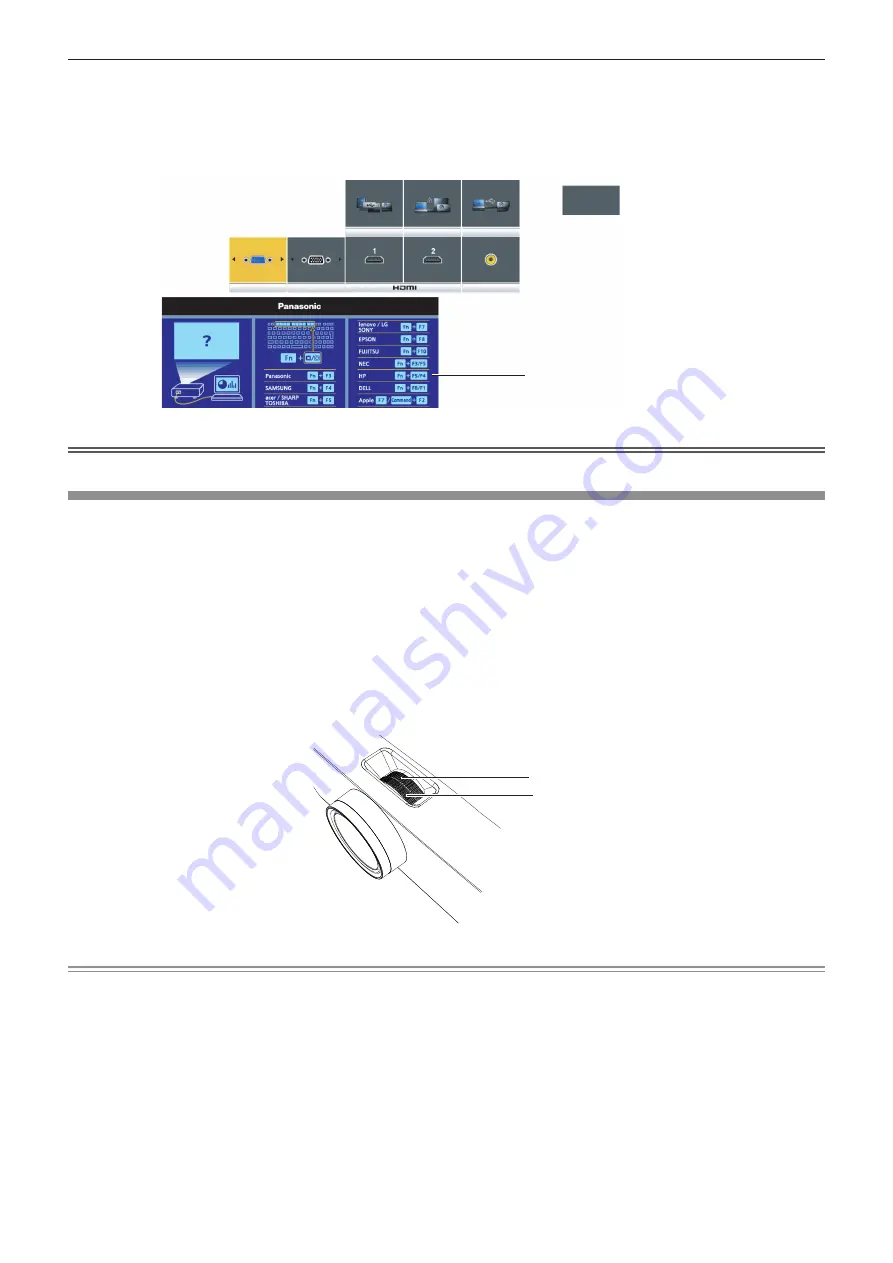
2) Press the <INPUT SELECT> button again.
f
The input will switch each time you press the <INPUT SELECT> button.
f
When the detailed input guide is displayed, you can select the input with the
asqw
buttons on the remote
control or on the control panel.
MEMORY VIEWER
COMPUTER 1 IN
COMPUTER 2 IN
NETWORK
USB DISPLAY
MEMORY VIEWER
VIDEO IN
Detailed input guide example
Simple input guide example
If there is no signal input (COMPUTER1,
COMPUTER2, HDMI 1 or HDMI 2), this
screen will be displayed. Check the output
settings of your computer.
Attention
f
You can switch the detailed/simple input guide by setting the [DISPLAY OPTION] menu → [ON-SCREEN DISPLAY] → [INPUT GUIDE].
How to adjust the state of the image
If the projected image or the position is not correct when the positioning of the projector and the screen is correctly
installed, adjust the projection angle, focus and zoom.
1) Adjust the projection angle.
f
Place the projector on a level surface and make its front side parallel to the screen surface so that the
projection screen is rectangular.
f
If the screen is tilted downward, extend the adjustable feet and adjust the projection screen so that the
projected screen is rectangular.
For details, see “Adjusting adjustable feet” (
x
page 41).
2) Adjust the zoom and the focus.
f
Rotate the zoom ring to adjust the projected image size to fit the screen.
f
Rotate the focus ring to adjust the focus of the projected image.
Focus ring
Zoom ring
Note
f
It is recommended that the images are projected continuously for at least 30 minutes before the focus is adjusted.
f
When the focus is adjusted, the projection screen size also changes slightly. Depending on the image projection situation, repeat Steps
1)
and
2)
to adjust to the best projection condition.
f
Adjust from the [POSITION] menu → [SCREEN ADJUSTMENT] (
x
page 57) when the projected image is distorted.
40 -
ENGLISH
Chapter 3 Basic Operations - Projecting


