ENGLISH -
33
Basic Operation
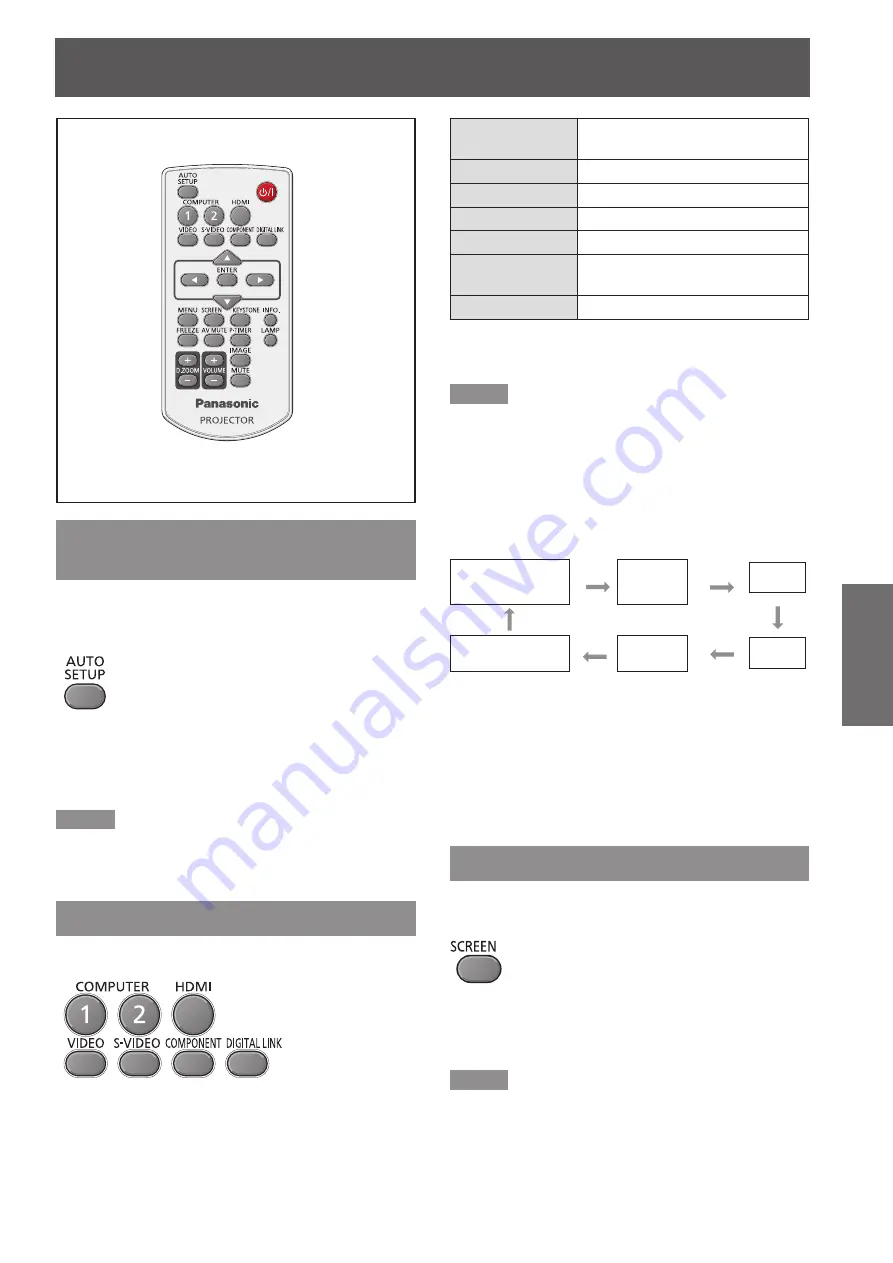
Basic operations by using the remote control
Using the AUTO SETUP
function
This function allows you to automatically adjust Input
search, Auto PC adjustment and Auto Keystone
correction during signal input from a computer.
button
Press the <AUTO SETUP> button on the
remote control.
Note
For details, see “Setting” of Main menu. (
z
Æ
page 53)
Switching the input signal
You can switch the input signals to project.
buttons
Press (<COMPUTER 1>, <COMPUTER 2>,
<HDMI>, <VIDEO>, <S-VIDEO> ,
<COMPONENT> or <DIGITAL LINK>)
button on the remote control.
COMPUTER 1
Switch to Computer 1(RGB)/
Computer 1(Scart) input.
COMPUTER 2
Switch to Computer 2(RGB)input.
HDMI
Switch to HDMI input.
VIDEO
Switch to Video input.
S-VIDEO
Switch to S-video input.
COMPONENT
Switch to Computer 1
(Component) input.
DIGITAL LINK
Switch to DIGITAL LINK input.
Note
When connecting the optional
z
accessory
Digital Interface
Box (ET-YFB100G) to the DIGITAL LINK terminal, press
the <DIGITAL LINK>
button on the remote control to
switch the ET-YFB100G input signal.
Each press of the <INPUT> button on the Control Panel
z
of the main unit switches the settings as shown below.
(
Æ
page 19)
Computer 1 (RGB)/
Computer 1 (Scart)/
Computer 1 (Component)
Computer 2
(RGB)
HDMI
DIGITAL LINK
S-video
Video
*1: It depends on the item you selected in the [Computer 1]
submenu of the [Input] menu.
*2: When [Monitor out] is selected in the [Terminal] of the
setting menu, [Computer 2(RGB)] can not be selected.
Pressing <COMPUTER 2> button on the remote control
displays [Monitor out].
Using the SCREEN button
This function allows you to select screen mode or
change the screen size.
button
Press the <SCREEN> button on the
remote control.
Note
For details, see “Screen” of Main menu. (
z
Æ
page 49)
*
1
*
2


