Chapter 4
Settings — [PROJECTOR SETUP] menu
ENGLISH - 79
4) Press
qw
to switch [STANDBY MODE].
f
The items will switch each time you press the button.
[ECO]
Use this setting to reduce power consumption during standby.
[NORMAL]
Use this setting to use the network function during standby.
Note
f
When set to [ECO], network functions are not available during standby. Also, some RS-232C commands are not available. When set to
[NORMAL], network functions are available during standby.
f
If set to [ECO], there may be a delay in displaying when the power is turned on compared to when set to [NORMAL].
Setting [ECO LEVEL DISPLAY]
Display the amount of power saved through the [LIGHT POWER] and [AUTO POWER SAVE] settings on the lower left corner of the projected
screen.
The more the number of green leaf marks (
) the more power the projector saves.
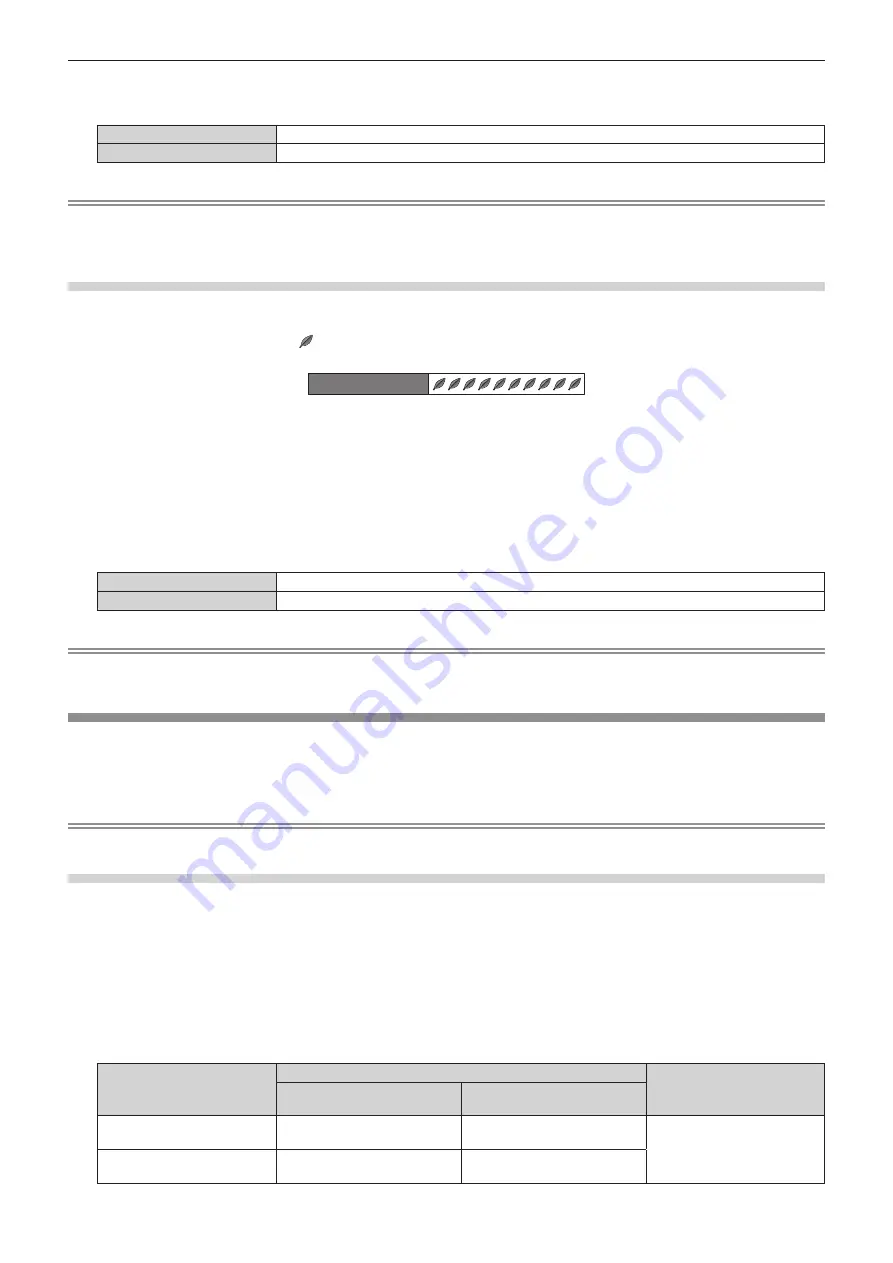
Screen display example:
ECO LEVEL
1) Press
as
to select [ECO MANAGEMENT].
2) Press the <ENTER> button.
f
The
[ECO MANAGEMENT]
screen is displayed.
3) Press
as
to select [ECO LEVEL DISPLAY].
4) Press
qw
to switch [ECO LEVEL DISPLAY].
f
The items will switch each time you press the button.
[OFF]
Disables the ECO level display.
[ON]
Enables the ECO level display.
Note
f
If a closed caption signal of the selected mode is input, ECO level is not displayed.
f
The ECO level is not displayed when the menu screen is displayed.
[BRIGHTNESS CONTROL]
The projector has a built-in brightness sensor which measures the brightness of the light source and has a function which corrects the
brightness of the screen according to the change in the brightness of the light source.
The light source deteriorates over time. By using this function, you can reduce the change in overall brightness or keep it uniform by
suppressing the variation in brightness when displaying multiple screens using multiple projectors.
Note
f
If [DYNAMIC] is selected in the [PICTURE] menu
→
[PICTURE MODE], [BRIGHTNESS CONTROL] cannot be selected.
Setting [BRIGHTNESS CONTROL GAIN]
Adjust the brightness when displaying multiple screens using multiple projectors.
1) Press
as
to select [BRIGHTNESS CONTROL].
2) Press the <ENTER> button.
f
The
[BRIGHTNESS CONTROL]
screen is displayed.
3) Press
as
to select [BRIGHTNESS CONTROL GAIN].
4) Press
qw
to adjust.
Operation
Adjustment
Range of adjustment
Brightness
Maximum amount of
brightness correction
Press the
w
button.
The screen becomes brighter.
The maximum amount of
correction is reduced.
20 - 100 %
Press the
q
button.
The screen becomes darker.
The maximum amount of
correction is increased.


