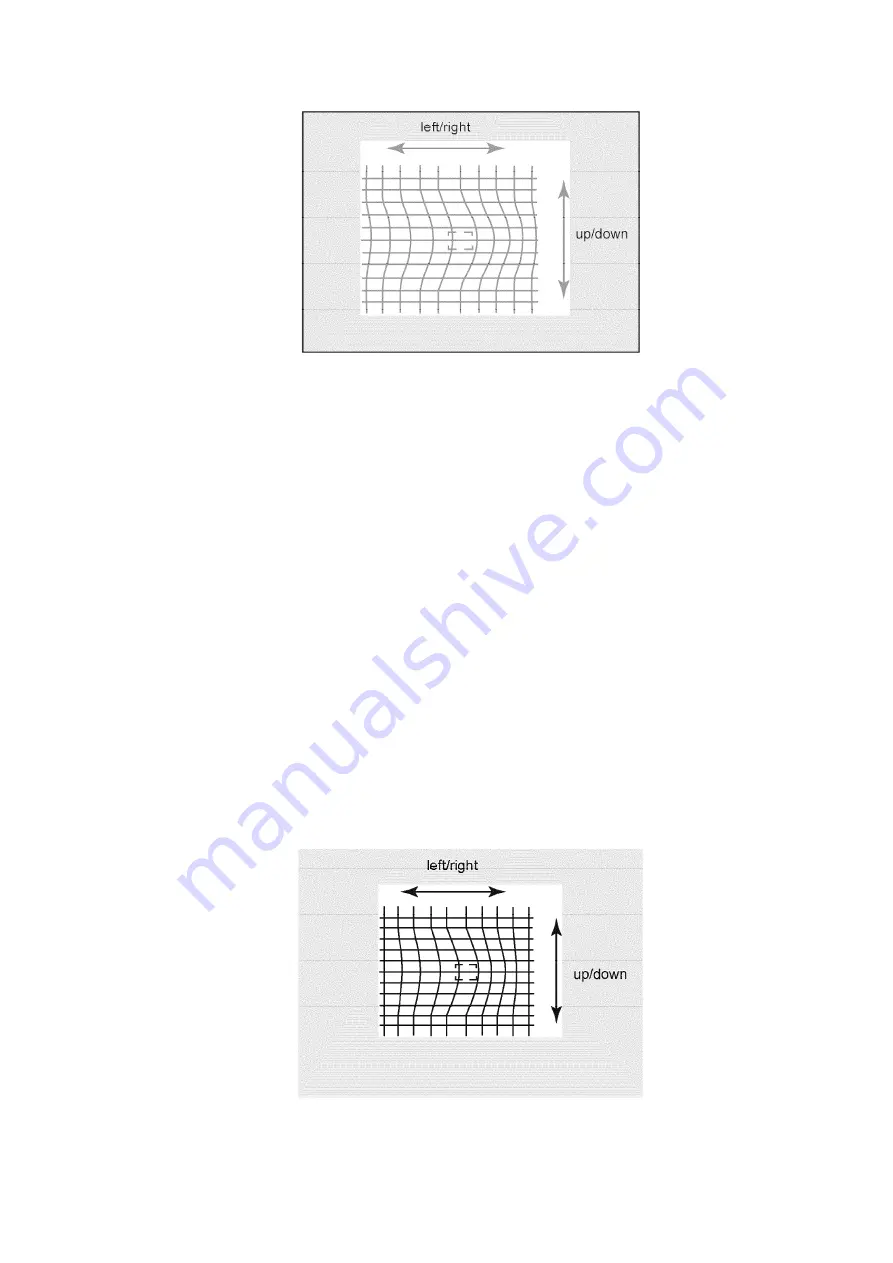
11. To move the cursor press MUTE on the remote (cursor flashes), then
move the cursor to any of the positions for “EASY” mode
12. This adjustment may help to make rounded lines become straight
lines.
13. Adjust to make lines as straight as possible
14. Enter to POINT “G-POINT” (for green) mode by pressing TV/VIDEO.
15. “POINT” mode allows to move line horizontally and vertically from
the perimeter of cursor making rounded lines become straight
16. In “POINT” mode, the adjustment data changes by 2 steps, See
values on screen by pressing RECALL on remote
17. When the cursor is located in the outer area of the border the cursor
starts to flash from one side to other, the location is for the non-visible
area and the most outer side of screen (inside the ovals area, see
figure); This applies to “LINE”, “POINT” & “ORIGIN.POINT” modes.
18. Begin adjustment from the center to the edge of the screen
“POINT” & “ORIG. POINT” mode adjustment
19. Adjust to make lines as much straight as possible
67
Summary of Contents for PT-56WX53G
Page 82: ...5 PTV Location of controls 10 ...
Page 93: ...A BOARD 21 ...
Page 94: ...D BOARD 22 ...
Page 95: ...R BOARD VIEW DC BOARD TOP VIEW 23 ...
Page 96: ...DC BOARD BOTTOM VIEW DV BOARD 24 ...
Page 97: ...DG BOARD TOP VIEW DG BOARD BOTTOM VIEW 25 ...
Page 147: ...19 5 Instructional flow for service mode 75 ...
Page 148: ...76 ...
Page 149: ...20 Reference of PDF links color 21 Conductor views 77 ...
Page 151: ...22 2 Video block diagram 23 Schematic diagrams 23 1 Schematic diagrams notes 79 ...
Page 152: ...80 ...
Page 153: ...23 2 Notas de los diagramas esquematicos 81 ...
Page 154: ...82 ...
Page 159: ...87 ...
Page 162: ...90 ...
Page 164: ...92 ...
Page 166: ...94 ...
Page 168: ...96 ...
Page 170: ...98 ...
Page 176: ...Q 104 ...
Page 178: ...Q 106 ...
Page 184: ...112 ...
Page 186: ...114 ...
Page 189: ...117 ...
Page 191: ...119 ...


