Before using
65
VQT0N70
5
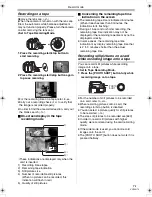
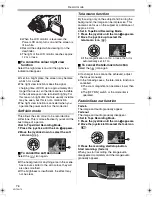
Move the joystick right or press it to set the
selection.
6
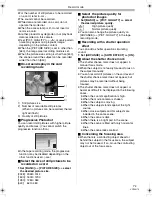
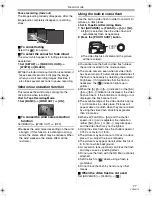
Move the joystick up or down in order to
select the item to be set.
7
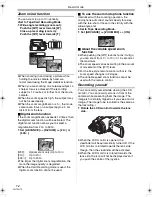
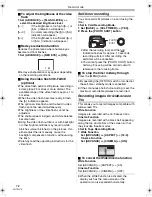
Press the joystick to determine the setting.
ª
To exit the menu screen
Press the [MENU] button.
ª
To get back to the previous screen
Move the joystick left.
ª
About the menu setting
≥
The menu screen does not appear during
recording. And you cannot record when the
menu screen appears.
ª
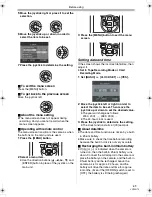
Operating with remote control
The menu screen transition is the same as when
the buttons on the main unit are used.
1
Press the [MENU] button.
2
Select a menu item.
≥
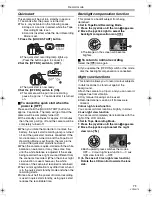
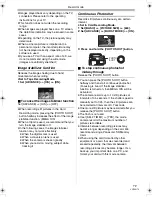
Use the direction buttons
(
π
,
∑
,
∏
,
∫
) and
[ENTER] button in place of the joystick on the
main unit.
3
Press the [MENU] button to exit the menu
screen.
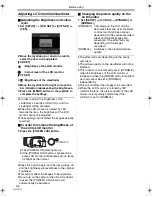
Setting date and time
If the screen shows the incorrect date/time, then
adjust it.
≥
Set to Tape Recording Mode or Card
Recording Mode.
1
Set [BASIC] >> [CLOCK SET] >> [YES].
2
Move the joystick left or right in order to
select the item to be set. Then move the
joystick up or down to set the desired value.
≥
The year will change as follows:
2000, 2001, ..., 2089, 2000, ...
≥
The 24-hour clock is used.
3
Press the joystick to determine the setting.
≥
The clock function starts at [00] seconds.
ª
About date/time
≥
The date and time function are driven by a built-
in lithium battery.
≥
Make sure to check the time before recording
because the built-in clock is not very accurate.
ª
Recharging the built-in lithium battery
≥
If [
0
] or [--] is indicated when the camera is
turned on, then the built-in lithium battery runs
down. Connect the AC adaptor to the camera or
place the battery on the camera, and the built-in
lithium battery will be recharged. Leave the
camera as is for approx. 24 hours, and the
battery will drive the date and time for approx.
6 months. (Even if the [OFF/ON] switch is set to
[OFF], the battery is still being recharged.)
ENTER
VAR.
SEARCH
MENU
ENTER
VAR.
SEARCH
MENU
ENTER
VAR.
SEARCH
MENU
GS250GC.book 65 ページ 2004年12月18日 土曜日 午後1時35分

