


2
REC Mode
Command
Menu
Page
Option Description
Option Value
Value Description
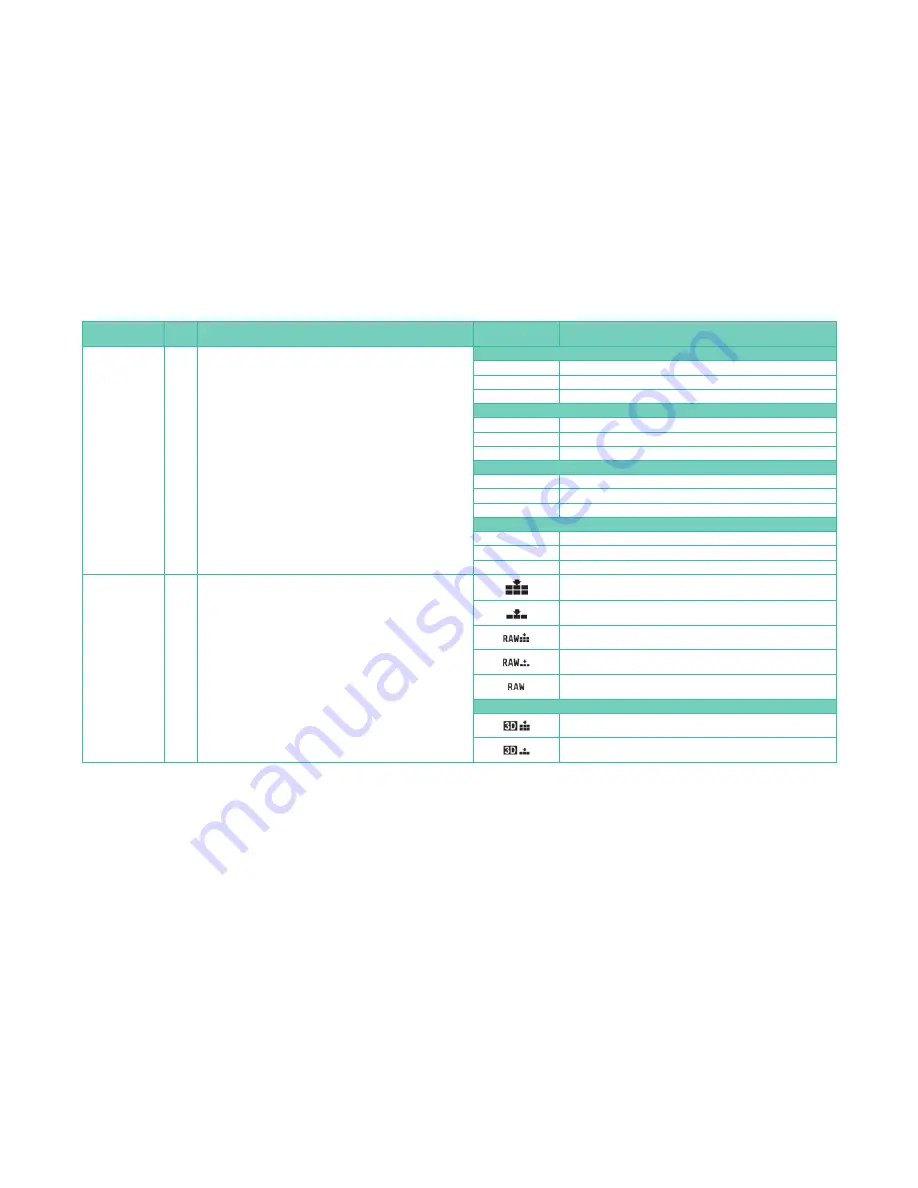
PICTURE SIZE
1
This command sets the number of pixels for the image. The more pixels,
the finer the picture detail will appear when the picture is enlarged.
The EX icon will display in front of the M and S options when MENU/
SET>REC>(
pg
4) EX. TELE CONV.>[ON].
Note: The number of pixels depends on the selected MENU/
SET>REC>ASPECT RATIO and PICTURE SIZE options.
The PICTURE SIZE will automatically be changed to [S] when MENU/
SET>REC>(
pg
4) BURST RATE>[SH] and the drive mode lever is set to Burst
Mode.
MENU/SET>REC>ASPECT RATIO>[4:3]
L 16 M
16 megapixels: Largest number of pixels captured
M 8 M
8 megapixels: Medium number of pixels captured
S 4 M
4 megapixels: Smallest number of pixels captured
MENU/SET>REC>ASPECT RATIO>[3:2]
L 15 M
15 megapixels: Largest number of pixels captured
M 7.5 M
7.5 megapixels: Medium number of pixels captured
S 3.8 M
3.8 megapixels: Smallest number of pixels captured
MENU/SET>REC>ASPECT RATIO>[16:9]
L 14 M
14 megapixels: Largest number of pixels captured
M 7 M
7 megapixels: Medium number of pixels captured
S 2 M
2 megapixels: Smallest number of pixels captured
MENU/SET>REC>ASPECT RATIO>[1:1]
L 12 M
12 megapixels: Largest number of pixels captured
M 6 M
6 megapixels: Medium number of pixels captured
S 3 M
3 megapixels: Smallest number of pixels captured
QUALITY
1
This command sets the compression rate for images. The options include
JPEG and RAW. JPEG format compresses the data and creates a processed
result, with some original data lost in the process. RAW format saves all
the original picture data, without any compression, and will give you
more flexibility when you conduct your own post-processing.
When MENU/SET>REC>(
pg
4) BURST RATE>[SH] and the drive mode
lever is set to Burst Mode, [RAW] and [RAW
+ Fine
] will automatically be
changed to [
Fine
]; and [RAW
+ Standard
] will automatically be changed to
[
Standard
].
If you save both RAW and JPEG files and then wish to delete the saved
picture with the camera’s delete function, both formats will be deleted.
There are some limitations for [RAW]: MENU/SET>PLAYBACK>(
pg
3) PRINT
SET and MENU/SET>PLAYBACK>(
pg
3) FAVORITE are not operational for
[RAW] pictures.
Fine: The image is stored in JPEG format. The file will have more detail than
a JPEG Standard file.
Standard: The image is stored in JPEG format. A standard level of detail is
recorded.
RAW + Fine: Two images are stored—one in RAW format and one in JPEG
Fine format.
RAW + Standard: Two images are stored—one in RAW format and one in
JPEG Standard format.
RAW: One image is stored in RAW format (must be post-processed on a
computer).
3D Interchangable Lens attached
MPO + Fine JPEG: Two images are stored—one in three-dimensional MPO
format and one in two-dimensional JPEG Fine format.
MPO + Standard JPEG: Two images are stored—one in three dimensional
MPO format and one in two dimensional JPEG Standard format.


