3.3 Installation of the KX-TDA Maintenance Console
162
Installation Manual
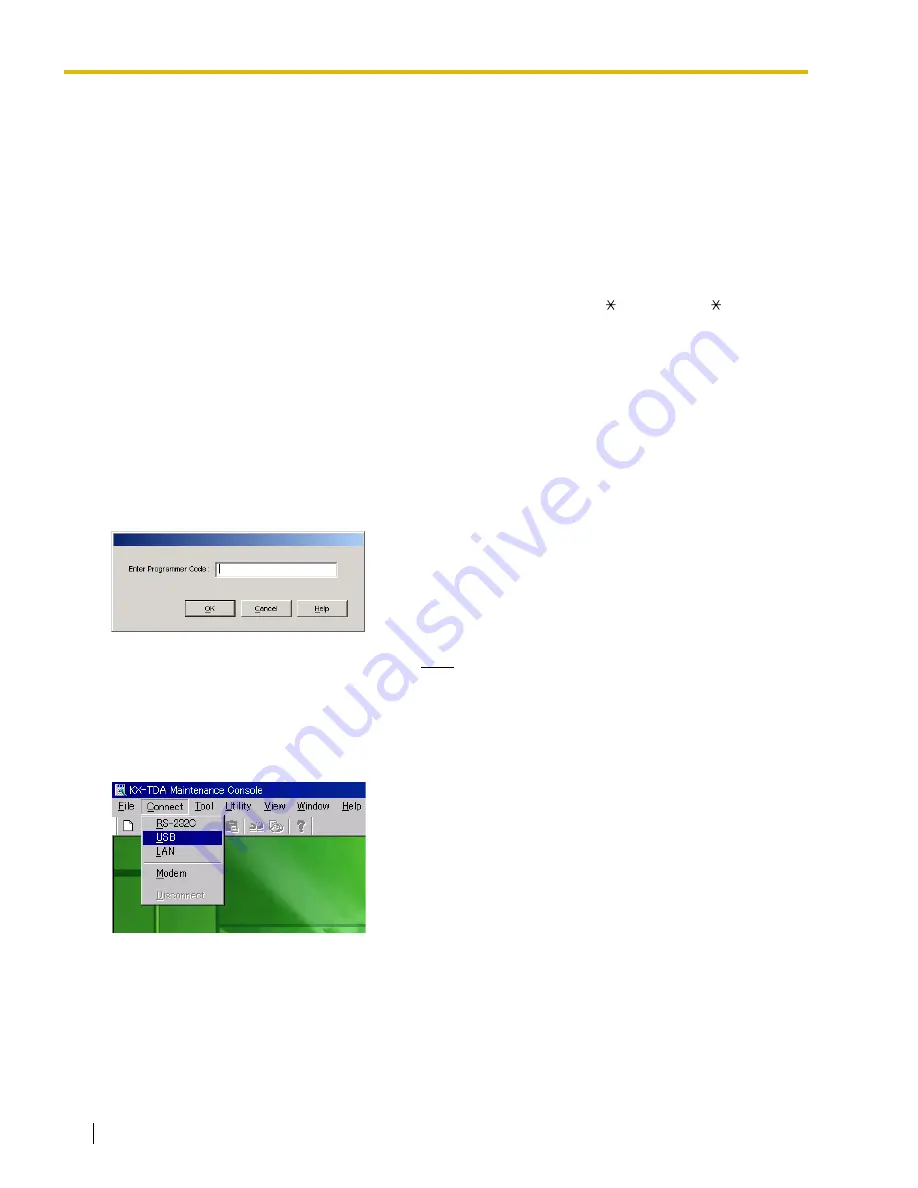
Starting the KX-TDA Maintenance Console and Assigning the Basic
Items (Quick Setup)
When you start the KX-TDA Maintenance Console with the Installer Level Programmer Code and connect
to the Hybrid IP-PBX for the first time after initialization (with the factory default setting), Quick Setup will
launch automatically. During Quick Setup, you will setup the following basic items:
•
Date and Time of the Hybrid IP-PBX. The date and time set on the PC will be used.
•
System Password for installer for PC programming.
•
Operator extension numbers. Operator extensions for all time modes (day/lunch/break/night) can
be assigned.
•
Flexible Numbering type to pattern 1 or pattern 2. If pattern 1 (with ) is selected, " " must prefix
all feature numbers (except access numbers) when an extension user wants to use a feature.
•
Operator call and Idle Line Access/ARS numbers (0 or 9). The feature numbers for operator call
and Idle Line Access/ARS can be selected.
•
Remote Maintenance Dial Number. Enter the complete telephone number of the Hybrid IP-PBX
(including the country code). When necessary, this number will be used to access the Hybrid IP-
PBX from a remote location for maintenance purposes.
1.
Connect the PC to the Hybrid IP-PBX with a USB cable.
2.
Start the
KX-TDA Maintenance Console
from the Start
menu.
3.
Type the Installer Level Programmer Code (default:
INSTALLER
), then click [OK].
The Programmer Code authorizes different programming
levels, and the Quick Setup is only available when you start
the KX-TDA Maintenance Console with the Installer Level
Programmer Code.
Note
There are 2 other Programmer Codes with limited
authorization: Administrator Level (default:
ADMIN
),
and User Level (default:
USER
).
4.
Click "
Connect
"
→
"
USB
" from the menu bar.
Summary of Contents for KX-TDA100 KX-TDA200
Page 34: ...1 4 Specifications 34 Installation Manual ...
Page 156: ...2 12 Starting the Hybrid IP PBX 156 Installation Manual ...
Page 184: ...4 1 Troubleshooting 184 Installation Manual ...
Page 185: ...Installation Manual 185 Section 5 Appendix ...
Page 188: ...5 1 Revision History 188 Installation Manual ...
Page 189: ...Installation Manual 189 Index ...
Page 193: ...Index Installation Manual 193 ...


