background image

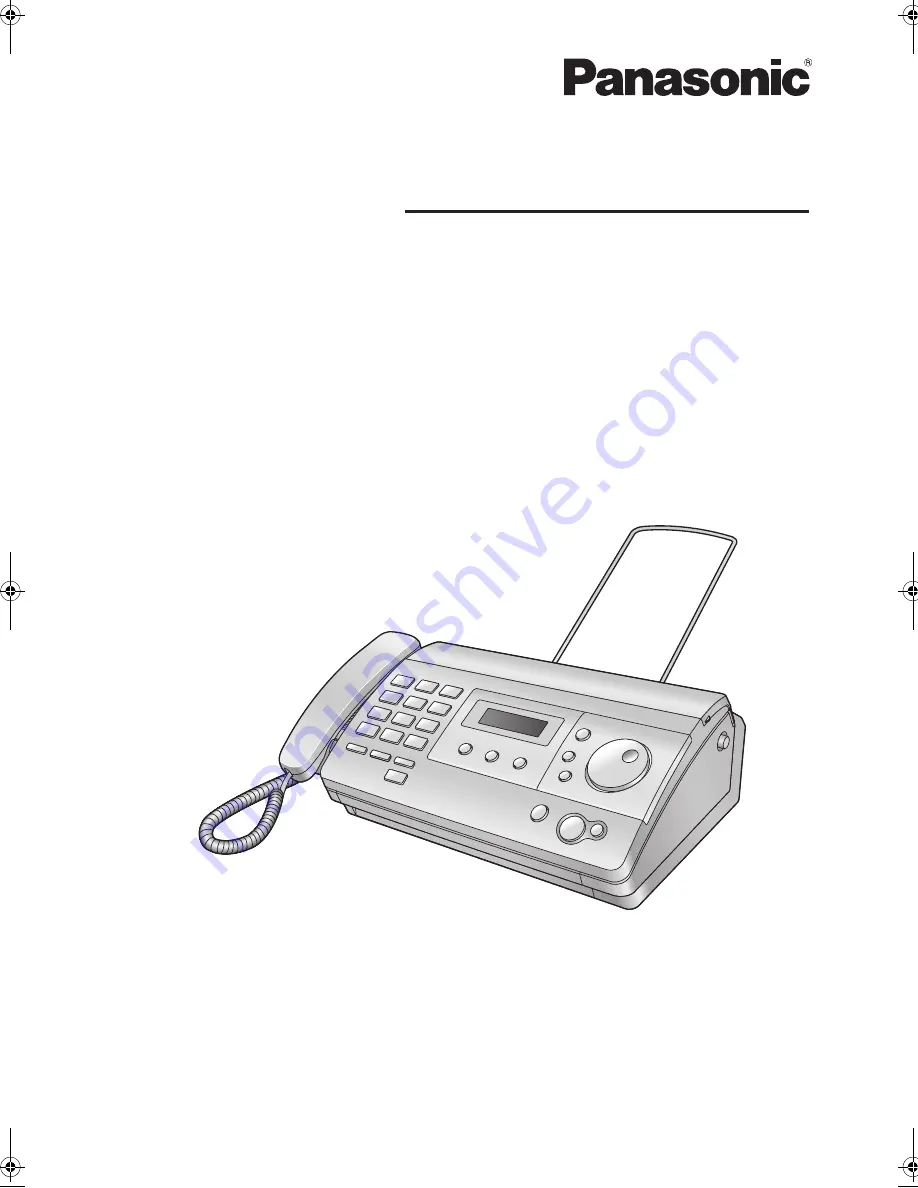
Thank you for purchasing a Panasonic fax 
machine.

Please read these operating instructions 
before using the unit and save for future 
reference.

This unit is compatible with Caller ID. You 
must subscribe to the appropriate service 
of your service provider/telephone 
company.


Operating Instructions

Model No.


KX-FT502ML
KX-FT503ML

Personal Facsimile

KX-FT503

FT502-503ML-PNQX2922ZA-OI-en.

PDF

  Page 1  Friday, June 11, 2010  11:07 AM

Summary of Contents for KX-FT502ML

Page 1: ...g instructions before using the unit and save for future reference This unit is compatible with Caller ID You must subscribe to the appropriate service of your service provider telephone company Operating Instructions Model No KX FT502ML KX FT503ML Personal Facsimile KX FT503 ...

Page 2: ...dial lock feature 14 5 Fax Sending Faxes 5 1 Sending a fax manually 16 5 2 Documents you can send 16 5 3 Sending a fax using the phonebook 17 5 4 Broadcast transmission 17 Voice Contact 5 5 Talking to the other party after fax transmission or reception 18 Receiving Faxes 5 6 Selecting the way to use your fax machine 18 5 7 Receiving a fax manually Auto answer OFF 19 5 8 Receiving a fax automatical...

Page 3: ...operate this product the power outlet should be near the product and easily accessible L Be sure to use the telephone line cord supplied with this unit L Do not extend the telephone line cord L Keep the unit away from walls as far as possible to prevent a recording paper jam Note L Before you can make calls the dialling mode setting may need to be changed page 10 1 Telephone line cord 2 Handset 3 ...

Page 4: ...ly by pushing down on both sides F For KX FT502 Press Fax Start then tear off the excess paper by pulling it towards you For KX FT503 Press Fax Start to cut the paper Correct Incorrect 1 1 Note L If the paper is secured with glue or tape cut approximately 15 cm from the beginning of the roll before installing it L When the power cord is connected a message is printed each time the top cover is ope...

Page 5: ...number and press Fax Start To make a copy Press Copy L For further details to send a fax see page 16 For further details to make a copy see page 22 1 5 Fax receiving A Lift the handset to answer the call B To receive a fax document press Fax Start L For further details see page 19 L You can select how you want the unit to receive calls according to your needs page 18 1 Copy Fax Start Fax Start ...

Page 6: ...talled Do not ignore this safety feature by tampering with the plug Do not place objects on the power cord Install the unit where no one can step or trip on the cord Do not overload power outlets and extension cords This can result in the risk of fire or electric shock Completely insert the AC adaptor power plug into the power outlet Failure to do so may cause electric shock and or excessive heat ...

Page 7: ...uch as heaters kitchen stoves etc Damp basements should also be avoided Follow all warnings and instructions marked on this unit Do not spill liquids detergents cleansers etc onto the telephone line cord plug or allow it to become wet at all This may cause a fire If the telephone line cord plug becomes wet immediately pull it from the telephone wall jack and do not use Unplug this unit from power ...

Page 8: ...s unit may disturb the network condition of the device L If you use the unit with a computer and your internet provider instructs you to install a filter 1 please connect it as follows Routine care L Wipe the outer surface of the unit with a soft cloth Do not use benzine thinner or any abrasive powder 1 ...

Page 9: ...s E Redial Pause L To redial the last number dialled If the line is busy when you make a phone call using the Monitor button or when you send a fax the unit will automatically redial the number 2 or more times L To insert a pause during dialling F Flash L To access special telephone services or for transferring extension calls G Handset Mute L To mute your voice during a conversation Press again t...

Page 10: ...03 M 08 Y 10 TIME 00 00 5 Enter the current hour minute by selecting 2 digits for each Press repeatedly to select AM PM or 24 hour time entry L When neither AM nor PM are displayed 24 hour time entry is selected Example 15 20 24 hour time entry Press 1 5 2 0 D 03 M 08 Y 10 TIME 15 20 6 Press Set 7 Press Menu To correct a mistake Press or to move the cursor to the incorrect number and make the corr...

Page 11: ...ge sent from your unit 1 Press Menu 2 Press Set 3 Rotate Easy Dial to display YOUR FAX NO 4 Press Set L The cursor will appear on the display NO 5 Enter your fax number up to 20 digits Example NO 1234567 6 Press Set 7 Press Menu Note L The button enters a and the button enters a space Example 234 5678 Press 2 3 4 5 6 7 8 L To enter a hyphen in a telephone number press Flash To correct a mistake Pr...

Page 12: ...y Dial to the right to display LISA L To stop the search press Stop L To dial the displayed party lift the handset or press Monitor 4 1 3 Editing a stored item 1 Rotate Easy Dial to display the desired item 2 Press Menu 3 Press L If you do not need to edit the name skip to step 5 4 Edit the name For further details see the storing procedure on page 12 5 Press Set L If you do not need to edit the t...

Page 13: ... L If the area code of the received telephone number is the same as yours the area code may need to be deleted before calling back This may only apply to some areas To edit the number see page 13 The display will show the number of new calls in standby mode Example 10 CALLS 10 59AM 1 Press Caller ID 2 Rotate Easy Dial to the right to search from the recently received caller information L If you ro...

Page 14: ...book by printing the telephone number list page 36 L To edit a name see page 12 Dial Lock 4 7 Setting the dial lock feature Dial lock feature allows you to prevent others from making calls During the setting procedure of this feature you must store a PIN Personal Identification Number This PIN is required when turning OFF dial lock you must store at least one telephone number for emergency purpose...

Page 15: ... desired emergency telephone number L To stop the search press Stop or replace the handset 3 Press Set L The unit will start dialling automatically Note L If any documents are in the document entrance the unit will start fax transmission To turn OFF dial lock 1 Press Menu repeatedly to display DIAL LOCK 2 Press Set 3 Enter your PIN 4 Press Set ...

Page 16: ...l automatically redial the number 2 or more times L To cancel redialling press Stop To send more than 10 pages at a time Insert the first 10 pages of the document Add the other pages up to 10 at a time on top of the previously inserted pages before the last page feeds into the unit To predial a fax number You can dial the fax number first before inserting the document This is convenient if you nee...

Page 17: ... 5 4 Broadcast transmission By storing phonebook items page 12 into the broadcast memory you can send the same document to multiple parties up to 20 Your programmed items will remain in the broadcast memory allowing frequent re use L Phonebook items can be stored into the broadcast memory 5 4 1 Programming items into the broadcast memory 1 Press Menu repeatedly to display BROADCAST SET 2 Press 3 P...

Page 18: ...start talking Note L When your unit rings while using this feature the ring will sound slightly different than the ring heard when a call is received L If you initiate voice contact while sending a fax and the other party answers your unit will ring after all of the documents have been sent L If you initiate voice contact while receiving a fax and the other party answers your unit will ring after ...

Page 19: ...the same line extension telephone you can use the extension telephone to receive faxes 1 When the extension telephone rings lift the handset of the extension telephone 2 When document reception is required a fax calling tone slow beep is heard or no sound is heard press 9 default fax activation code firmly L The fax machine will start fax reception 3 Replace the handset Note L To receive fax docum...

Page 20: ...before a call is answered in FAX ONLY mode can be changed feature 06 on page 23 5 9 Receive polling This feature allows you to retrieve a document by calling an available polling service Therefore you pay for the call Make sure that no documents are fed into your unit 1 Press Menu repeatedly to display POLLING 2 Press Set 3 Dial the fax number Using dial keys 0 to 9 or Enter the fax number Using p...

Page 21: ...isplay JUNK LIST DISP 4 Press Set 5 Rotate Easy Dial to display the item 6 Press Menu to exit To print the junk fax prohibitor list 1 Press Menu repeatedly to display JUNK FAX PROH 2 Press Set 3 Rotate Easy Dial to display JUNK LIST PRINT 4 Press Set 5 Press Menu to exit To erase an item from the junk fax prohibitor list 1 Press Menu repeatedly to display JUNK FAX PROH 2 Press Set 3 Rotate Easy Di...

Page 22: ... start copying Note L When you copy a multiple page document which is longer than A4 size paper approx 300 mm we recommend you insert one page at a time L Any document which can be sent as a fax can also be copied page 16 L The copied recording paper comes out somewhat longer than the document size To select the resolution Select the desired resolution according to the type of document FINE For pr...

Page 23: ...t a sending report for fax transmission results page 16 0 OFF The sending reports will not be printed 1 ON A sending report will be printed after every transmission 2 ERROR default A sending report will be printed only when fax transmission fails Changing the ring setting in FAX ONLY mode 0 6 To change the number of rings before the unit answers a call in FAX ONLY mode You can select 1 2 default 3...

Page 24: ... If necessary press A or B repeatedly to select the desired resolution page 16 3 Press Menu 4 Press then 2 5 5 Rotate Easy Dial to select ON 6 Press Set 7 Enter the fax number page 17 8 Press Set 9 Enter the transmission start time L If you select 12 hour time entry when you set the date and time page 10 press repeatedly to select AM or PM L If you selected 24 hour time entry when you set the date...

Page 25: ...ing the dial keys 0 9 and L The default code is 9 6 Press Set 7 Press Menu Setting the memory reception alert 4 4 To alert you with a beeping sound when a received fax document is stored into memory due to some existing problem The slow beeps will continue until you clear the printing problem and make sure the unit is supplied with enough paper to print the stored document 0 OFF Deactivates this f...

Page 26: ... 700ms default 600ms 400ms 300ms 250ms 200ms 160ms 110ms 100ms 90ms or 80ms Note L If the unit is connected via a PBX this setting may need to be changed in order for PBX functions transferring a call etc to work correctly Consult your PBX supplier for the correct setting Changing the receiving mode in the manual answer setting 7 3 1 TEL default Telephone mode page 19 2 TEL FAX Telephone Fax mode ...

Page 27: ...reset the advanced features 1 Press Menu 2 Press then 8 0 3 Rotate Easy Dial to select YES 4 Press Set 5 Press Set again 6 Press Menu Note L The emergency telephone numbers stored in the dial lock feature page 14 will be saved L The ECM selection feature 68 on page 26 will not be reset Feature Code Selection ...

Page 28: ...nit rejected fax reception MEMORY FULL L The memory is full of received documents due to a lack of recording paper or a recording paper jam Install paper page 4 or clear the jammed paper page 33 NO DOCUMENT L The document was not fed into the unit properly Re insert it and try again OTHER FAX NOT RESPONDING L The other party s fax machine is busy or has run out of recording paper Try again L The o...

Page 29: ...e personnel NO FAX REPLY L The other party s fax machine is busy or has run out of recording paper Try again PAPER JAMMED CHECK STACKER 1 L A recording paper jam occurred Clear the jammed paper page 33 1 Make sure the paper stacker is inserted page 3 KX FT503 only PHONEBOOK FULL L There is no space to store new items in the phonebook Erase unnecessary items page 12 PLEASE WAIT L The unit is checki...

Page 30: ...L If you connected the fax machine through a computer modem connect the fax machine directly to a telephone line jack I cannot make calls L The dialling mode setting may be wrong Change the setting feature 13 on page 10 The unit does not ring L The ringer volume is turned OFF Adjust it page 9 Problem Cause Solution The other party complains they only hear a fax tone and cannot talk L FAX ONLY mode...

Page 31: ... them page 34 Please do not insert a document before correction fluid has dried completely Problem Cause Solution I cannot receive documents L The telephone line cord is connected to the EXT jack on the unit Connect to the LINE jack page 3 L The memory is full of received documents due to a lack of recording paper or a recording paper jam Install paper page 4 or clear the jammed paper page 33 I ca...

Page 32: ...eiving mode L If you want to set FAX ONLY mode press Auto Answer repeatedly to select FAX ONLY mode L If you want to set TEL mode or TEL FAX mode set the desired mode using 73 page 26 and press Auto Answer repeatedly to select the desired mode When an extension telephone is connected I cannot receive documents by pressing 9 L You must set remote fax activation to ON feature 41 on page 25 beforehan...

Page 33: ...er 4 Cut off the wrinkled portion 5 Install the recording paper and close the top cover securely by pushing down on both sides see page 4 for details Note L Make sure the paper stacker is inserted page 3 KX FT503 only 8 5 Document jams sending 1 Open the top cover by pressing the top cover release button 1 and remove the jammed document carefully 2 2 Close the top cover securely by pushing down on...

Page 34: ... isopropyl rubbing alcohol and let all parts dry thoroughly Clean the white plate 3 and scanner glass 4 with a soft and dry cloth Caution L Do not use paper products such as paper towels or tissues 4 Connect the power cord and the telephone line cord 5 Close the top cover securely by pushing down on both sides then press Fax Start 8 7 Thermal head cleaning If smudges or black white lines appear on...

Page 35: ...ry thoroughly Caution L To prevent a malfunction due to static electricity do not use a dry cloth and do not touch the thermal head directly 4 Connect the power cord and the telephone line cord 5 Install the recording paper and close the top cover securely by pushing down on both sides see page 4 for details 1 ...

Page 36: ...ity of your unit If the test print has a smudge or blurred points or lines clean the thermal head page 34 Caller ID list keeps records of the last 30 different callers after subscribing to a Caller ID service To print automatically after every 30 callers activate feature 26 page 24 1 Press Menu repeatedly to display PRINT REPORT 2 Press Set 3 Rotate Easy Dial to display the desired item 4 Press Se...

Page 37: ...0 2 400 bps Automatic Fallback Operating environment 5 C 35 C 20 80 RH Relative Humidity Dimensions Approx height 123 mm width 352 mm depth 224 mm Mass Weight KX FT502 Approx 2 7 kg KX FT503 Approx 2 8 kg Power consumption Standby Approx 1 5 W Transmission Approx 13 W Reception Approx 30 W When receiving a 20 black document Copy Approx 35 W When copying a 20 black document Maximum Approx 110 W Whe...

Page 38: ...sion 24 Dialling mode 10 23 Dial lock 14 Display contrast 25 Display messages 28 Document size 16 E ECM selection 26 Extension telephone 19 F Fax activation code 25 Fax number 11 FAX ONLY mode 18 20 Flash time 26 Friendly reception 25 J Jams Document 33 Recording paper 33 Journal report 16 23 Junk fax prohibitor 20 L Logo 10 M Manual answer setting 26 Memory reception alert 25 O Overseas mode 24 P...

Page 39: ...39 Notes ...

Page 40: ...uced for internal use only All other reproduction in whole or in part is prohibited without the written consent of Panasonic System Networks Co Ltd Panasonic System Networks Co Ltd 2010 PNQX2922ZA CM0710CU0 Manufacturer 1 62 4 chome Minoshima Hakata ku Fukuoka 812 8531 Japan Global web site http www panasonic net ...

Reviews: