background image

Getting started

3

VQT0R73

Read these operating instructions carefully before using the unit. Follow the safety instructions on the unit and the applicable safety 
instructions listed below. Keep these operating instructions handy for future reference.

(1) Read these instructions.
(2) Keep these instructions.
(3) Heed all warnings.
(4) Follow all instructions.
(5) Do not use this apparatus near water.
(6) Clean only with dry cloth.
(7) Do not block any ventilation openings. Install in accordance with 

the manufacturer’s instructions.

(8) Do not install near any heat sources such as radiators, heat 

registers, stoves, or other apparatus (including amplifiers) that 
produce heat.

(9) Do not defeat the safety purpose of the polarized or grounding-

type plug. A polarized plug has two blades with one wider than 
the other. A grounding-type plug has two blades and a third 
grounding prong. The wide blade or the third prong are provided 
for your safety. If the provided plug does not fit into your outlet, 
consult an electrician for replacement of the obsolete outlet.

(10) Protect the power cord from being walked on or pinched 

particularly at plugs, convenience receptacles, and the point 
where they exit from the apparatus.

(11) Only use attachments/accessories specified by the 

manufacturer.

(12) Use only with the cart, stand, tripod, bracket, or 

table specified by the manufacturer, or sold with 
the apparatus. When a cart is used, use caution 
when moving the cart/apparatus combination to 
avoid injury from tip-over.

(13) Unplug this apparatus during lightning storms or 

when unused for long periods of time.

(14) Refer all servicing to qualified service personnel. Servicing is 

required when the apparatus has been damaged in any way, 
such as power-supply cord or plug is damaged, liquid has been 
spilled or objects have fallen into the apparatus, the apparatus 
has been exposed to rain or moisture, does not operate 
normally, or has been dropped.

Cautions as to condensation

Condensation can cause unreliable playback of VHS recordings. 
Condensation may form in the following cases,

The unit is brought from cold surroundings into a well-heated room.

The unit is suddenly brought from cool surroundings, such as an 
air-conditioned room or car, to a place which is hot and humid.

During the rainy season.

In any of the above-mentioned conditions, do not operate the unit for 
at least 2 hours. The unit is not equipped with a dew sensor.

Other precautions for installation

The unit should not be installed or operated near large magnets or 
electromagnetic devices. Such devices can damage pre-recorded 
VHS recordings.

Do not place any heavy objects atop the unit, and do not install it in 
a confined space. Please allow for adequate air circulation.

The unit should not be mounted in a vertical position. It’s designed 
to operate in the horizontal position.

Pages to be referred to are indicated as (

l


±±

).

The explanations concerning discs are indicated by [DVD], and 
those concerning video are indicated by [VHS].

These operating instructions describe operations mainly using the 
remote control.

The contents of the screens used in these instructions may not 
necessarily match what you will see on your screen.

The displays shown in these instructions are examples. Actual 
display depends on discs.

You can enjoy both DVD and VHS with the unit.
This DVD Recorder can record images and sounds in high quality to 
rapid random access capable DVD media. This has resulted in many 
new features that outperform older tape formats. The following 
information summarizes a few of these features.

ª

DVD

Progressive output (

l

14, 19)

If you connect the unit with a progressive output compatible TV, you 
can enjoy higher-quality and less flickering images than conventional 
TVs (of the interlace output type) can present. 

Finalize (

l

31)

This function enables you to play recorded DVD-R, DVD-RW (DVD-
Video format) and +R on other players. 

Instant play (

l

33)

This function can quickly find and play a video program you wish to 
watch. Direct Navigator guides you to the beginning of a previously 
recorded video program immediately. 

Quick view (

l

20)

This function allows you to watch news, information and other 
programs in a short time.

Chasing play (

l

26)

There is no need to wait until recording is complete. Without stopping 
recording, you can play the video program currently being recorded 
from its beginning.

Instant recording (

l

24)

You no longer need to search for empty disc space. By pressing the 
recording button, the unit finds available recording space and begins 
recording right away.

Simultaneous recording and play (

l

26)

With this function, you can play a previously recorded video program 
while recording another program.

Time slip (

l

21, 26)

This function enables you to jump to the scene you specify during 
play and also while recording.

One touch transfer (dub) (

l

55, 56)

This function can copy video from VHS to DVD and vice versa.

ª

VHS

Long recording (

l

49)

With this function, you can record approx. 10 hours of video onto a 
T-120 cassette, for example.

IMPORTANT SAFETY INSTRUCTIONS

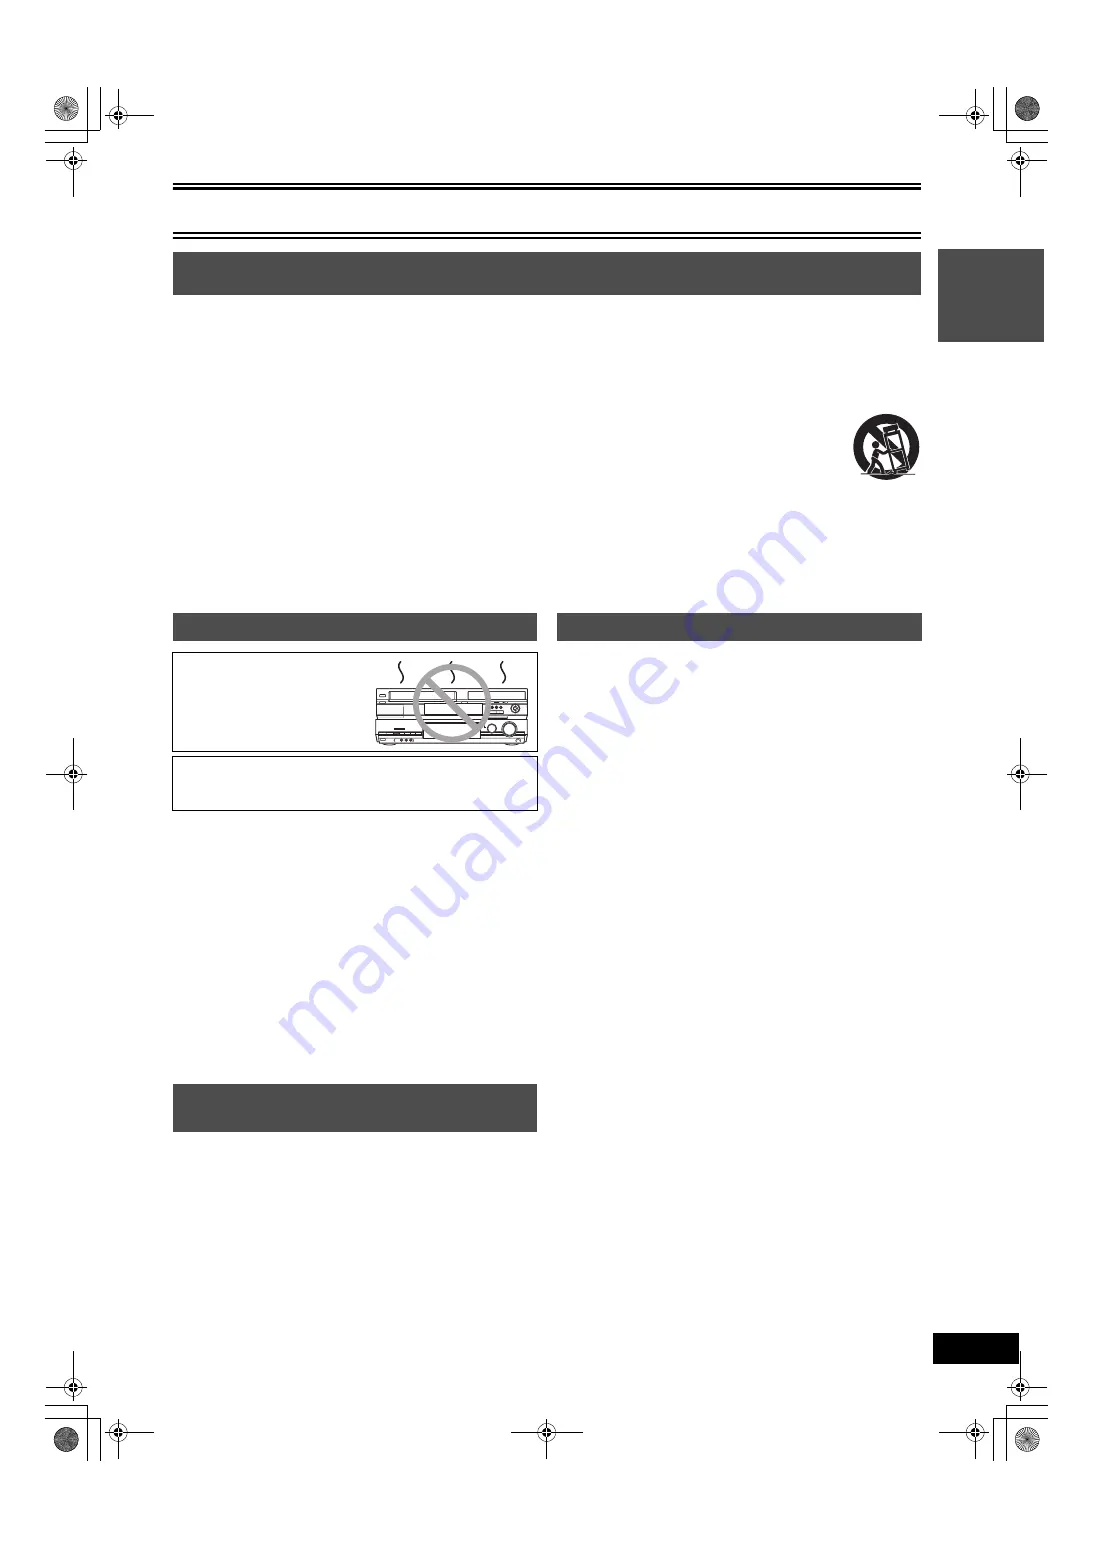
Precautions for installation

Do not place the unit on 
amplifiers or equipment 
that may become hot.

The heat can damage the unit.

Before moving the unit, ensure the disc tray is empty.

Failure to do so will risk severely damaging the disc and the 
unit.

About descriptions in these operating 
instructions

Useful features

Ge

ttin

g

 s

tart

e

d

ES40VP&PC.book  3 ページ  2005年9月6日 火曜日 午前10時23分

Summary of Contents for DMR-ES40VS

Page 1: ...ce and safety please read these instructions carefully Before connecting operating or adjusting this product please read the instructions completely Please keep this manual for future reference VQT0R7...

Page 2: ...ONLY IN THE U S A FCC Note This equipment has been tested and found to comply with the limits for a Class B digital device pursuant to Part 15 of the FCC Rules These limits are designed to provide re...

Page 3: ...not place any heavy objects atop the unit and do not install it in a confined space Please allow for adequate air circulation The unit should not be mounted in a vertical position It s designed to ope...

Page 4: ...wind SEARCH 20 Skipping 20 Slow motion play 20 Frame by frame viewing 21 Direct play 21 Erasing a title that is being played 21 CM Skip 21 Create chapters 21 Displaying the TV image as a picture in pi...

Page 5: ...from VHS 55 One Touch Transfer Dubbing VHS l DVD 55 Transfer Dubbing from DVD 56 One Touch Transfer dubbing DVD l VHS 56 Recording from an external device 57 Manual recording 57 DVD 57 VHS 57 Referenc...

Page 6: ...nly on DVD RAM compatible players It is not necessary to finalize the disc l 58 Only after finalizing the disc l 31 58 Only after finalizing the disc l 31 58 Only after finalizing the disc l 31 58 Wha...

Page 7: ...Video format and play it on the unit RW recorded on another DVD recorder Recorded audio and music including CD R RW CD R and CD RW with music recorded in MP3 l 22 Still pictures JPEG recorded on CD R...

Page 8: ...cord play facing down It is not possible to record continuously from one side of a double sided disc to the other You will need to eject the disc and turn it over When using 8 cm 3q DVD RAM or 8 cm 3q...

Page 9: ...nalizing DVD R DVD RW and R are collectively referred to as DVD R etc on this page Therefore follow the steps below when you use DVD R etc Record to DVD R etc Hola 16 9 aspect program with Main and SA...

Page 10: ...e time heat or expose to flame take apart or short circuit attempt to recharge alkaline or manganese batteries use batteries if the covering has been peeled off Mishandling of batteries can cause elec...

Page 11: ...ng recording Flashes During pause recording 2 TV indicator The indicator lights during the TV mode and it goes out during the VCR mode You can switch the mode by using VCR TV l 19 3 Tape indicator 4 P...

Page 12: ...OUT VHF UHF RF IN AUDIO IN VIDEO IN R L 1 1 4 3 3 2 2 Outdoor antenna Cable TV Indoor antenna TV Audio Video cable Antenna cable Video cassette recorder Cooling fan 75 coaxial cable AC power supply c...

Page 13: ...DEO RF IN RF OUT DIGITAL AUDIO OUT PCM BITSTREAM Y PB PR COMPONENT VIDEO OUT 480p 480i OUT IN OUT IN IN Satellite receiver 75 coaxial cable The unit From antenna or cable TV jack Cable TV box From sat...

Page 14: ...R DIGITAL AUDIO OUT PCM BITSTREAM Y PB PR COMPONENT VIDEO OUT 480p 480i OPTICAL IN 1 3 4 5 2 A 1 Rear panel of the unit 2 Optical digital output terminal 3 Optical digital audio cable not supplied A I...

Page 15: ...NTER If the clock is an hour slower or faster than the actual time Select j1 or i1 in Adjust Time Zone in the SETUP menu l 44 If the unit couldn t set the clock automatically Set the time manually l 4...

Page 16: ...R TOP MENU RETURN STATUS DISPLAY SUB MENU COPYING CREATE CHAPTER F REC JET REW ADD DLT FUNCTIONS RETURN SKIP INDEX SLOW SEARCH REW FF PLAY OPERATION SELECT POWER CM SKIP CANCEL RESET VOLUME CH INPUT S...

Page 17: ...hannel and press 1 Channels are only displayed if they contain a station and if preset captions have not been added 7 Use 3 4 to select the first character and press 1 You can choose from the followin...

Page 18: ...trol at the TV While pressing POWER TV enter the code using the numbered buttons e g 01 press 0 1 Manufacturer and Code No Test by turning on the TV and changing channels Repeat the procedure until yo...

Page 19: ...his will remove the interference 1 Press FUNCTIONS for more than 5 seconds The RF output channel number is displayed on the unit display 2 Press CH W X to select a channel number CH3 or CH4 The unit s...

Page 20: ...ess 6 SLOW SEARCH or 5 SLOW SEARCH There are 5 search speeds Each press increases the search speed Press 1 PLAY to restart playback For your reference Audio is heard during all levels of search CD Dep...

Page 21: ...an amount of time you want to skip 1 During play Press TIME SLIP The PIP screen TV images appears You can change the channel being received by pressing CH W X You will hear the playback audio of the...

Page 22: ...p3 004track mp3 Tree Order of play 003 C 001 002 C P0000010 jpg P0000011 jpg P0000012 jpg 004 C P0000003 jpg P0000004 jpg P0000005 jpg P0000001 jpg P0000002 jpg P0000006 jpg P0000007 jpg P0000008 jpg...

Page 23: ...s SUB MENU 2 Select Start Slide Show with 3 4 and press ENTER To exit the Slide Show Press TOP MENU To Change the display timing 1 Select Slide Interval with 3 4 in step 2 and press ENTER 2 Press 2 1...

Page 24: ...icated When Recording Time in EP Mode has been set to EP Extended Play 6H in the SETUP menu l 41 The sound quality is lower compared to other recording modes when using EP Extended Play 8H Note When r...

Page 25: ...BLE RECORDING window without recording Press RETURN To stop recording in the middle Press STOP To show the time remaining until recording finishes Press STATUS Selecting audio to record Stereo Main au...

Page 26: ...after about 5 seconds However it turns on again when you set the time To show the play images in full Press TIME SLIP Press TIME SLIP to return to the PIP screen For your reference The image on the P...

Page 27: ...piece of DV equipment e g digital video camcorder can be connected to the unit via the DV input terminal Video camcorders from other manufacturers are not guaranteed to work It is not possible to oper...

Page 28: ...usCode number Reenter the PlusCode number To enter the name of the program Press 2 1 to select Title Name and press ENTER l 32 4 If the program is correct Press ENTER Make sure that the scheduled reco...

Page 29: ...g Time to On when manually setting the clock l 44 scheduled recording may not work when summer switches to winter and vice versa Even when the unit is turned off you can display the scheduled recordin...

Page 30: ...A message appears when finished 7 Press ENTER Note Erasing all video titles will result in all playlists also being erased Erase does not work if one or more titles are protected DISC MANAGEMENT PLAY...

Page 31: ...art with 2 and press ENTER Finalizing starts You cannot cancel finalizing A message appears when finalizing is finished Note Finalizing takes about 15 minutes Do not disconnect the AC power supply cor...

Page 32: ...he screen disappears To cancel in the middle Press RETURN Characters will not be saved For your reference If you enter a long name only part of it is shown in the TOP MENU after finalization l 31 When...

Page 33: ...ction to access the inaccessible items RAM RAM R RW V R Multiple editing is possible l below Follow steps 1 to 3 of Editing titles with SUB MENU button Once title is erased using this procedure it can...

Page 34: ...n the Title View 4 Select Change Thumbnail with 3 4 and press ENTER 5 Press 1 PLAY to play 6 Press ENTER at the point you want to display l 35 For quicker editing To change to another point in the sam...

Page 35: ...are extremely short RAM Follow steps 1 to 5 of View Chapters 6 Select Combine Chapters with 3 4 and press ENTER 7 Select Combine with 2 and press ENTER The selected chapter and next chapter are combi...

Page 36: ...ber of playlists the last playlist is selected To show other pages l 33 To stop playlist play Press STOP The Playlist View screen appears To return to the previous screen Press RETURN To exit the scre...

Page 37: ...RW VR Play only Follow steps 1 to 5 of Other functions for playlists You can play the chapters in a playlist 6 Select View Chapters with 3 4 and press ENTER 7 Use 3 4 2 1 to select a desired chapter Y...

Page 38: ...play Angle DVD V Change the number to select an angle PBC Playback control VCD l 58 Indicates whether menu play playback control is on or off A Sound track Subtitle language B Audio attributes LPCM PP...

Page 39: ...when the video content is distorted by using Auto1 Line in NR Only when IN1 or IN2 is selected Reduces video tape noise during transfer dub Depending on the software jittering may occur Off Noise redu...

Page 40: ...limit you set a message appears on the TV Follow the on screen instructions When changing ratings The password screen is shown when you select Ratings l 41 1 Input a 4 digit password with the numbere...

Page 41: ...annel settings ratings level and on screen language Yes No Disc Settings for Playback Press ENTER to show the following settings Ratings l 40 Set a ratings level to limit DVD Video play Setting rating...

Page 42: ...f over 96 kHz or 88 2 kHz or the disc has copy protection On Off Dolby Digital Choose whether to output by Bitstream which processes Dolby Digital signals on other connected equipment or to convert th...

Page 43: ...ch to fit Video recorded for a widescreen is played with the sides cut off Letterbox Shrink to fit Video recorded for a widescreen is played in the letterbox style Language code list Abkhazian 6566 Af...

Page 44: ...creen Press RETURN Follow steps 1 to 5 of Clock Settings 6 Select Set Clock Manually with 3 4 and press ENTER 7 Use 2 1 to select the item you want to change and press 3 4 to change the setting DST Da...

Page 45: ......

Page 46: ...settes Poor quality or damaged video cassettes can cause the heads to become dirty and malfunction Store your video cassettes carefully and discard them when they become dirty or damaged Never use vid...

Page 47: ...ing these buttons normal playback restarts by releasing them Tap 1 PLAY to restart normal playback During play Tap 6 backward 5 forward twice You can increase Cue Review search speed Press 1 PLAY to r...

Page 48: ...tical synchronization to stop the picture from jiggling while paused While paused Press TRACKING V LOCK r or TRACKING V LOCK s Repeat until the jiggling stops To return to auto tracking Press both TRA...

Page 49: ...can also press REC on the main unit The unit s display Each time you press the button Counter Cancel OFF 0 30 OFF 1 00 OFF 1 30 OFF 4 00 OFF 3 00 OFF 2 00 For your reference When the recording time en...

Page 50: ...e program is correct Press ENTER Make sure that the scheduled recording has been programmed correctly on the SCHEDULED LIST screen l 51 Repeat steps 1 4 to program other recordings 5 Press SCHEDULE Th...

Page 51: ...the clock scheduled recording may not work when summer switches to winter and vice versa If at the beginning of a scheduled recording there is not enough tape remaining to complete the recording the...

Page 52: ...o standby This description shows the initial settings for the unit For details on menu operation l above Underlined items are the factory default settings VHS TAPE SELECT Set the length of tape you ar...

Page 53: ...ent Depending on the following the status message displayed will change DVD side not recording VHS operation when not recording or making a scheduled recording on the DVD side DVD side recording VHS o...

Page 54: ...he beginning of the dubbed part Only the following operations are allowed while transferring dubbing Stopping transfer by pressing and holding RETURN for about 3 seconds or more Stopping transfer by p...

Page 55: ...ed when the tape reaches its end or the disc becomes full To stop transfer dubbing in the middle Press STOP or press and hold RETURN for about 3 seconds or more Note When the transfer dubbing is not s...

Page 56: ...last stopped Transfer Dubbing from DVD One Touch Transfer dubbing DVD l VHS SCHEDULE DVD ERASE REC REC MODE ADD DLT TIME SLIP STATUS DISPLAY DUBBING VHS DVD CREATE CHAPTER VCR TV JET REW REC REC MODE...

Page 57: ...ment you have connected Select IN1 IN2 or DV For VHS the DV channel can be selected however it cannot be recorded Follow the above steps 1 to 2 3 Start play on the external device 4 Press REC at the p...

Page 58: ...TV Each frame consists of 2 fields Frame Field Field A frame still shows 2 fields so there may be some blurring between them but picture quality is generally better A field still shows less picture i...

Page 59: ...ipment You may not be able to play R discs on other equipment after formatting them on this unit If you finalize the disc on the equipment used for formatting play becomes possible 6 7 6 Please tell m...

Page 60: ...at the disc with the unit 31 This disc is not formatted properly The operation is prohibited by the unit or disc 20 RC stands for a number The remote control and main unit are using different codes Ch...

Page 61: ...transfer dubbing process display and the displayed recording time of MP3 are different from the actual time The time on the unit s display and the remaining recording time on the screen may be indica...

Page 62: ...rding The unit may have a problem While the unit is off hold down and CH W on the main unit simultaneously for about 5 seconds Remove the disc and consult the dealer Startup is slow Make sure that Qui...

Page 63: ...eo cassette without the accidental erasure prevention tab is inserted Use a video cassette with an accidental erasure prevention tab Some DVDs on the market including rental DVD are copy protected to...

Page 64: ...Set Subtitle in the Disc menu to On 38 Angle cannot be changed This function depends on software availability Angles can only be changed during scenes where different angles are recorded You have for...

Page 65: ...ase even after erasing recordings on the disc Available recording space on the DVD R or the R does not increase even after erasing previously recorded titles Available recording space on a DVD RW DVD...

Page 66: ...od THERE ARE NO EXPRESS WARRANTIES EXCEPT AS LISTED UNDER LIMITED WARRANTY COVERAGE THE WARRANTOR IS NOT LIABLE FOR INCIDENTAL OR CONSEQUENTIAL DAMAGES RESULTING FROM THE USE OF THIS PRODUCT OR ARISIN...

Page 67: ...PRESS LIMITED WARRANTY IS IN LIEU OF ALL OTHER WARRANTIES EXPRESS OR IMPLIED INCLUDING ANY IMPLIED WARRANTIES OF MERCHANTABILITY AND FITNESS FOR A PARTICULAR PURPOSE IN NO EVENT WILL PANASONIC CANADA...

Page 68: ...y protection Video system TV system NTSC system 525 lines 60 fields Recording system MPEG2 Hybrid VBR Input LINE pin jack k 2 1 0 Vp p 75 S connector k 2 Y 1 0 Vp p 75 C 0 286 Vp p 75 Output LINE pin...

Page 69: ...38 DV Automatic Recording 27 Enter Name disc 30 operation 32 title 28 29 34 Erase chapter 35 title 21 30 33 Finalize 31 58 Flexible Recording 25 Format disc 31 FUNCTIONS window 45 Language audio 41 co...

Page 70: ...espu s de terminar todas las dem s conexiones 75 cable coaxial Cable Audio V deo Partidor indica los accesorios incluidos indica los accesorios no incluidos Al IN1 Rojo Blanco Amarillo Utilice un part...

Page 71: ...ustar y pulse 1 7 Utilice 3 4 para seleccionar el canal correspondiente al de gu a y pulse 2 Para borrar un n mero pulse CANCEL RESET Repita los pasos 6 y 7 para introducir otros canales 8 Pulse ENTER...

Page 72: ...namiento Nota Si aparece en el televisor la unidad o el disco prohiben la operaci n Vista r pida Reproducci n t1 3 RAM Puede ser aumentada la velocidad de reproducci n sin distorsionar el audio Durant...

Page 73: ...del cap tulo No puede activar esta funci n cuando est ejecutando TIME SLIP l 75 o env a copia Visualizaci n de la imagen TV como imagen en imagen Selecci n de la cantidad de tiempo a saltar Time Slip...

Page 74: ...nido se baja en comparaci n con otros modos de grabaci n cuando se usa EP Repr n ampliada 8H Indicaci n del tiempo en que se parar la grabaci n Durante la grabaci n Pulse REC para seleccionar el tiemp...

Page 75: ...partir de 30 segundos antes de aquel momento Escuchar el audio de la reproducci n 2 Mientras observa el indicador del tiempo arriba a la derecha Pulse 3 4 para ajustar el tiempo a saltar luego pulse...

Page 76: ...Tenga cuidado de pulsar DVD VHS POWER para que la unidad vuelva al modo de espera antes de la hora de la grabaci n temporizada La grabaci n temporizada s lo funcionar si est visualizado Para detener...

Page 77: ...e la parada Pulse 6 atr s 5 en avance Localizaci n progresiva Rebobinado Durante la reproducci n D un ligero golpe en o mantenga pulsado 6 atr s 5 en avance Si mantiene pulsadas estas teclas la normal...

Page 78: ...ciona durante las grabaciones temporizadas Pulsando STOP la grabaci n se detiene y el horario configurado se borra Recepci n de las transmisiones televisivas durante la grabaci n l 74 Puede introducir...

Page 79: ...as un programa est trabajando 1 Pulse VHS 2 Pulse STOP luego ENTER dentro de 5 segundos Puede tambi n mantener pulsado en el DVD de la unidad principal durante 3 o m s segundos para detener la grabaci...

Page 80: ...technology must be authorized by Macrovision Corporation and is intended for home and other limited viewing uses only unless otherwise authorized by Macrovision Corporation Reverse engineering or disa...

Reviews: