275
9. Using Menu Functions
• The erasure operation can only be performed
by touching. [Clear Retouch] automatically
enables the touch operation.
1
Press
2
/
1
to select a picture, and then press
[MENU/SET].
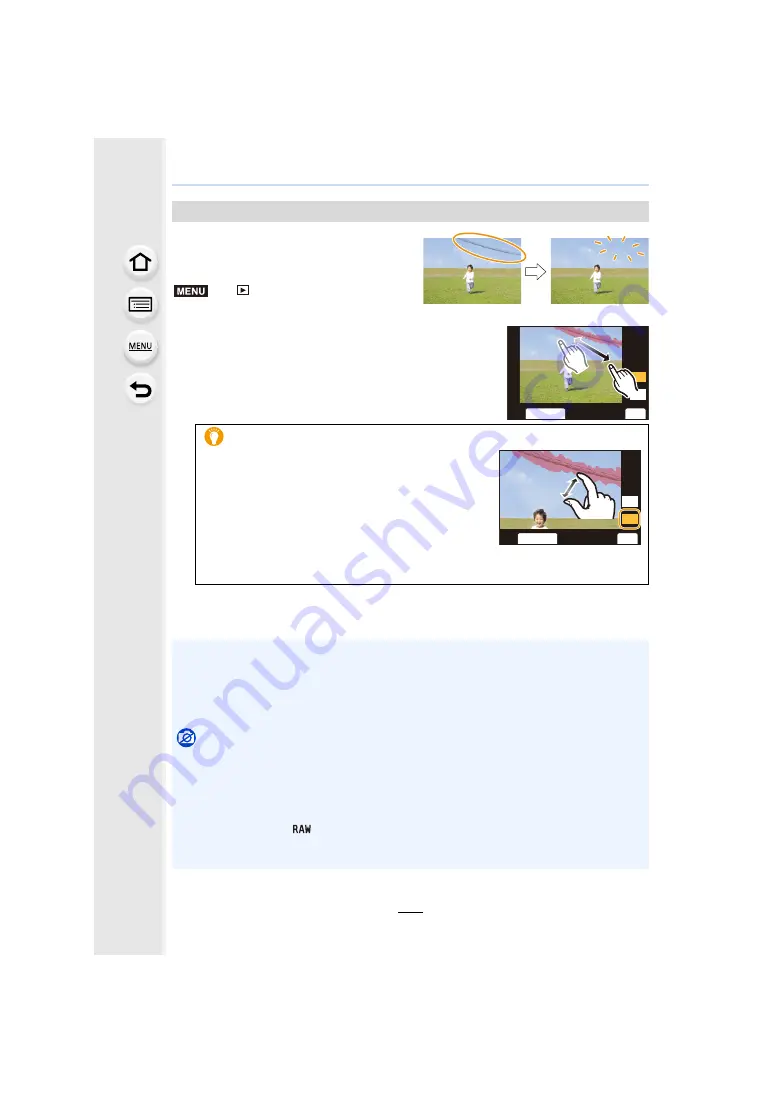
2
Drag your finger over the part you want to delete.
• The parts to be erased are coloured.
• To return the coloured part back to its previous state, touch
[Undo].
3
Touch [Set].
4
Touch [Save] or press [MENU/SET].
[Clear Retouch]
>
[Playback]
>
[Clear
Retouch]
Erasing details (enlarging the display)
1
Touch [SCALING].
• Pinching out/pinching in the screen allows you to
enlarge/reduce it.
• Dragging the screen allows you to move the
enlarged part.
2
Touch [REMOVE].
• This will bring you back to the operation of dragging
your finger over the part you want to delete. The part
you want to delete can be dragged even while the picture is enlarged.
• Pictures may appear unnatural because the background of deleted parts is artificially created.
• For group pictures, perform [Clear Retouch] on each picture.
(They cannot be edited at once.)
• When [Clear Retouch] is performed on group pictures, they are saved as new pictures
separate from the original ones.
Not available in these cases:
• Not available when the viewfinder is in use.
• This function is not available in the following cases:
– Motion pictures
– 4K burst files
– Images recorded with the Post Focus function
– Pictures taken with [
]
– Pictures created from a motion picture which had been recorded when the motion picture
size had been set to [C4K] in [Rec Quality]
MENU
6&$/,1*
5(029(
6HW
8QGR
6&$/,1*
5(029(
6HW
8QGR


