background image

20

Getting Started

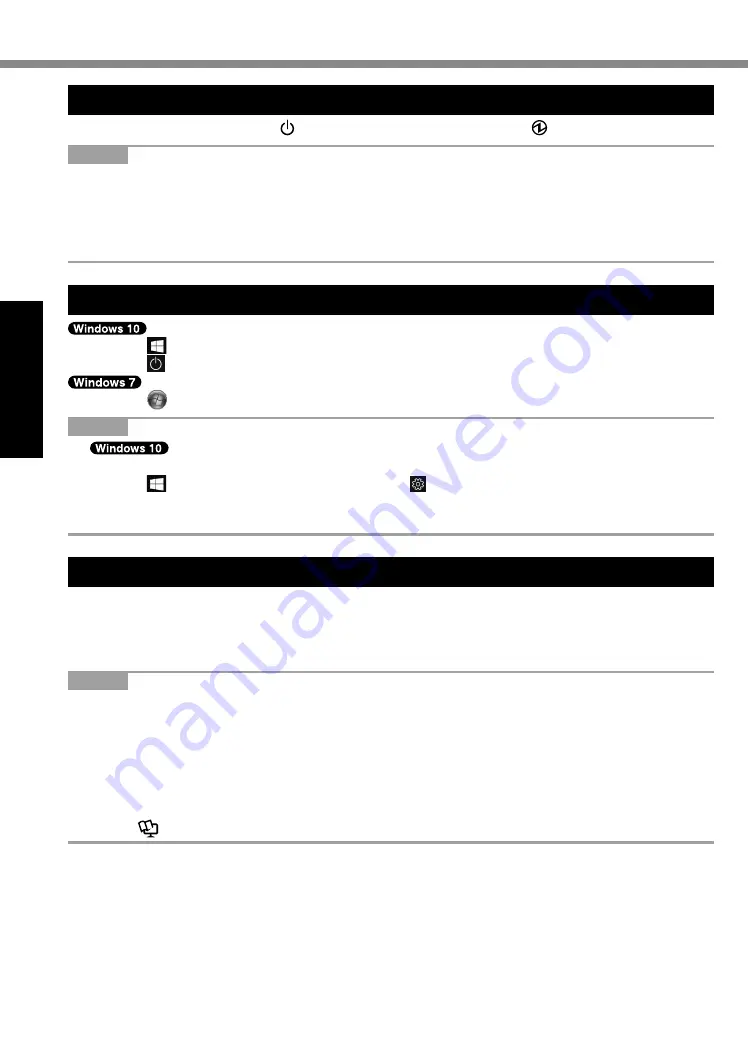
Turning On / Turning Off

Turning On

Press and hold the power switch   (

è

 page 4) until the power indicator   (

è

 page 4) lights.

 NOTE 

l

  Do not press the power switch repeatedly.

l

  The computer will forcibly be turned off if you press and hold the power switch for four sec-

onds or longer.

l

  Once you turn off the computer, wait for ten seconds or more before you turn on the computer 

again.

Turning Off

A

 Click   (Start) at the lower left.

B

 Click   (Power) - [Shutdown].

A

 Click   (Start) - [Shutdown].

 NOTE 

l


To turn off the computer completely, proceed as follows.

A

 Click   (Start) at the lower left, and the click   (Settings) - [Update & security] - [recovery].

B


Click [Restart now] under “Advanced startup”.

C


Click [Turn off your PC].

Precautions against Starting Up/Shutting Down

l

  Do not do the following

•  Connecting or disconnecting the AC adaptor

•  Pressing the power switch

•  Touching the keyboard, touchpad, touchscreen or external mouse

 NOTE 

l

  To conserve power, the following power saving methods are set at the time of purchase.

•  The screen automatically turns off after : 

10 minutes (when AC adaptor is connected) of inactivity 

5 minutes (when operating on battery power) of inactivity

•  The computer automatically enters sleep

*1

 after : 

20 minutes (when AC adaptor is connected) of inactivity 

15 minutes (when operating on battery power) of inactivity

*1

 Refer to 


Reference Manual

  “Sleep or Hibernation Functions” about resuming from sleep.

Summary of Contents for CF-20 series

Page 1: ...ting Troubleshooting Basic 31 Appendix LIMITED USE LICENSE AGREEMENT 36 Specifications 40 LIMITED WARRANTY 45 Standard Limited Warranty 52 Useful Information Troubleshooting Appendix Getting Started C...

Page 2: ...Refer for the latest information about optional products to the catalogs etc l In these instructions the names and terms are referred as follows Windows 10 Pro 64 bit as Windows or Windows 10 Windows...

Page 3: ...er information about the computer you can refer to the on screen manual l Operating Instructions Reference Manual This Manual contains the practical information to help you fully enjoy the computer s...

Page 4: ...emperature Wireless ready This indicator lights when Wireless LAN Bluetooth and or Wireless WAN are connected and ready It does not necessarily indicate the On Off condi tion of the wireless connectio...

Page 5: ...5 Getting Started T USB 3 0 Port Reference Manual USB Devices U LAN Port Connect to a network LAN V Serial Port Reference Manual Serial Port...

Page 6: ...gnetic media in contact with these areas G SD Memory Card Indicator Blinking During access or a password is requested H microSD Memory Card Slot Keep microSD Memory Cards away from infants and small c...

Page 7: ...equested C SD Memory Card Slot Keep SD Memory Cards away from infants and small children Reference Manual SD Memory Card D HDMI Port Reference Manual External Dis play E USB 2 0 Port Connect to a netw...

Page 8: ...2 C External Antenna Connector CH1 D Expansion Bus Connector Reference Manual Port replicator E Battery Cover F Battery Cover Latch G LED Indicator Battery Status Reference Manual Battery Power H Batt...

Page 9: ...e shape of this may vary depending on the model E Release Latch F microSIM Card Slot Only for model with wireless WAN Connect to a network Wireless WAN G Battery Pack Latch Reference Manual Battery Po...

Page 10: ...tery Status Power Status Off Power off Hibernation Green Power on Blinking Green Sleep Blinking green rapidly Cannot power on or resume due to low temperature C Barcode Reader Only for model with Barc...

Page 11: ...it is turned on perform the following CAUTION z z Before detaching the main unit check the remaining battery power by pressing the Fn and F9 keyboard keys at the same time When the battery status of...

Page 12: ...the key board base hold the position at the locations dashed line circled in the illustration The main unit can be attached facing the reverse direction CAUTION l Depending on the shape of the main u...

Page 13: ...at the locations dashed line circled in the illustration in a downward direc tion Release lever B will return to the direction of the arrow B Raise detach the lock A above NOTE z z Confirm that the r...

Page 14: ...nly for model with digitizer Only for model with touchscreen Digitizer pen 1 Stylus 1 OPERATING INSTRUCTIONS Read Me First 1 1 Stored in the main unit at the time of packing 1 Attaching the pen includ...

Page 15: ...running from the battery pack alone l When the DC plug is not connected to the computer dis connect the AC cord from your electrical outlet Power is consumed simply by having the AC adaptor plugged i...

Page 16: ...g of the CPU Wait until the computer cools down and then turn the power on again If the computer does not power on even after cooling down contact Panasonic Technical Support pages 45 51 5 For MUI OS...

Page 17: ...ting after setup of Windows l Remember your password If you forget the password you cannot use Windows Creating a password reset disk before hand is recommended l Use standard characters as a computer...

Page 18: ...Computer s Usage Status l For MUI OS model In the default settings a shortcut icon for Korean language is on the Desktop screen You may delete the icon if not necessary If the recovery partition is de...

Page 19: ...click Computer then click Manage l A standard user needs to enter an administrator password B Click Disk Management C Right click the partition for Windows c drive in the default setting and click Sh...

Page 20: ...ettings Update security recovery B Click Restart now under Advanced startup C Click Turn off your PC Precautions against Starting Up Shutting Down l Do not do the following Connecting or disconnecting...

Page 21: ...ith a drip proof keyboard but no warranty is provided against any trouble caused by shock Be extremely careful when handling the computer l When carrying the computer Turn off the computer Remove all...

Page 22: ...ireless WAN l Before using wireless LAN Bluetooth wireless WAN make the appropriate security settings such as data encryption n Battery Recalibration l The battery recalibration may take a long time d...

Page 23: ...r settings and double click Display D Double click Enable adaptive brightness make necessary settings and click OK Set each item to ON and the brightness of the screen display will adjust automaticall...

Page 24: ...Do not use commercially available household cleaners and cosmetics as they may contain components harmful to the surface l Do not apply water or detergent directly to the computer since liquid may ent...

Page 25: ...n and then remove the cover Depending on the models the shape of cover may differ A 5 Slide both latches B to the arrow direction and then remove the battery pack B 6 Remove the screws 10 and lift the...

Page 26: ...remove it until installation is complete 1 Perform Reset Windows A Click Start Settings Update security Recovery B Click Get Started under Reset this PC C Select the option 1 Keep my files Windows re...

Page 27: ...displayed turn on the computer while holding down F2 or Del l If the password is requested enter the Supervisor Password 2 Write down all of the contents of the Setup Utility and press F9 At the conf...

Page 28: ...type 32bit or 64bit then click OK 13 Click Recovery ALL Partitions 14 At the confirmation message click YES Installation starts according to the instructions on the screen It will take approximately s...

Page 29: ...ted enter the Supervisor Password 3 Write down all of the contents of the Setup Utility and press F9 At the confirmation message select Yes and press Enter 4 Check the UEFI Boot setting of the Setup U...

Page 30: ...is option when the flash memory has already been divided into several parti tions and you want to keep the partition structure For how to create a new partition refer to To change the partition struct...

Page 31: ...minutes If Cannot warm up the system is displayed the computer failed to warm up and does not start In this case turn off the computer leave it in an environ ment of 5 C 41 F or higher temperature for...

Page 32: ...he date and time of the server l The 2100 A D or later year will not be correctly recognized on this computer Executing Battery Recali bration screen appears l The Battery Recalibration was cancelled...

Page 33: ...lay B Right click Start at the bottom left corner and then click File Explorer Click Start Computer C Right click This PC D Right click Windows C Local Disk C and click Properties E Click Tools Check...

Page 34: ...or is connected and when not connected l Press Fn F8 to turn off the concealed mode l Under factory default settings the brightness of the display screen will adjust automatically based on the ambient...

Page 35: ...r is connected to the internet start up Adobe Reader and click Help Check for Updates n Others No response l Press Ctrl Shift Esc to open Task Manager and close the software application that is not re...

Page 36: ...ailable to any third party by time sharing or otherwise without the prior written consent of Panasonic Corporation D You may not copy or reproduce or permit to be copied or reproduced the Programs or...

Page 37: ...and licensed to Panasonic Corporation 3 the software licensed under the GNU General Public License Version 2 0 GPL V2 0 4 the software licensed under the GNU LESSER General Public License Version 2 1...

Page 38: ...quelque autre mani re que ce soit sans l autorisation crite pr alable de Panasonic Corporation D Vous ne pouvez ni copier ni reproduire ni permettre la copie ni la reproduction des Logiciels ni de la...

Page 39: ...ce et annule toute proposi tion ou contrat pr c dent crit ou oral et toute autre communication entre nous relativement l objet du pr sent contrat Ce produit contient le logiciel suivant 1 le logiciel...

Page 40: ...or MUI OS model 50 GB 3 is used as a partition with disk recovery tools Users cannot use this partition Approx 300 MB 3 is used as a partition with system tools Users cannot use this partition Display...

Page 41: ...me 15 Power Off Approx 2 5 hours Power On Approx 3 hours Approx 3 5 hours When attaching the optional battery pack to the key board base Power Consumption 16 Approx 30 W 17 Approx 60 W maximum when re...

Page 42: ...ility PC Diagnostic Utility Hard Disk Data Erase Utility 26 n Wireless LAN 6 Data Transfer Rates IEEE802 11a 54 Mbps 27 IEEE802 11b 11 Mbps 27 IEEE802 11g 54 Mbps 27 IEEE802 11n 28 HT20 150 Mbps HT40...

Page 43: ...sage conditions or when an optional device is attached 14 If the LAN port Keyboard Base is enabled the operating time is 6 5 hours 15 Varies depending on the usage conditions CPU speed etc 16 Approx 0...

Page 44: ...ower Saving Settings etc 26 Perform on the recovery disc Alternatively perform on the SSD recovery partition 27 These are speeds specified in IEEE802 11a b g n ac standards Actual speeds may differ 28...

Page 45: ...e Provider or damage that is attributable to acts of God Cosmetic damage that does not affect functionality is not covered Cosmetic damage on units with hardware failures will be repaired in accordanc...

Page 46: ...in the disk s or other media on which the Programs are furnished resulting from your storage thereof or for defects that have been caused by operation of the disk s or other media Panasonic s entire...

Page 47: ...EFB Systems and 2 EFB Systems are defined by FAA AC Advisory Circular 120 76A or JAA JAA TGL Temporary Guidance Leaflets No 36 Other Limits and Exclusions There are no other express warranties except...

Page 48: ...ys for instructions on how to obtain service A purchase receipt or other proof of date of original purchase is required before warranty service is performed Defective parts covered by this Limited War...

Page 49: ...fit loss or special indirect or consequential damages or other claims whether or not of similar character No Coverage This limited warranty does not apply if the disk s or other media has been used in...

Page 50: ...identifier la nature de la d faillance Un re u ou toute autre pi ce justificative de la date d achat original sera exig avant toute r paration Toute pi ce d fectueuse couverte par la pr sente garanti...

Page 51: ...ture similaire ou autre Produits non couverts La pr sente garantie limit e ne s applique pas si la ou les disquettes ou autre support ont t utilis s dans un produit d une marque autre que Panasonic ou...

Page 52: ...Panasonic including media bay devices such as CD Rom drives 1 year Batteries 6 months Panasonic Warranty covers the battery for six months A battery is considered good if it maintains 50 of its charge...

Page 53: ...main unit are stored This media is originally provided with the unit Panasonic warrants to you only that the disc s or other media on which the Programs are fur nished will be free from defects in ma...

Page 54: ...long an implied warranty lasts so the above limitations or exclusions may not apply to you This limited warranty gives you specific legal rights and you may also have other rights that vary from coun...

Page 55: ...sonic Australia Pty Limited ACN 001 592 187 ABN 83 001 592 187 1 Innovation Road Macquarie Park NSW 2113 Importer s name address pursuant to the EU legislation Panasonic System Communications Company...

Reviews: