


64
VQT3Q78
The automatic white balance function may not reproduce natural colors depending on the
scenes or lighting conditions. If so, you can adjust the white balance manually.
≥
Set the iA/MANUAL/FOCUS switch to manual mode. (
l
63)
1
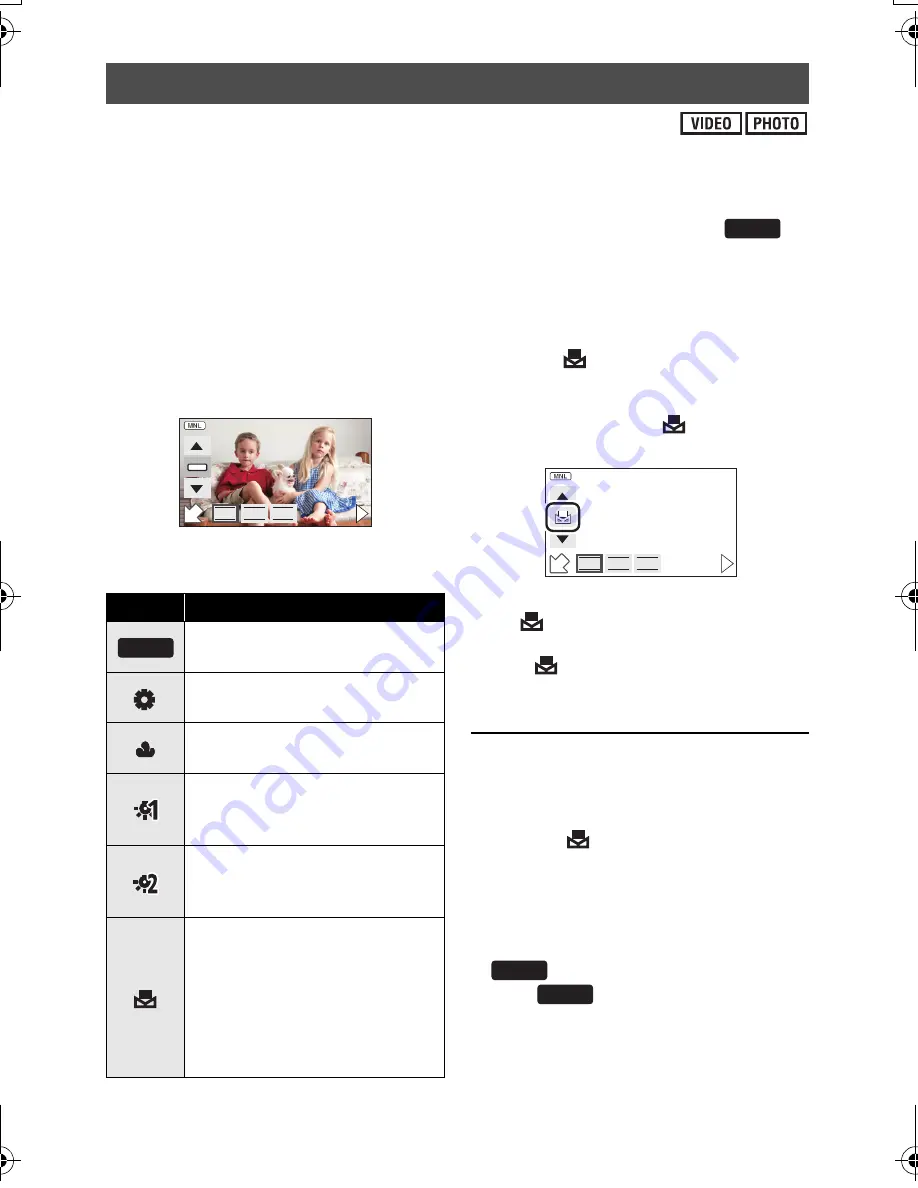
Select [WB] using the cursor
button right or left and press
the button in the center.
2
Select white balance mode
using the cursor button up or
down and press the button in
the center.
≥
Select the optimal mode by confirming the
color on the screen.
≥
To return to auto setting, set to
or
set the iA/MANUAL/FOCUS switch to
intelligent auto mode.
∫
To set the white balance
manually
1
Select
using the cursor button
up or down, fill the screen with a
white subject.
2
Select the blinking
and press the
button in the center.
≥
When the screen turns black instantly and
the
display stops flashing and then
lights constantly, the setting is complete.
≥
If the
display continues flashing, the
white balance cannot be set. In this case,
use other white balance modes.
≥
If you turn on the unit with the lens cap
attached, the auto white balance will not
be performed correctly. Always remove
the lens cap before turning on the unit.
≥
When the
display flashes, the manual
white balance previously adjusted is
stored. Whenever recording conditions
change, re-set the white balance.
≥
When setting both the white balance and
the iris/gain, set the white balance first.
≥
is not displayed on the screen
when
is being set.
White balance
Icon
Mode/Recording conditions
Auto white balance
adjustment
Sunny mode
Outdoors under a clear sky
Cloudy mode
Outdoors under cloudy sky
Indoor mode 1
Incandescent light, video lights
like in the studio, etc.
Indoor mode 2
Color fluorescent lamps, sodium
lamps in gymnasiums etc.
Manual adjustment mode
≥
Mercury-vapor lamps, sodium
lamps, some fluorescent lights
≥
Lights used for wedding
receptions at hotels, stage
spotlights in theaters
≥
Sunrise, sunset, etc.
F
IRIS
SHTR
WB
AWB
AWB
AWB
F
IRIS
SHTR
WB
AWB
AWB
AG-AC7P-VQT3Q78_mst.book 64 ページ 2011年5月18日 水曜日 午後1時40分


