background image

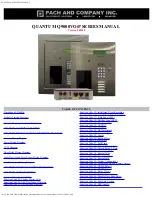
QUANTUM QVOIP SERIES MANUAL

file:///C|/PACH-CO.COM-2020/online_manual/q9000voip_series_manual.htm[1/17/2020 10:02:05 AM]

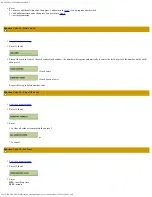
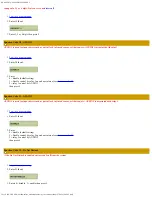
5. 

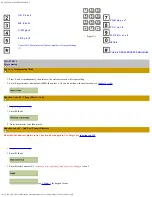
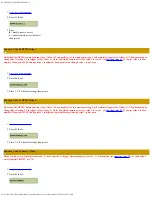
Enter door 1 or 2, or 3 for both, then press #

6. 

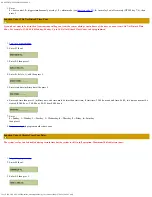
Enter time zone 1-3 then press #  

7. 

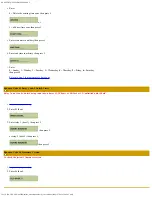
Enter 00 (

24 hours

) - 20 see 

function code 17

  then press # 

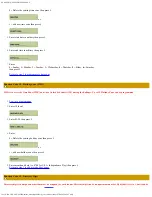
8. 

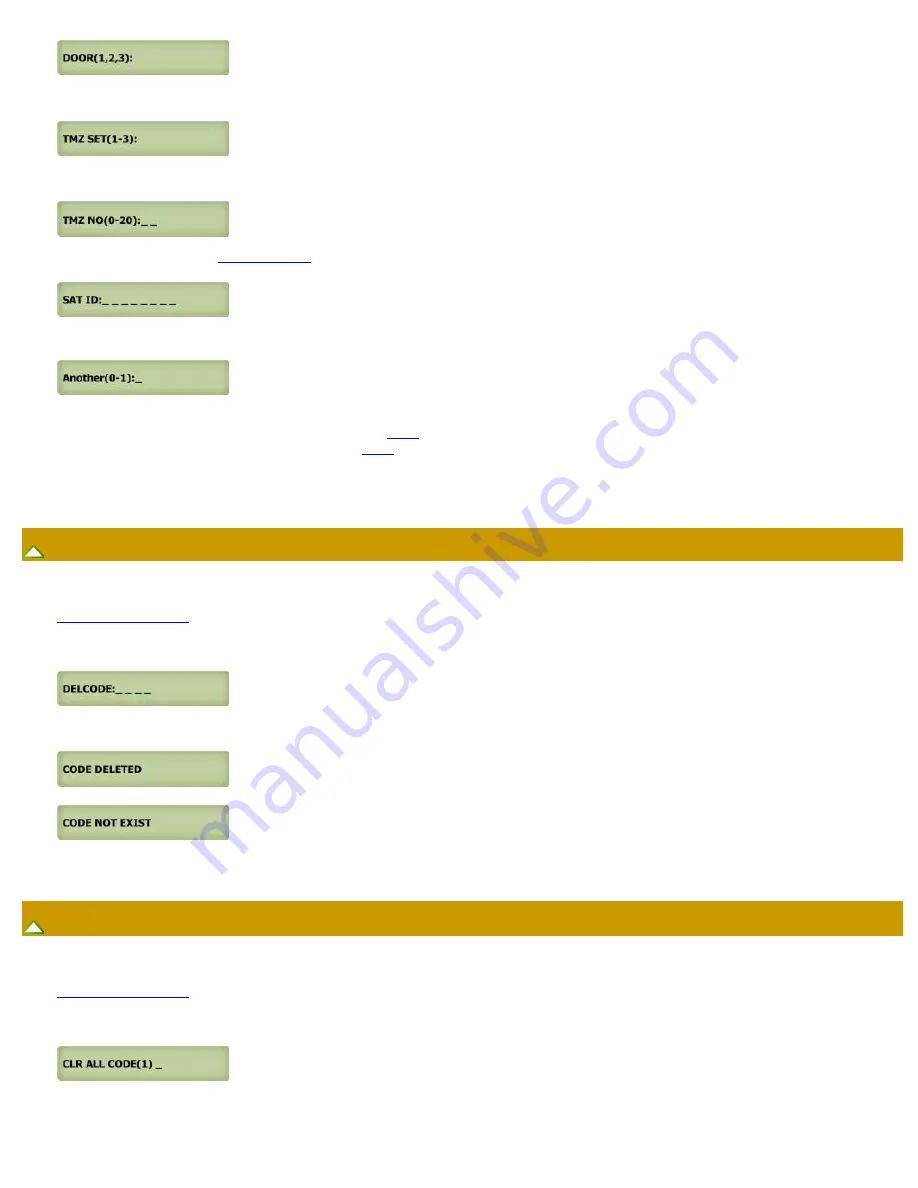
Enter satellite system ID 0-7 (

enter 0 if no satellite connected to the QR5

) then press #

9. 

Enter
0= no more additional time zone then press # and return to 

step 3

 to program another access code

1= add additional time zone then press # and return to 

step 6

*

 = exit programming

Function Code 07 - Delete Access Code


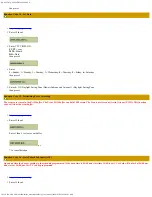
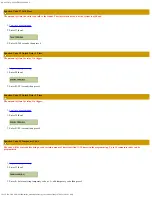
1. 

Log-in to programming

2. 

Enter 07 then #

3. 

Enter code to be deleted then press #
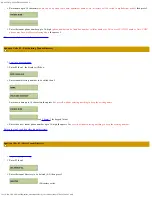
if access code exists

if access code does not exist

Repeat this step to delete another code

Function Code 08 - Clear All Access Cod

es


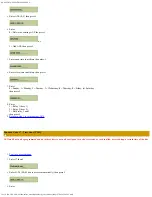
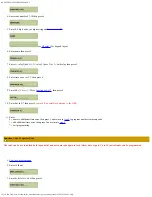
1. 

Log-in to programming

2. 

Enter 07 then #

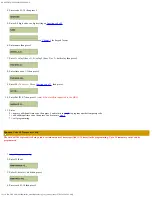
3. 

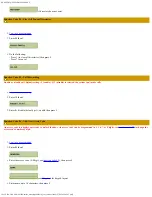
Enter
Summary of Contents for QUANTUM Q9000VOiP SERIES

Page 1: ...Event Recording Function Code 16 Auto Unlock Schedule AUS Function Code 17 Time Zone TMZ Function Code 18 Holiday Zone HLD Function Code 19 Directory Digit Function Code 20 AUXIN1 Function Code 21 AU...

Page 2: ...bility function or design PRODUCTS LIMITED WARRANTY New Products warranty 24 months Products are warranted to be free of defects in material or workmanship for a period of 24 months from the date of p...

Page 3: ...ty 600 tenants 600 access codes and 3000 cards See Chapter 2 for more detail Specifications Input power 12VAC 40VA 12VAC supplied 12VDC 3 0A Minimal Current consumption 750 100mA DIMENSION Surface mou...

Page 4: ...nd Wiring Diagram Follow the wiring diagram carefully Improper installation will void the warranty Please call technical support in case you have any difficulties during the installation Click the sel...

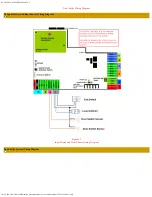
Page 5: ...QUANTUM QVOIP SERIES MANUAL file C PACH CO COM 2020 online_manual q9000voip_series_manual htm 1 17 2020 10 02 05 AM Figure 2 1 General Wiring Diagram 2 2 Power Wiring Diagram...

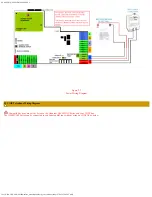
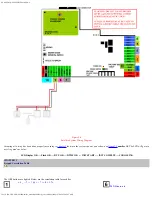
Page 6: ..._manual htm 1 17 2020 10 02 05 AM Figure 2 2 Power Wiring Diagram 2 3 VOIP Telephone Wiring Diagram Compatibility issue may occur between the Quantum Q9000VOIP Series and your VOIP line The Q9000VOIP...

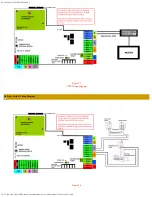
Page 7: ...QUANTUM QVOIP SERIES MANUAL file C PACH CO COM 2020 online_manual q9000voip_series_manual htm 1 17 2020 10 02 05 AM Figure 2 3 VOIP Wiring Diagram 2 4 Door Strike Wiring Diagram Figure 2 4...

Page 8: ...O COM 2020 online_manual q9000voip_series_manual htm 1 17 2020 10 02 05 AM Door Strike Wiring Diagram 2 5 Input Device and Door Sensor Wiring Diagram Figure 2 5 Input Device and Door Sensor Wiring Dia...

Page 9: ...all wiring has been done properly according to chapter 2 then turn the system s power on as shown on figure 2 1 number 10 The LCD will go into a cycling mode as below LCD Display OK Flash OK RTC OK D...

Page 10: ...d simultaneously then release the welcome screen will stop scrolling 2 Enter 4 digit master code default 0000 then press if you do not know the master code see chapter 2 step 8 Function Code 00 Change...

Page 11: ...o enter another tenant directory Function Code 02 Edit Existing Tenant Directory 1 Log in to programming 2 Enter 02 then the display will show 3 Enter tenant directory number to be edited then Enter n...

Page 12: ...Default setting 1 enable If 1 disable is selected the system can t make calls 1 Log in to programming 2 Enter 30 then 3 Enter 0 disable default pr 1 enable then press Function Code 06 Add New Access...

Page 13: ...connected to the QR5 then press 9 Enter 0 no more additional time zone then press and return to step 3 to program another access code 1 add additional time zone then press and return to step 6 exit p...

Page 14: ...Enter 10 then 3 Present the card in front of the card reader black window the number will register automatically or enter the last 8 digits of the number on the card then press or press the transmitt...

Page 15: ...og in to programming 2 Enter 11 then 3 Present the card in front of the card reader black window the number will register automatically or enter the last 8 digits of the number on the card then press...

Page 16: ...g Zone then press Function Code 15 Initializing Event recording The events are stored in the RAM buffer The Event RAM buffer can hold 2000 events The Events are stored as first in first out FIFO This...

Page 17: ...s 7 Enter 0 Sunday 1 Monday 2 Tuesday 3 Wednesday 4 Thursday 5 Friday 6 Saturday then press 8 Enter 1 Relay 1 door 1 2 Relay 2 door 2 3 Both relay 1 and 2 then press 9 Return to step 3 to enter anothe...

Page 18: ...nction Code 18 Holiday Zone HLD HLD is to ever ride Time Zone TMZ and Auto Unlock Schedule AUS during the holidays Up to 20 Holiday Zone can be programmed 1 Log in to programming 2 Enter 18 then 3 Ent...

Page 19: ...0 disable default setting 1 Enable control by relay 1 open door interval see function code 28 2 relay 1 control by AUXIN1 then press Function Code 21 AUXIN2 AUXIN2 is used for input device such as po...

Page 20: ...tem will make have warning alarm if invalid code or card has been enter according to the setting on function code 23 1 Log in to programming 2 Enter 24 then 3 Enter 0 disable 1 disable system for 60 s...

Page 21: ...e amount of time for relay 1 to trigger 1 Log in to programming 2 Enter 28 then 3 Enter 01 99 second then press Function Code 29 Unlock Relay 2 Time The amount of time for relay 2 to trigger 1 Log in...

Page 22: ...then press 9 Enter 00 24 hours 20 see function code 17 then press 10 Enter Sat id 0 7 then press enter 0 if no satellite connected to the QR5 11 Enter 0 no more additional time zone then press and ret...

Page 23: ...rs 20 see function code 17 then press 10 Enter Sat ID 0 7 then press enter 0 if no satellite connected to the QR5 11 Enter 0 no more additional time zone then press and return to step 3 to program ano...

Page 24: ...hen press 9 Enter 00 24 hours 20 see function code 17 then press 10 Enter Sat ID 0 7 then press enter 0 if no satellite connected to the QR5 11 Enter 0 no more additional time zone then press and retu...

Page 25: ...17 then press 10 Enter Sat ID 0 7 then press enter 0 if no satellite connected to the QR5 11 Enter 0 no more additional time zone then press and return to step 3 to program another temporary code 1 ad...

Page 26: ...s not used 1 Log in to programming 2 Enter 40 then 3 Press 1 9 9 is default setting then press Function Code 41 DTMF Relay 2 By default the DTMF remote opening relay 2 door 2 key number is set to 8 me...

Page 27: ...s ca be programmed 1 Log in to programming 2 Enter 43 then 3 Enter 0 9 then press 4 Enter 0 delete 1 add then press 5 Enter start time military time the press 6 Enter end time then press military time...

Page 28: ...1 Monday 2 Tuesday 3 Wednesday 4 Thursday 5 Friday 6 Saturday then press Return to step 3 to program more time zone Function Code 45 Relay 1 and 2 Unlock Timer Relay 1 and 2 can be unlock using count...

Page 29: ...or most PBX system then press 5 Select delay time for the PBX system to access dial tone generally 2 3 second delay is plenty of time then press Function Code 49 Edit Existing Access Code Temporary Co...

Page 30: ...mber of times maximum 10 times then the code will be expired see function code 33 Special Code is used to unlock hold door and then use same code to lock the door see function code 34 Press display wi...

Page 31: ...iagram 2 Function code 38 must be set at least for 1 ring 3 Function code 39 must be set to 1 4 You must have the system phone number 5 Call the system phone number if the system answered short beep w...

Reviews: