


Reverse Camera Input and Navigation Unlock
Interface for Chrysler / Dodge / Jeep / RAM Vehicles
BCI-CH41
(v2)
© 2018 AAMP Global. All rights reserved. PAC is a Power Brand of AAMP Global.
PAC-audio.com
Pacific Accessory Corporation
Rev: V3
Date: 040918
Page 5
Operation (cont.)
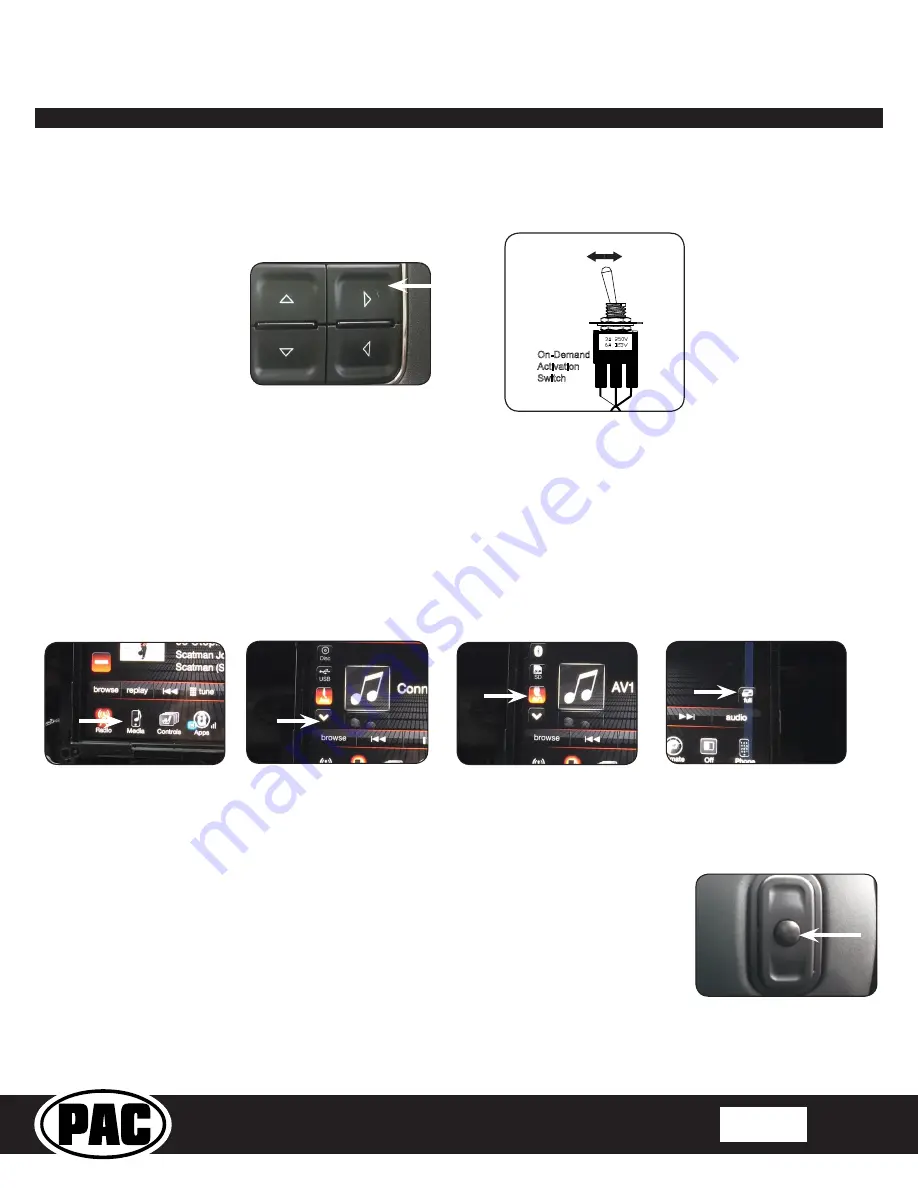
Nav Unlock
If you have DIP switch 3 turned ON, you can activate the navigation unlock which will enable any features that
are normally locked out while the vehicle is in motion.
To activate the navigation unlock, follow these steps:
1.
Place the MFD in the mode that displays radio text.
2.
Press and hold the center button on the back right side of the steering wheel for at least 2 seconds, then
release (Fig. K).
3. The MFD in the cluster will display “Confirm Safe Passenger Use”.
4. Press the same button again within 5 seconds to acknowledge “safe use”,
agreeing that use will
be performed only by the passenger whenever the vehicle is in motion
, and activate the
navigation unlock.
5. The MFD will display “Acknowledged”.
6.
To de-activate the navigation unlock simply press and hold the same button for at least 4 seconds and
then release.
7. The MFD will display “NU Deactivated”.
Fig. K
Rear Media Mode
If you have DIP switch 2 in the ON position, it will activate Rear Media mode on the factory screen (8.4” screens only).
PLEASE NOTE:
In order to access Rear Media mode for the first time, you will need to turn the key ON, then OFF and let the vehicle go to
sleep (about 1 minute), then turn the key ON again, then OFF again and let the vehicle go to sleep a second time (about 1 minute).
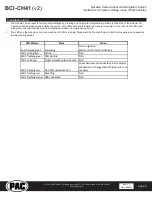
To access Rear Media mode follow these steps:
1.
Press the “Media” icon in the bottom left corner of the screen (Fig. G).
2.
Press the down arrow on the middle left of the screen (Fig. H).
3. Press the “AV1” icon on the middle left of the screen (Fig. I).
4. Press the “Full” icon on the right middle of the screen to view the video (Fig J). PLEASE NOTE: If you have any of the programmable
outputs set to “Rear Media Full Screen”, this is the point at which it will become active.
Fig. H
Fig. G
Fig. I
Fig. J
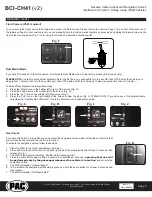
Front Camera (VS41 required)
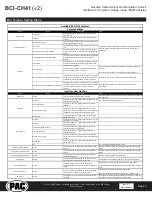
You can set up the front camera to be triggered a variety of different ways. Please refer to the chart on Page 7 for a full list. Whenever one of
the feature settings for front camera is on, you can manually force the front camera at anytime by pressing and holding the forward arrow on the
front of the steering wheel (Fig. F) or by using the included on-demand activation switch.
Fig. F
On-Demand
Activation
Switch
Reverse
Camera
Front
Camera