22
MAINTENANCE (cont.)
Setting the Table Square with the Blade
Tools required (not supplied):
10mm Ring spanner, set square, Phillips Head
screwdriver.
After replacing the blade or over time, the Mitre Saw angles may require adjusting so
that the 0° angles (both bevel and mitre) are actually located at exactly 0°.
1. Ensure the plug is disconnected from the power supply.
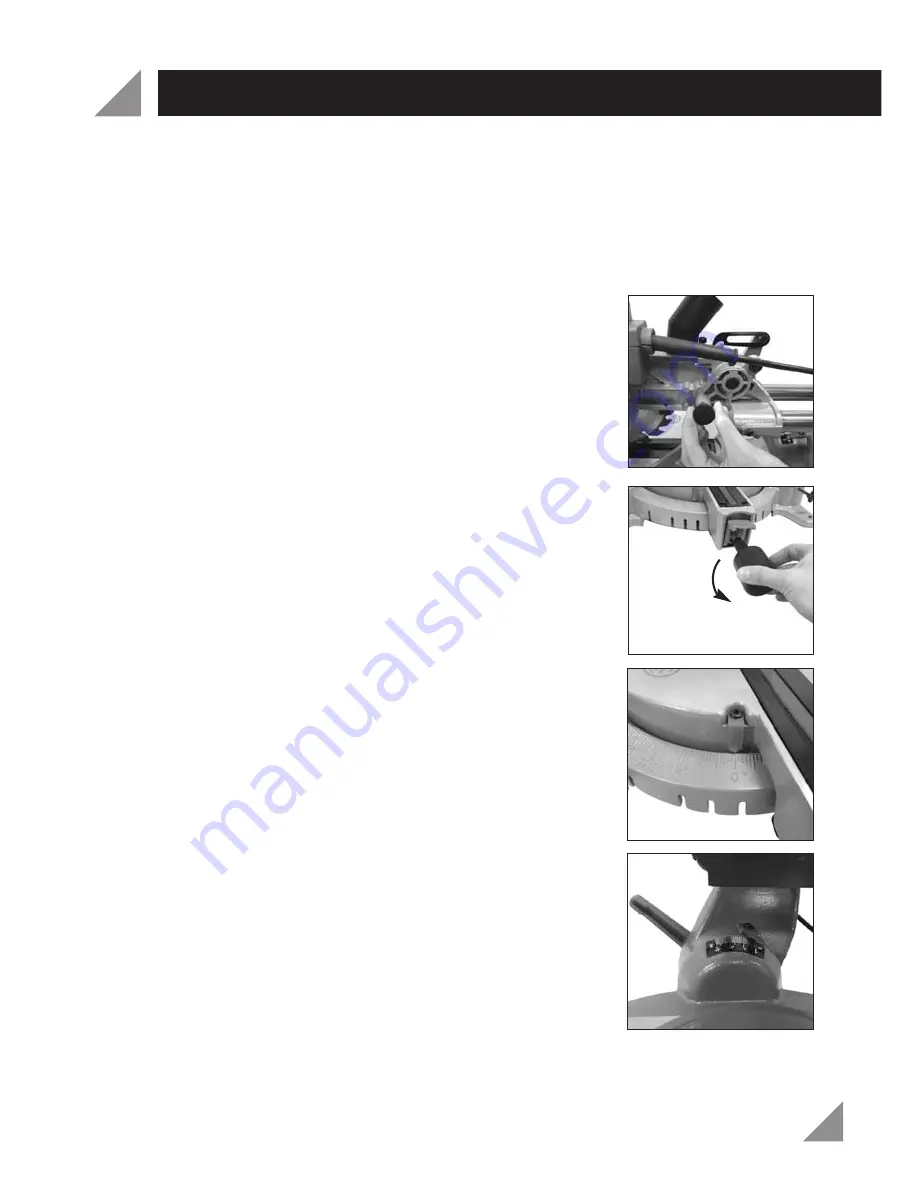
2. Push the cutting head (3) down to the lowest position
and engage the head locking pin (4) (Fig. 38). The
Mitre Saw should now be secured in the transport
position.
3. Loosen the mitre lock knob (26) by turning in an
anti-clockwise direction (Fig. 39).
4. With a thumb depressing the mitre adjustment lever
(27), turn the rotating mitre table (24) until the mitre
index scale (29) is positioned at 0° (Fig. 40).
5. Release the mitre adjustment lever (27) and tighten the
mitre lock knob (26) by turning in an anti-clockwise
direction.
6. Set the bevel angle at 0° bevel (Fig. 41), the blade (13)
at 90° to the rotating mitre table (24).
Fig. 38
Fig. 39
Fig. 40
Fig. 41


