background image

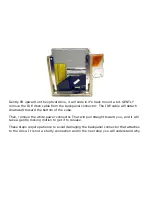
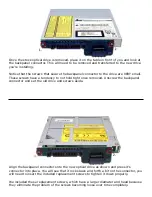
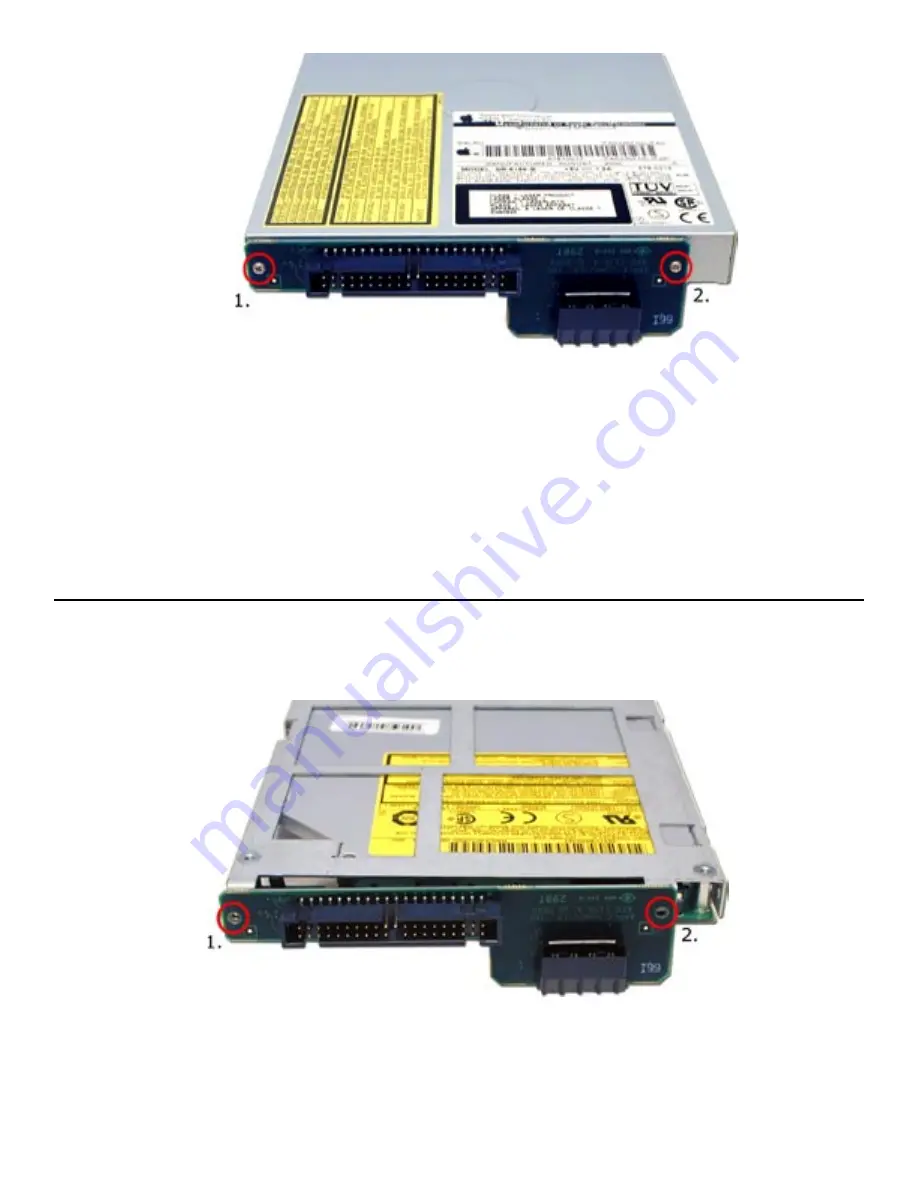
Once the stock optical drive is removed. place it on the table in front of you and look at 

the backpanel connector. This will need to be removed and transferred to the new drive 

you’re installing.

Notice that the screws that secure the backpanel connector to the drive are VERY small. 

These screws have a tendency to not hold tight once removed. Unscrew the backpanel 

connector and set the old drive and screws aside.

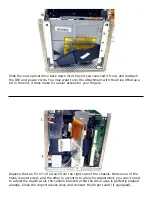
Align the backpanel connector onto the new optical drive as shown and press it’s 

connector into place. You will see that it rocks back and forth a bit on the connector, you 

will need to insert the included replacement screws to tighten it down properly.

We included these replacement screws, which have a larger diamater and head because 

they eliminate the problem of the screws becoming loose over time completely. 

Summary of Contents for Mercury G4 Cube

Page 1: ...OWC Mercury G4 Cube Optical Drive Installation Instructions For the Power Macintosh G4 Cube 450MHz 500MHz...

Page 2: ...hillips Screwdriver A Torx T 10 Screwdriver A Torx T 8 Screwdriver A blank CD R disc You will need to observe static safe precautions while performing this installation just like you would for install...

Page 3: ...release the locking mechanism as shown Remove the core from the outer shell and place the shell in a safe location so it will not be in the way or get scratched Press the core retaining handle back i...

Page 4: ...e in a safe location The sleep switch plastic cover can fall out of it s housing if it does put it back in place There is a metal cover over the top of the optical drive that you need to remove to gai...

Page 5: ...into it s slot with the antenna plugged into the end For instructions on how to install or remove the Airport card refer to your Power Macintosh G4 Cube manual Open the Airport access door and unscrew...

Page 6: ...ill detach downward toward the bottom of the cube Then remove the white power connector That will pull straight toward you and it will take a gentle rocking motion to get it to release These steps req...

Page 7: ...o not hold tight once removed Unscrew the backpanel connector and set the old drive and screws aside Align the backpanel connector onto the new optical drive as shown and press it s connector into pla...

Page 8: ...t does make for easier access for your ngers Replace the two Torx T 10 screws from the right side of the chassis Notice one of the holes is exact sized and the other is eccentric to allow for adjustme...

Page 9: ...ccess panel cover back onto the cube sliding the two locking tabs back down into place Make CERTAIN that the cover is fully engaged and not loose at the bottom if the cover is not fully engaged the co...

Page 10: ...n take quite a bit of wiggling to get it to release Look at the top of the core and remove the 3 screws from the heatsink attached to the top of the drive using a Torx T 8 Screwdriver Slide the drive...

Page 11: ...ave to align the corner posts access cover and side posts to get the cover to slide back in place Start inserting the Torx T 10 screws as shown and do remember that 5 and 6 are the long screws you rem...

Page 12: ...r index cfm page data_inthdd html If your optical drive is not recognized try resetting the CUDA PMU reset button on the logic board You will have to remove the top cover to do so it is located behind...

Reviews: