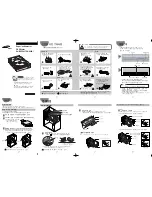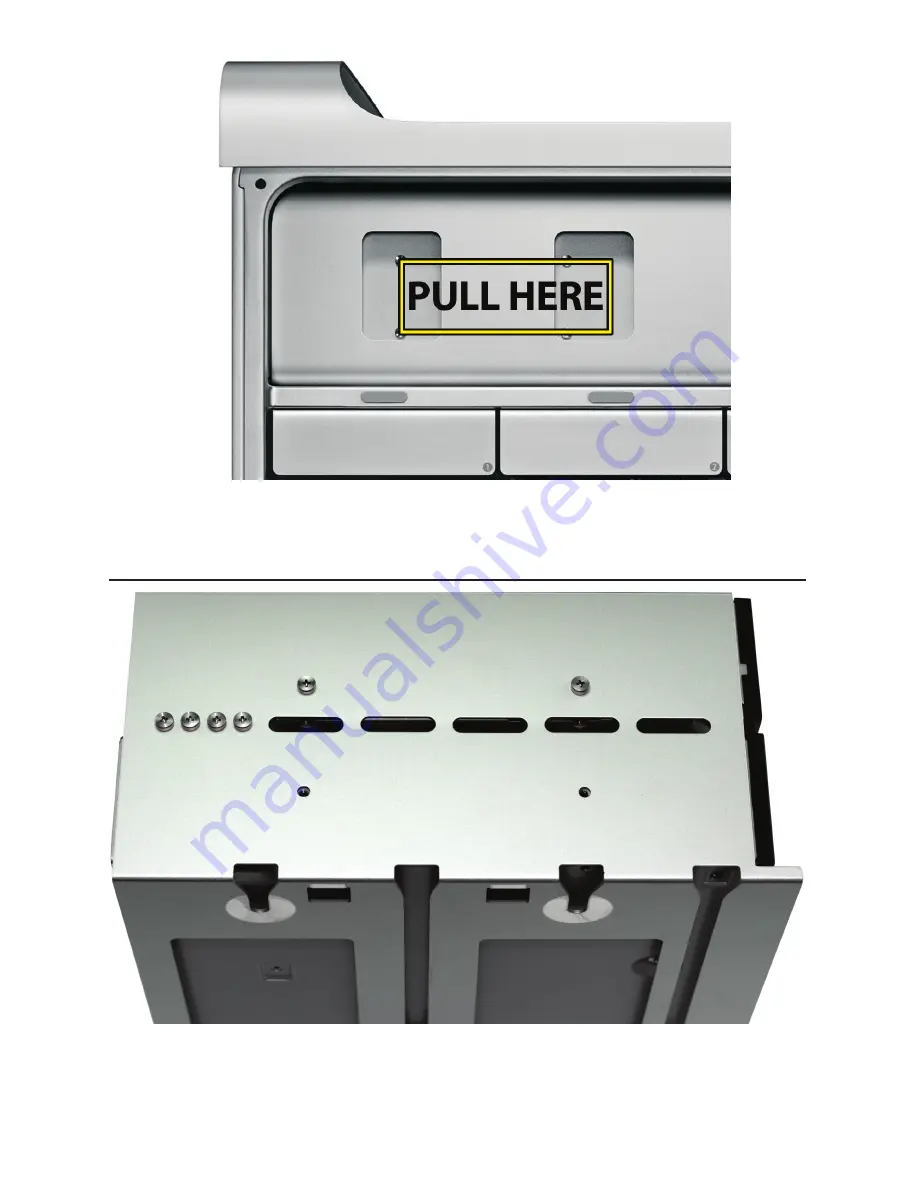
Grasp the optical bay with your fingers and pull straight out. The drive carrier may re-
quire a bit of shaking to dislodge it from it’s mounts but it will come right out. Discon-
nect the power and ATA cables from the back of the existing optical drive and set the
carrier on a work surface in front of you.
Insert your new SATA optical drive into the carrier in the empty lower bay. There are 4
screws provided by Apple already on the back side of the drive carrier. Remove them
and use them to fasten the drive to the carrier.
Page 16


