Please be aware that Network Ports Quick Setup Utility can only detect
and configure all print servers on the same network, it cannot search and
configure print servers on other subnets across network segments. You
must use Remote Ports Utility described in the next section to manage
remote (across network segments) print servers.
Select the network ports in the “Available Ports” list and click “>” to add
ports. If you want to add all available ports, please click “>>”. To cancel
some of the network ports or all ports from the “Chosen Ports” list, please
click “<” or “<<”.
3.3.2 Remote Ports (Utility)
Remote Ports Utility offers a convenient way for you to manage and add
printer port of the remote print server. From the assistant of this utility,
you can print to other print servers outside the subnet across network
segment. However, please note that this function only supports TCP/IP
network protocol.
Please follow the procedures described below:
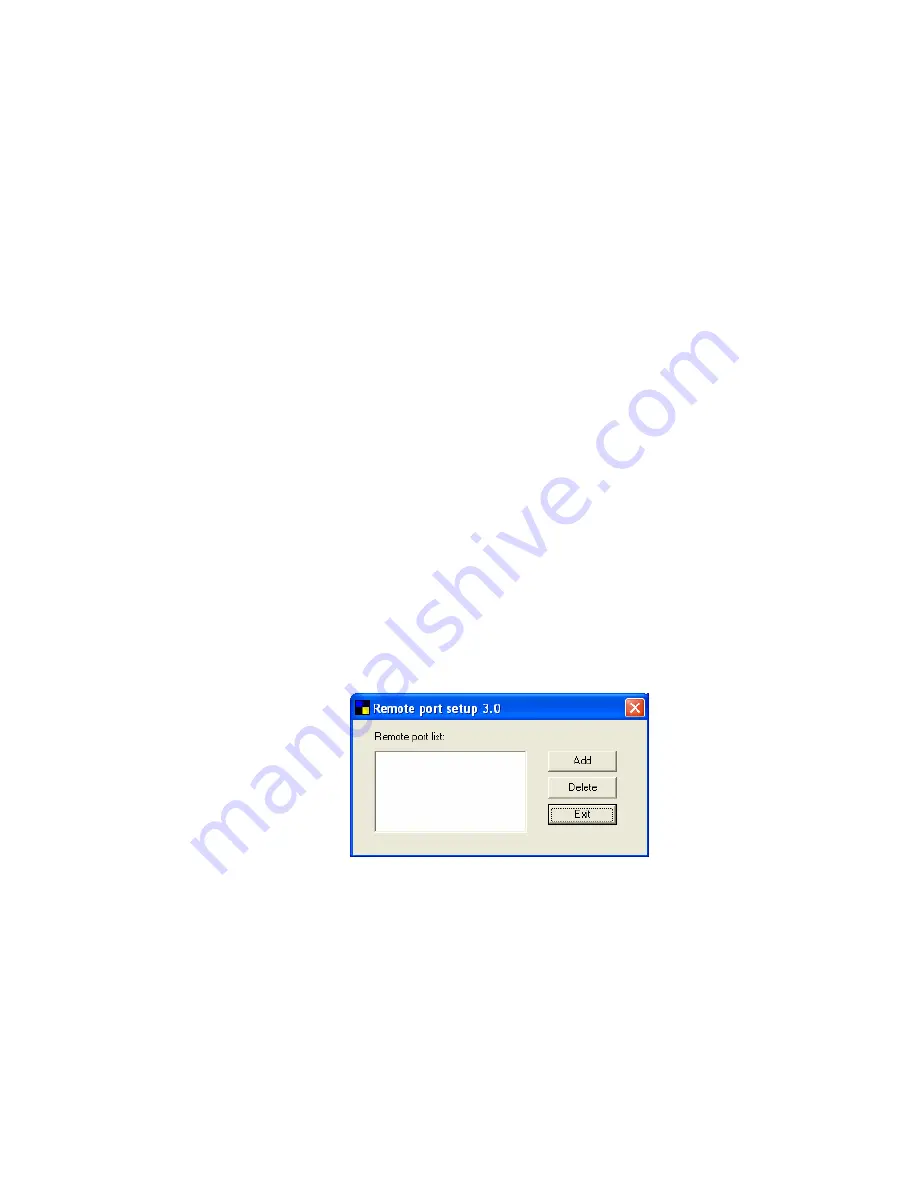
Step1. Run Remote Ports Utility. Clicks “Add” to add a remote print
port.
Step2. Enter print server’s name, IP address, select used ports, and enter
LPR queue name of each port. Click “Ok”.
20
Summary of Contents for AirLive WP-203G
Page 1: ...WP 203G 3 Ports Wireless Print Server User s Manual ...
Page 13: ...NetWare Network see below 8 ...
Page 27: ...22 ...
Page 72: ...67 ...
Page 83: ...8 3 8 Bonjour This page lists Bonjour settings including Printer Service Name of each port 78 ...
Page 117: ...112 ...
Page 121: ...Step7 You can print a file to check whether the Print Server is installed successfully 116 ...
Page 126: ...121 ...
Page 128: ...123 ...
Page 129: ...Step4 Select Exceptions tab and click Add Program 124 ...
Page 132: ...127 127 ...


