Model 976 7.1 Channel Preamp/Processor
23
Chapter 3
Overview
Menu Navigation
At this point you should have made
all the necessary physical connections
between the Model 976 and your source
equipment, amplifi ers and speakers. All
that remains is to properly confi gure the
system to suit your speaker and amplifi er
confi guration.
Although some of the Model 976’s
setup functions can be accessed directly
through the front panel display and dedi-
cated buttons on the remote control, it’s
probably easiest to perform the entire set-
up through the on-screen display (OSD),
which can be seen on any video monitor
connected to the Model 976’s HDMI out-
put. Note that the OSD functions only on
the Model 976’s HDMI output 1.
System Setup
Before you begin, make certain that the AC power
cord supplied with the Model 976 is fi rmly inserted
into the socket on the unit’s rear panel. Now plug
the cord into an AC wall outlet or UL-approved
power strip or surge protection device. The ring
around the STANDBY button on the front panel will
light up.
To turn the Model 976 on:
Press the STANDBY button on the front panel
•
or the POWER ON button on the remote
to turn on the Model 976. The front panel
display will illuminate and the ring around the
STANDBY button will glow brighter.
To get the rest of the system running, turn
•
on the amplifi er (if you’re not using the
Model 976’s DC trigger to turn it on auto-
matically), the source devices, and the video
display.
We recommend that you perform the setup
through the on-screen display (OSD), which can
be seen on a display connected to the Model 976’s
HDMI Out 1 output.
Chapter 3
Contents
23
Menu Navigation
24
Main Menu
25
System Setup
26
Input Setup
27
Speaker Setup
31
EQ Adjust
32
Audio Setup
Make sure the Model 976, amplifi er(s), and display
are turned on. Set the display to the HDMI input
that is connected to HDMI Out 1; see the Input
Summary Sheet on page 46 if necessary.
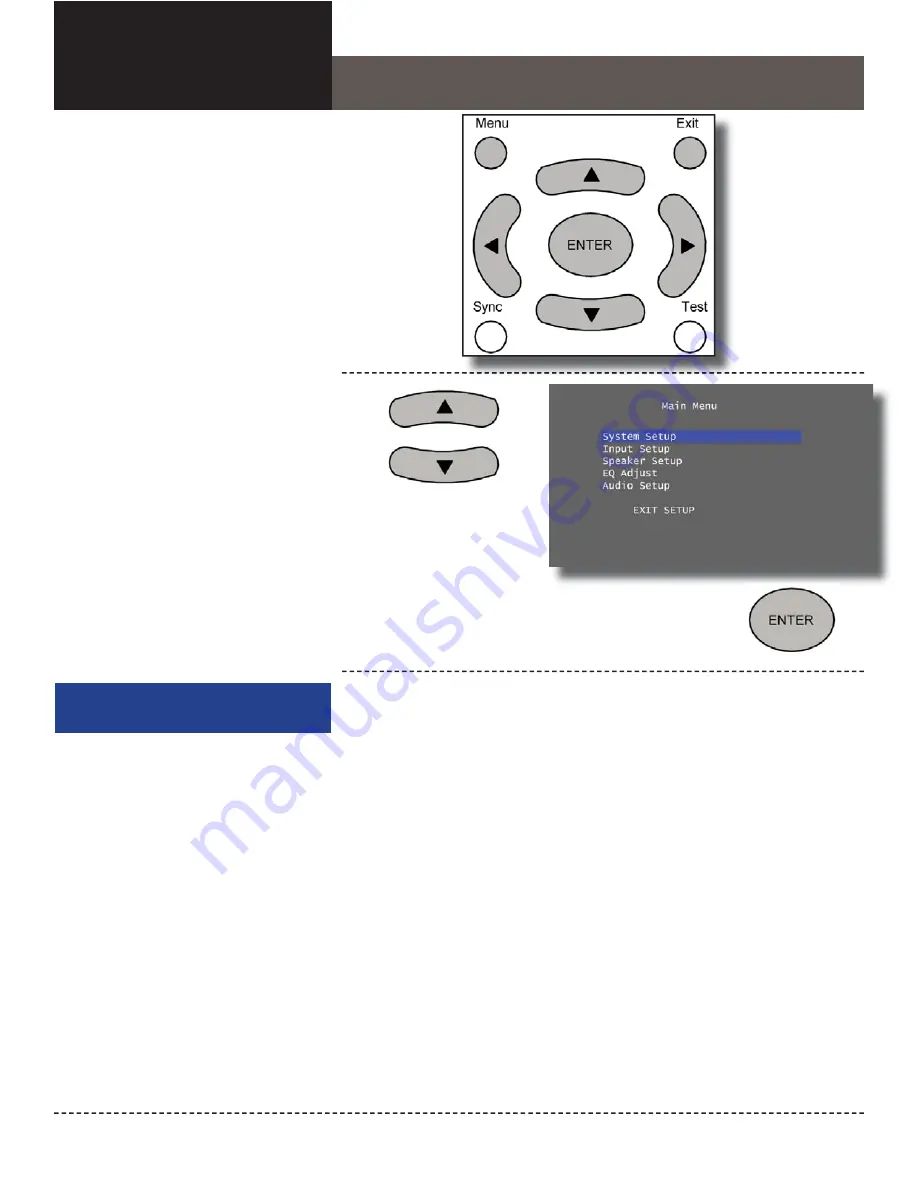
All selections are made using the same combi-
nation of buttons, as shown above. The MENU
button on the remote and the OSD button on the
front panel activate or cancel the on-screen menu.
The UP and DOWN arrow keys select a particular
function or parameter from the on-screen display
menu, while the LEFT and RIGHT arrow keys
adjust whatever function or parameter you’ve just
selected.
The ENTER button enters a highlighted menu or
locks in adjustments that you’ve made.
Menu Button
Press this button to see the
Main Menu on your video
display. Press it again to go
back one level or to dismiss
the menu completely.
Exit Button
Press this button to
immediately exit the
system setup menus.
Enter Button
Press this button to make a
selection from a highlighted
menu item or parameter.
Navigation Buttons
Press the Up and Down
buttons to move up through
the list of available menus
or settings. Press the Left
and RIght buttons to adjust
menu settings.
Navigation Buttons
Press the Up and Down buttons to
move through the list of available
menus.
Enter Button
Press this button to select a system setup
menu from the Main Menu.
E
P
s
m


