
15
2.
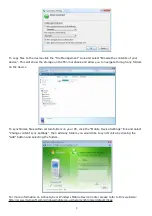
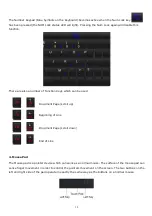
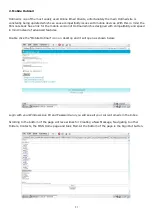
Double click the icon as to view the files stored on the SD Card.
3.
Files or applications stored on the SD Card can be opened or run directly from the Card or copied
to the main system drive.
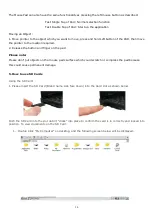
To remove the SD card
:
1.
Close any applications or documents which have been opened from the SD Card.
2.
Lightly press the card, it will part eject automatically, remove the card from the slot.
Note
:
1. Please insert the card the right way round and don
’
t try to force a card into the slot.
2. If an SD Card has been locked, the Mini notebook cannot format or copy data to the card.
3. Please do not repeatedly insert and remove the card, this may cause damage to the card.
4. We suggest using Mini note or other major brands of SD card to avoid any incompatibility.
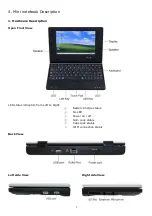
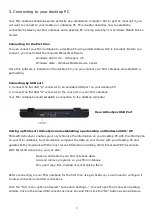
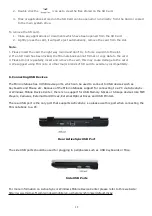
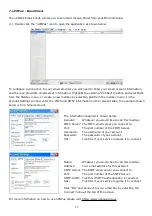
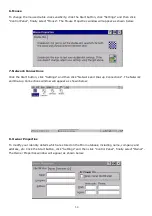
6. Connecting USB Devices
The Mini notebook has 3 USB device ports, which can be used to connect to USB devices such as
Keyboards and Mouse etc. Because of the Mini notebooks support for connecting to a PC via ActiveSync
or Windows Mobile Device Center, there is no support for USB Memory Sticks or Storage devices like MP3
Players, Cameras, External Hard Drives, External Optical Drives and USB Printers.
The rear USB port is the only port that supports ActiveSync, so please use this port when connecting the
Mini notebook to a PC.
Rear ActiveSync USB Port
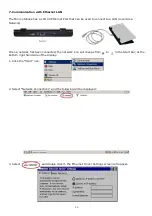
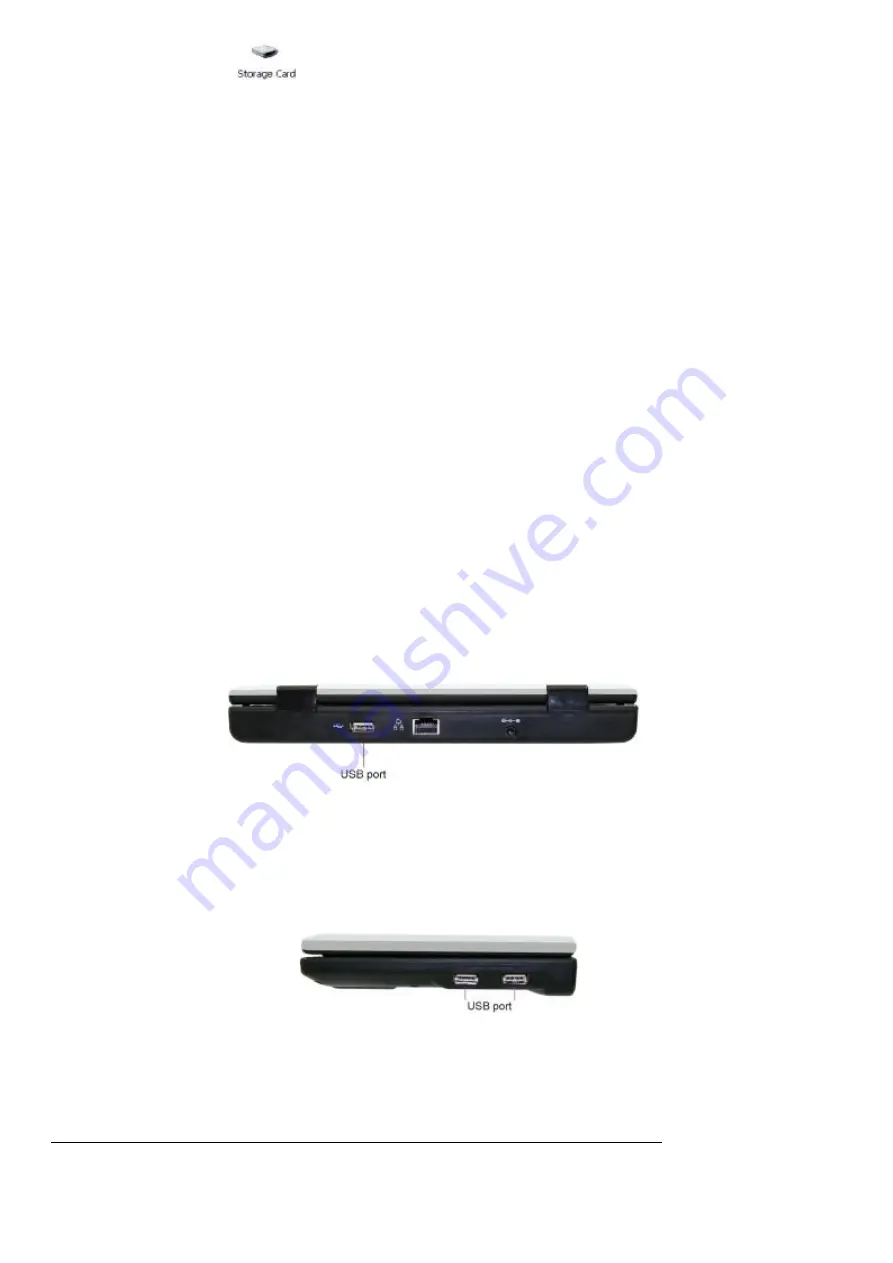
The side USB ports should be used for plugging in peripherals such as USB Keyboards or Mice.
Side USB Ports
For more information on ActiveSync or Windows Mobile Device Center please refer to this web site:
http://www.microsoft.com/windowsmobile/en-us/help/synchronize/default.mspx