10
6. Battery Management
The Mini notebook uses an internal Li-Ion Battery, to ensure the best performance from this battery
please use the following procedure to condition the battery. Before turning on the Mini notebook for the
first time plug the charger in and charge the battery until fully charged (the charging light has gone out).
During use we suggest charging the battery whenever the battery power is low and allow the battery to
fully charge before disconnecting the charger.
How to Charge the Battery
1. Plug in the Power adapter to Power adaptor port of Mini notebook, the Battery charge LED will light up.
Charging will be completed once the LED has turned off.
2. To see the charging status, turn on the Mini notebook by pressing and holding the Power on/off button.
Once the system has booted to the Windows CE desktop, the Charging status will be displayed on the
right hand side of the Menu bar as indicated below.
3. During Battery Charging the Mini notebook can be used as normal, (Please be note that the charging
time will be longer when the system is in use).
4. Charging the Battery normally requires around 3 hours from low battery charge to fully charged.
During Charging the machine will become warm, but this is normal.
Checking the Battery Level
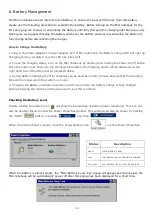
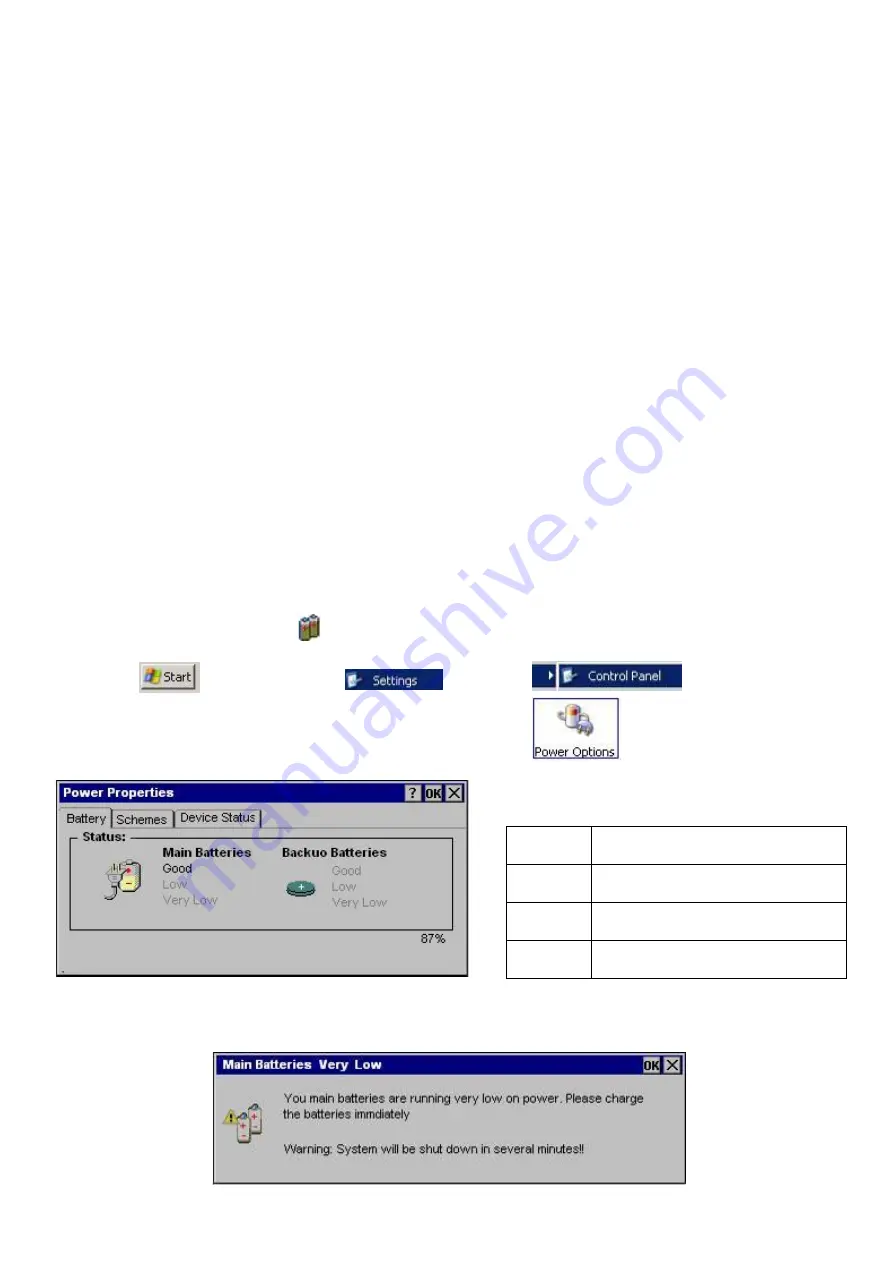
Double clicking the battery icon will show the percentage of battery power remaining. This icon can
also be double clicked to show the Power Properties window. This window can also be shown by clicking
the
“
Start
”
button, selecting and then
When the Control Panel is shown, click the Power Options icon to show Power Properties.
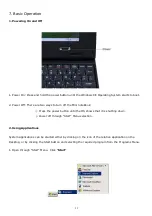
When the battery is almost empty, the
“
Main Batteries very low
”
popup will appear as shown below, the
Mini notebook will be automatically power off after this popup has been displayed for a short time.
Status
Description
Good
Good Battery Level
Low
Low Battery Level, should be charged
Very Low
Low Battery Level, must be charged


