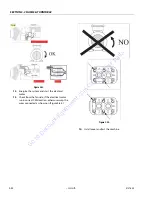
SECTION 4 - BOOM & PLATFORM
3121623
– JLG Lift –
4-11
Three month inspection
1.
Remove all protection sumps from the third arm
and the two extensions. Use a flashlight torch to
visually check the state of the ropes and the
extension pulleys.
2.
Check the correct rope tension, trying to bend
them manually. If they are pulled correctly they
should not be able to move more than a few mil-
limeters.
3.
Check that in the extension arms exit phase the
return ropes are sufficiently in traction in a way
not to allow relative contact with the third arm.
4.
Vice versa in the extension return phase, check
that the outlet ropes are subject to a tension that
allows them not to come into contact with the
second extension or the cylinder.
5.
Use a torque wrench to check the correct torque
of al rope fixing nuts and the respective rocker
arms; recommended torque 10 Nm.
If the tension of the ropes should not be adequate the
conditions for use must be restored by scrupulously fol-
lowing the Ropes Tension Adjustment procedure reported
following.
4.4
WIRE ROPE TENSION ADJUSTMENT PROCEDURE
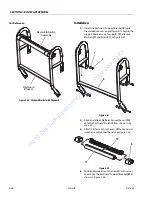
NOTE:
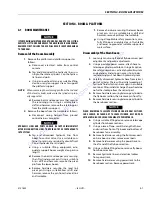
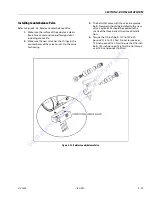
Do not clamp on threads.
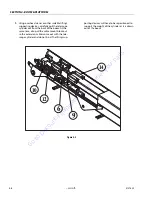
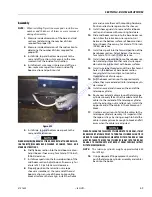
Figure 4-19. Clamping Wire Ropes
1.
Loosen the register counter-nuts by a few turns,
position them in a way to access the adjustment
nuts in order to make the adjustment. (two nuts
with relative counter-nut for extend ropes and
one nut with relative counter-nut for retract
ropes rocker arm).
2.
Completely retract both extendible arms and
make them escape for about 30-40cm.
3.
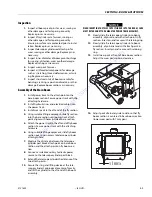
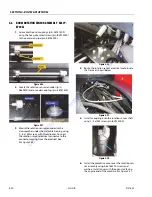
Tighten the nut for the traction of the fixing
rocker arm of the return ropes to a torque of
10Nm.
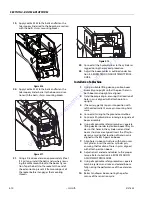
Figure 4-20. Return ropes fixing rocker arm
4.
Completely extend the extensions and retract
them by about 30-40cm.
5.
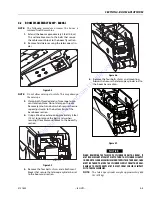
Tighten the bolts of the two output cables so
that the threaded terminals come out of 65±3
mm from the rocker arm. During adjustment
Go
to
Discount-Equipment.com
to
order
your
parts


